2.3: How to Run an Astria Template on a New Product
Astria Workshops · Series 2: Reusable lookbook templates · Lesson 3
Use your saved lookbook template with a different shirt. You’ll replace the product references, try settings and brief changes for one generation, and choose which shots to run.
Follow workshop 2.3. The screenshots show its recorded steps, cropped to keep the relevant controls readable. Keyframe times are relative to the named scene. Click any image to enlarge it.
Before you begin
Open the Shirt template created in workshop 2.2. Have clear photos of the new shirt ready. The workshop uses a blue shirt with red stripes in place of the original cream shirt.
Step 1: Replace the shirt references
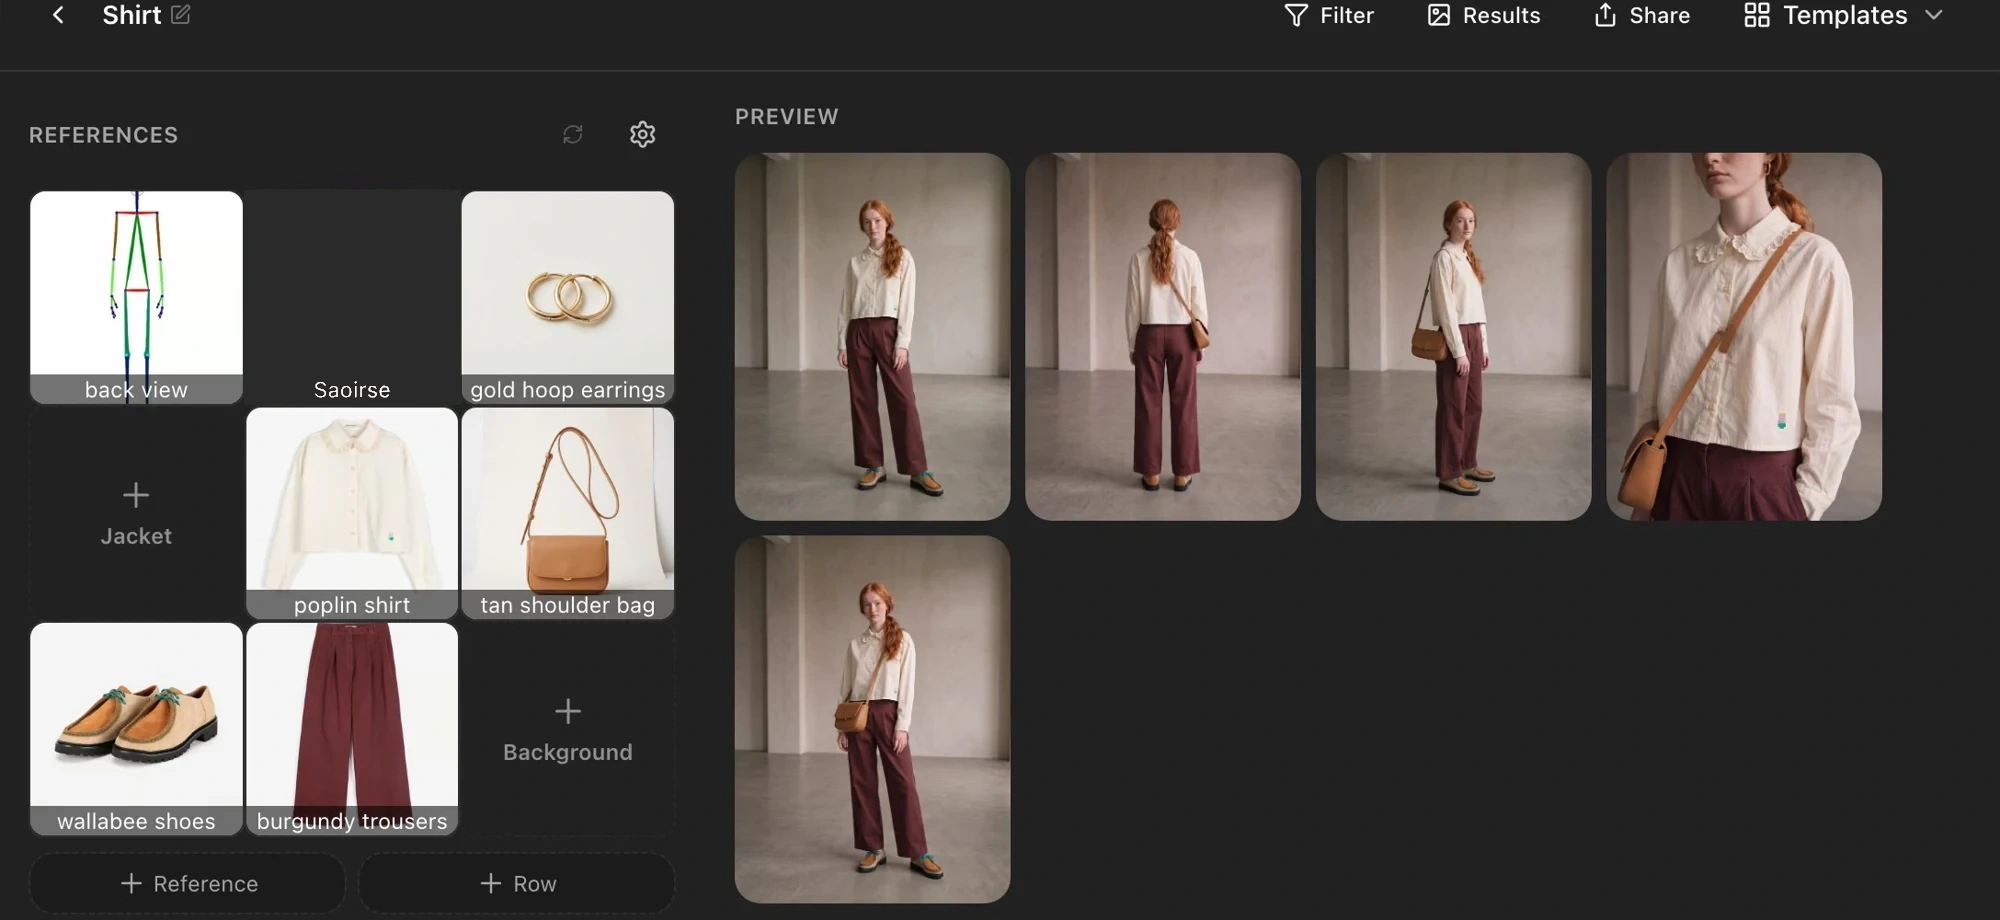
Open the template and replace its original shirt references with photos of the new shirt. Check the reference squares on the left before generating.
The images on the right are previews of the template’s original results. They help you choose the shots. They aren’t used as reference photos for the new generation, so seeing the cream shirt in those previews is expected.
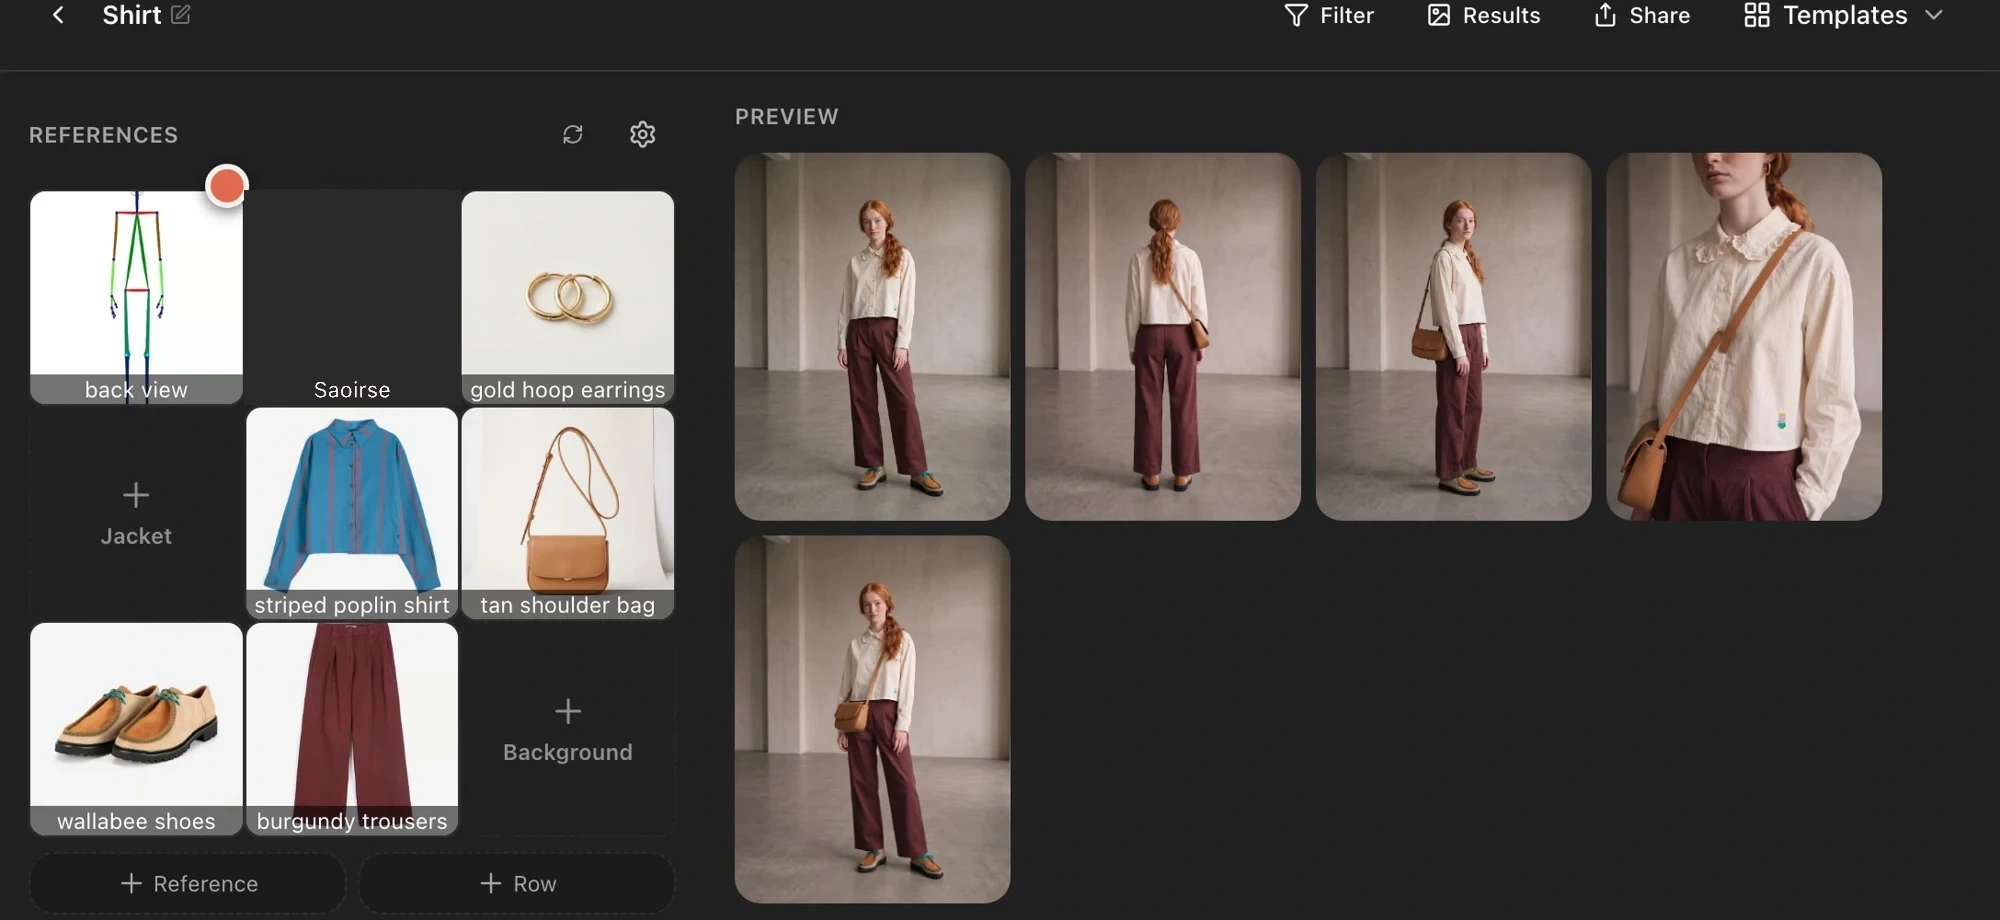
The template also reuses saved choices such as pose, resolution and images per prompt. Two images per prompt means two results for each prompt you run. A prompt set to 2K or 4K uses that output resolution.
Step 2: Adjust settings for this generation
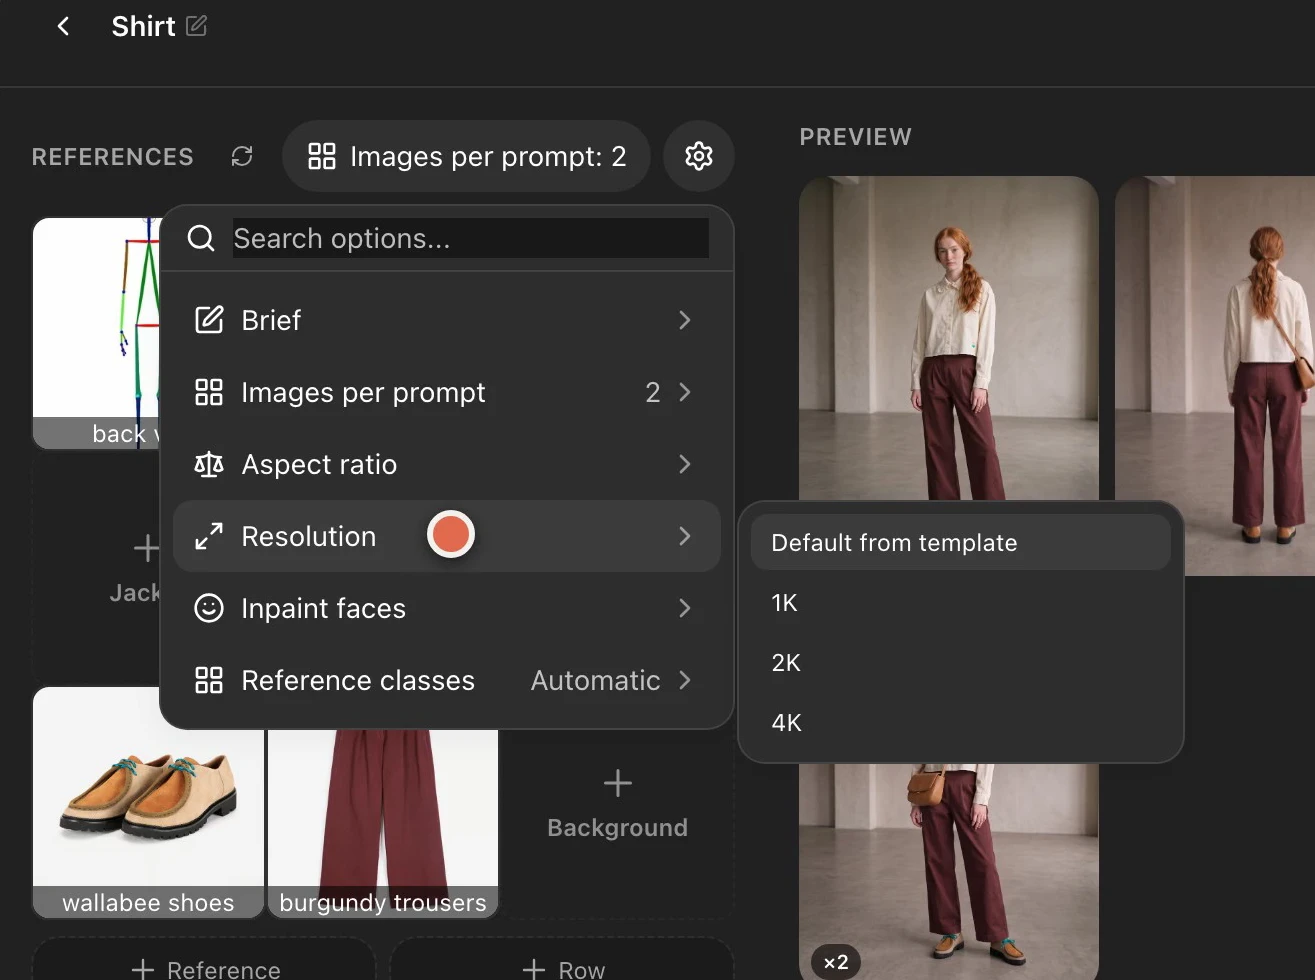
Open the cogwheel beside the references. Review the resolution, aspect ratio and Inpaint Faces settings. Aspect ratio is the image’s width compared with its height; Inpaint Faces controls face detail.
Choose the values you need for this run. Leave a setting on Default from template when you want to inherit its saved value.
Step 3: Try a brief for the background or pose
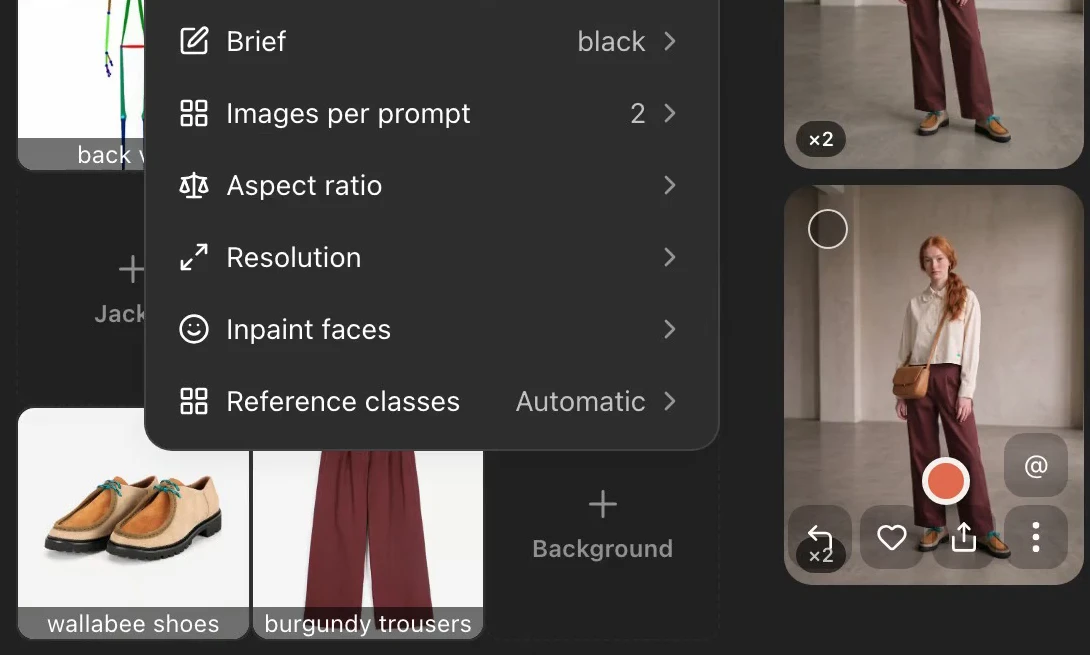
Use Brief to change the written instructions across the prompts you run while keeping the reference photos selected. First try a black background. Enter a clear direction such as:
Change the background to black, hex color #000000.
The hex color code #000000—six zeros—means black. Generate the selected shot and inspect the result. A generated photographic background can include light and texture, so judge the image itself as well as the instruction.
For a separate test, replace that brief with hand in a pocket, generate again, and compare how the pose changes.
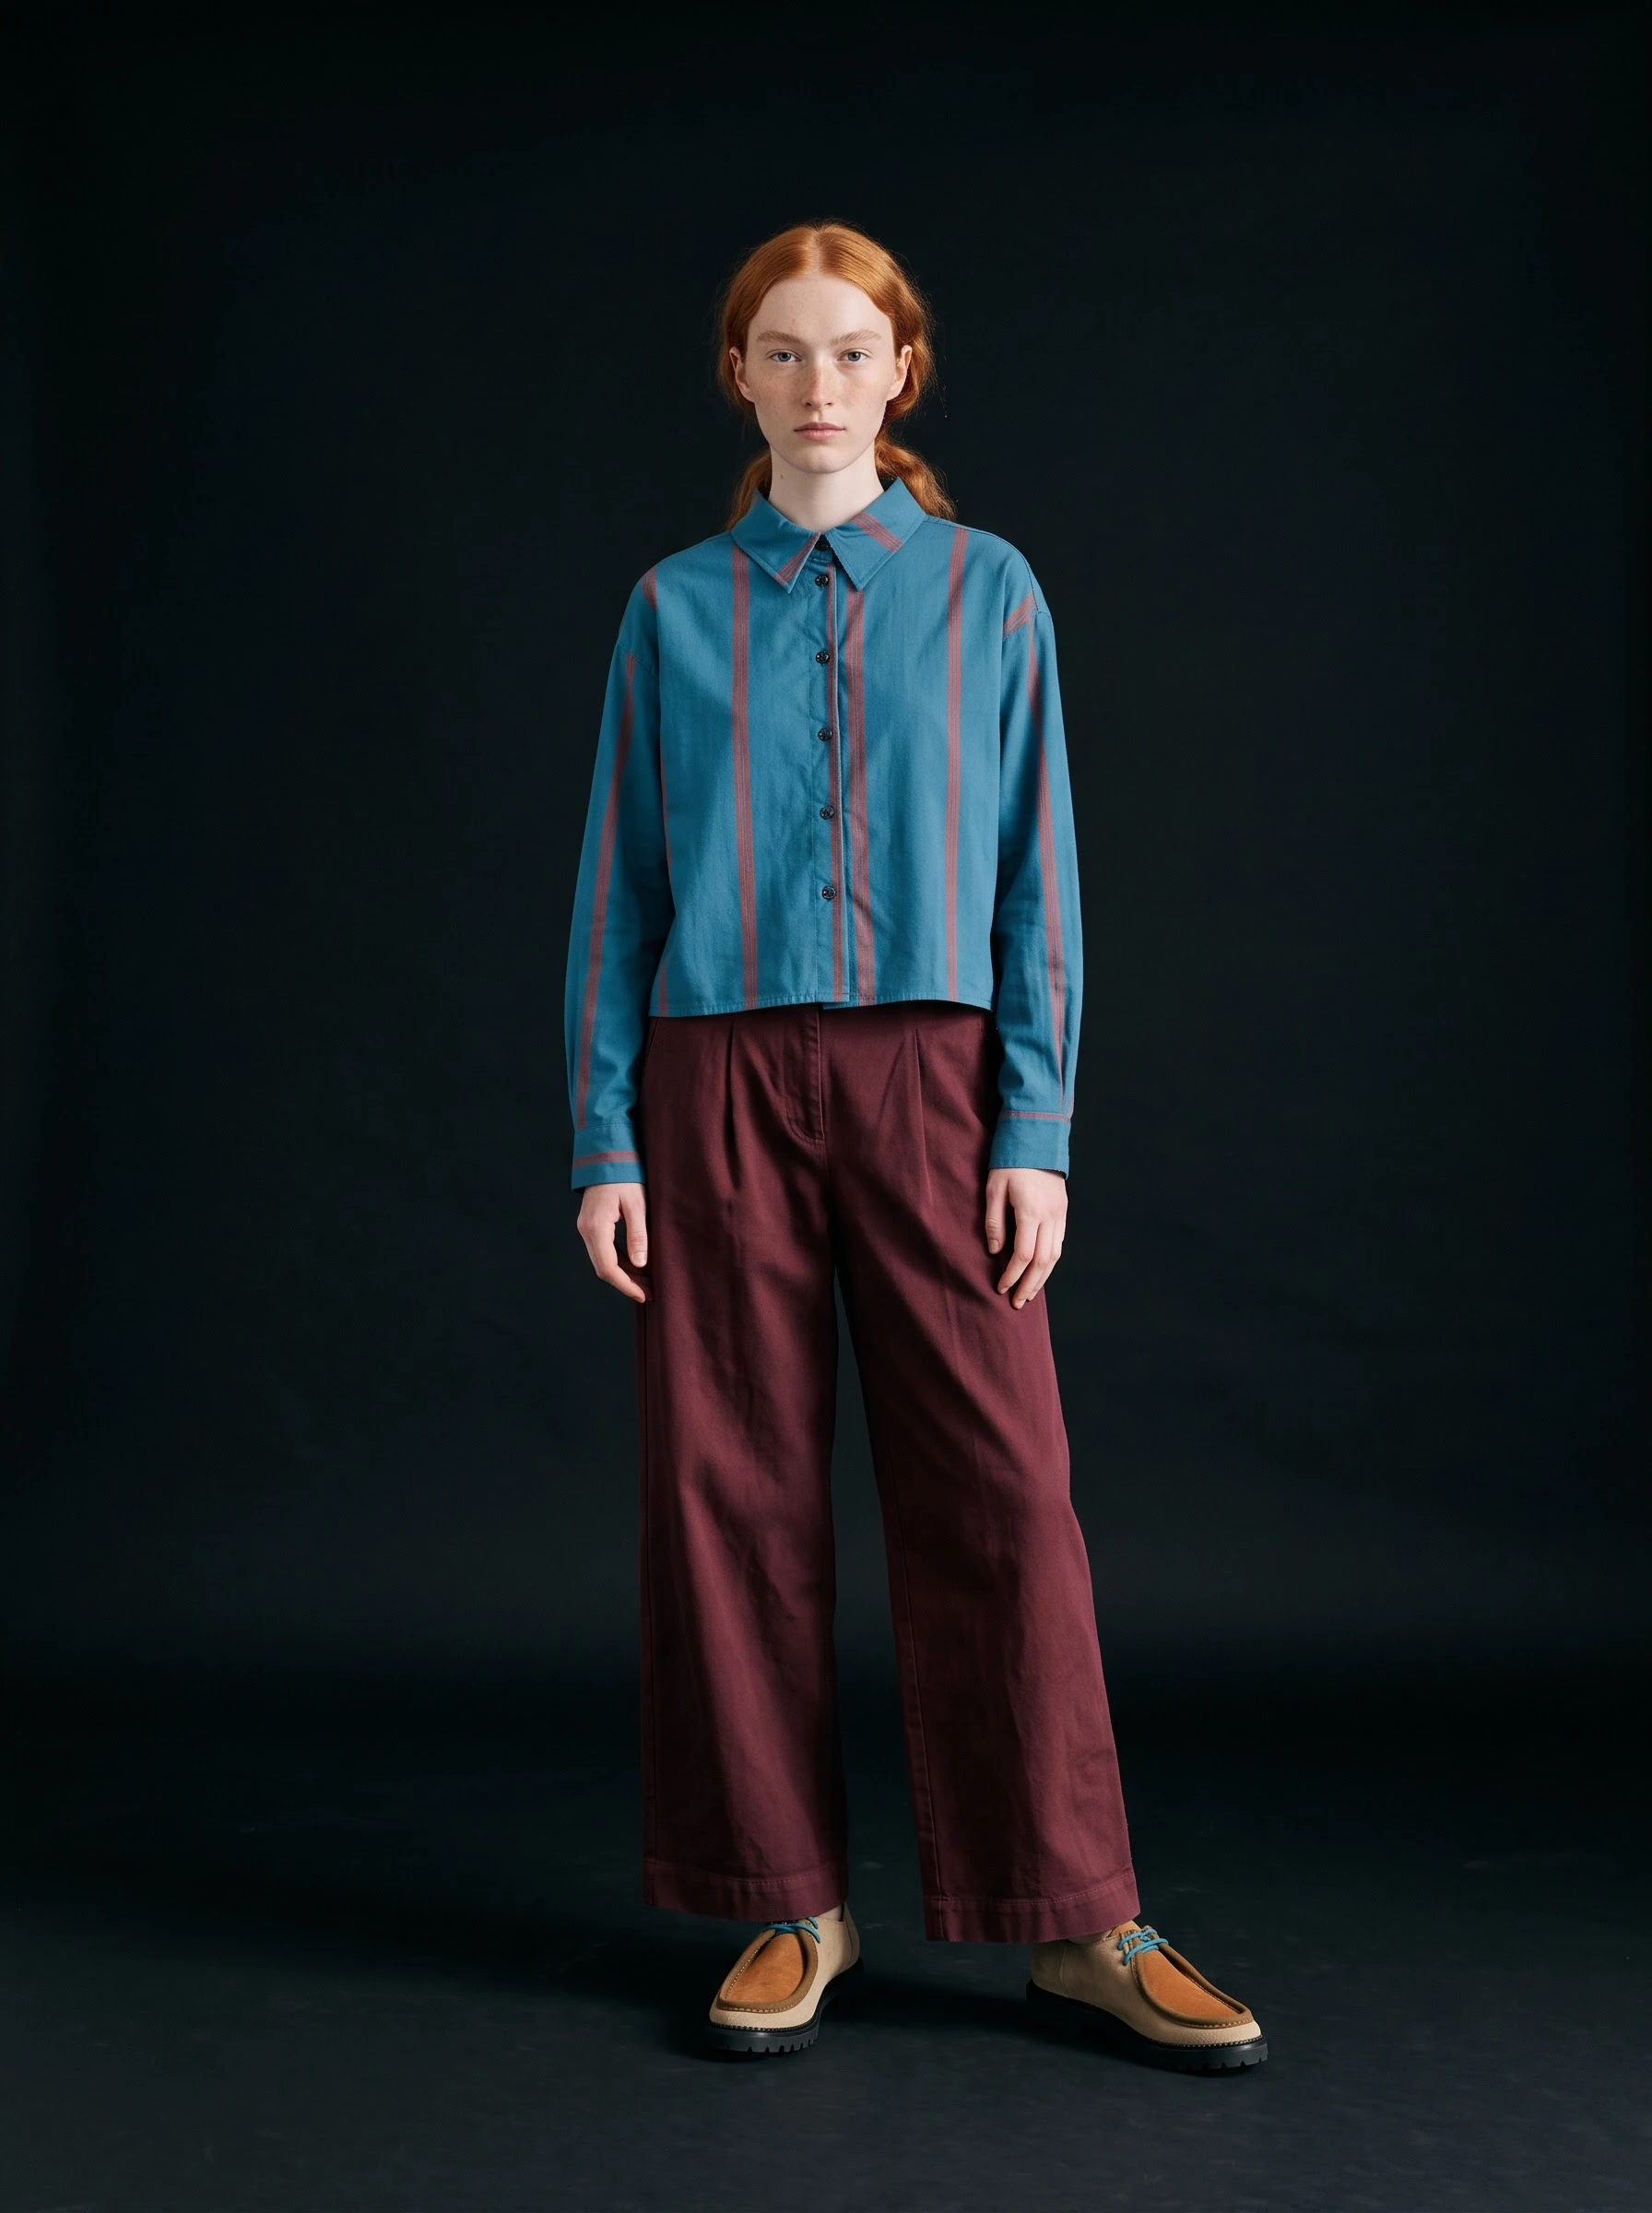
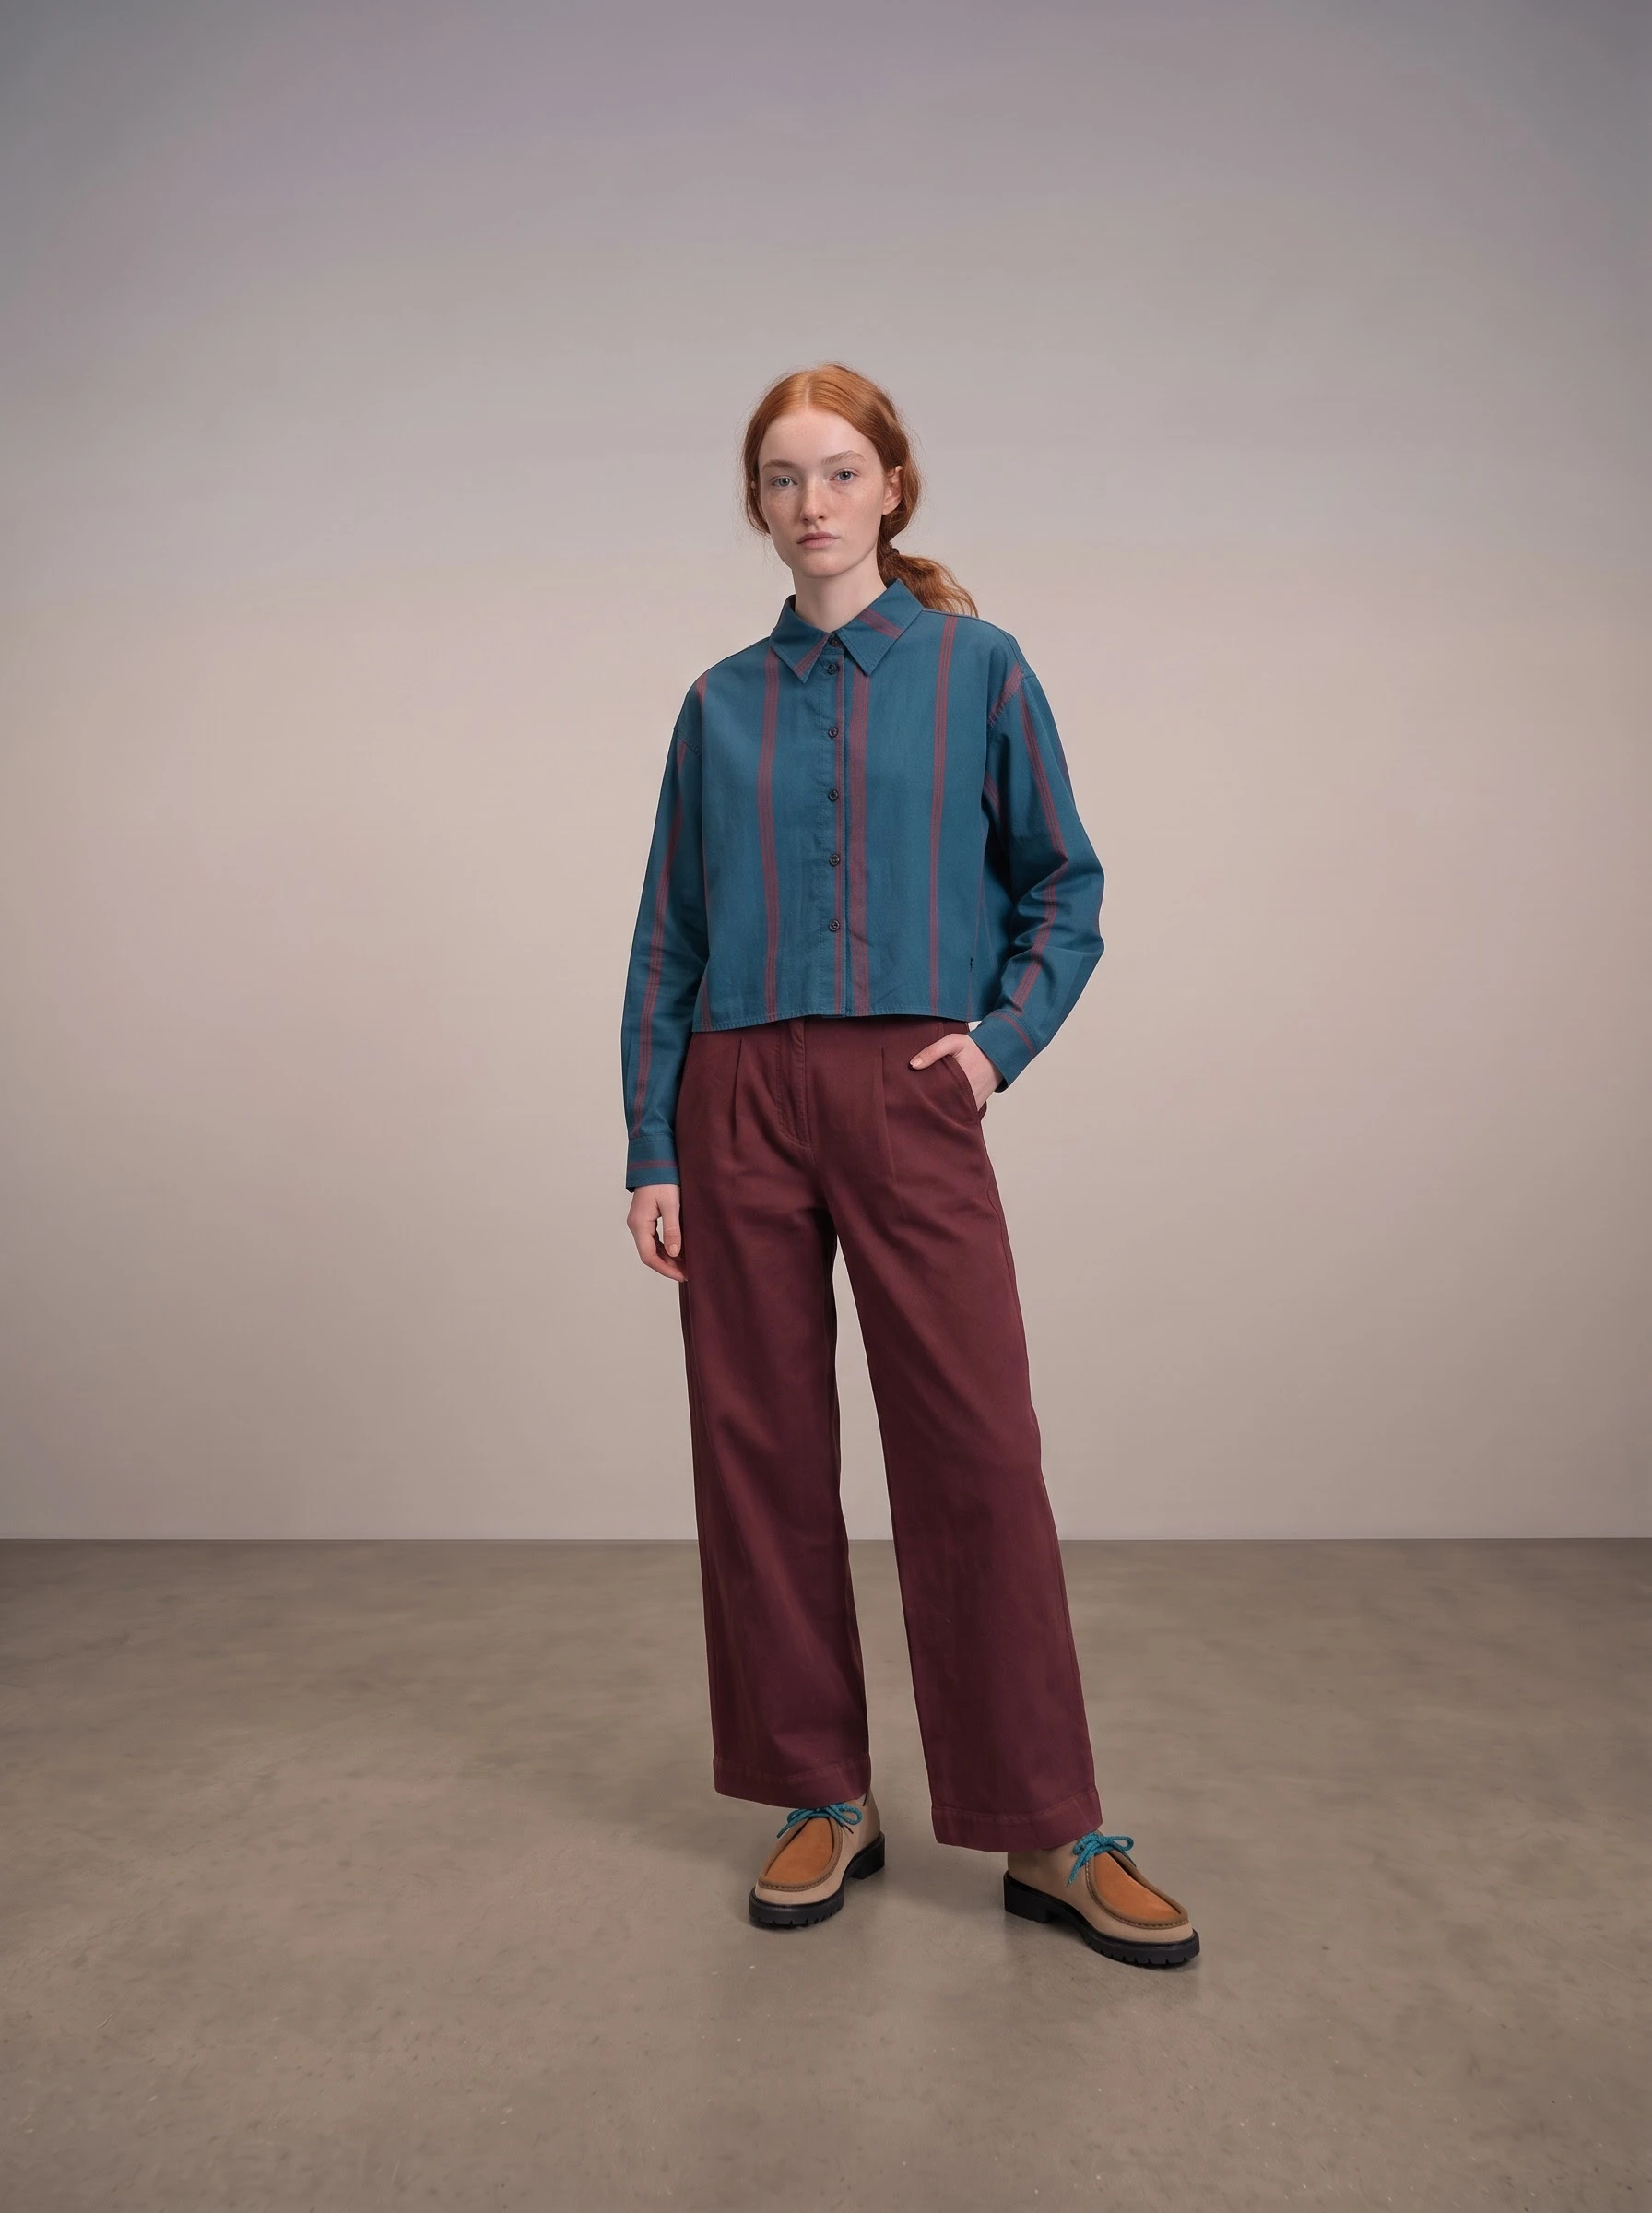
These are the original reference-based image files from the workshop, shown at their source resolution.
Step 4: Reopen the saved template to return to its defaults
The cogwheel settings and brief apply to the current generation. They don’t overwrite the saved template. Reopen the template to return to its original settings and instructions, then select the new product references again for your next run.
Step 5: Select only the shots you need
You can run part of the template. Select the required shot from the previews rather than running the entire set. The images-per-prompt value still applies: one selected prompt × two images per prompt = two results.
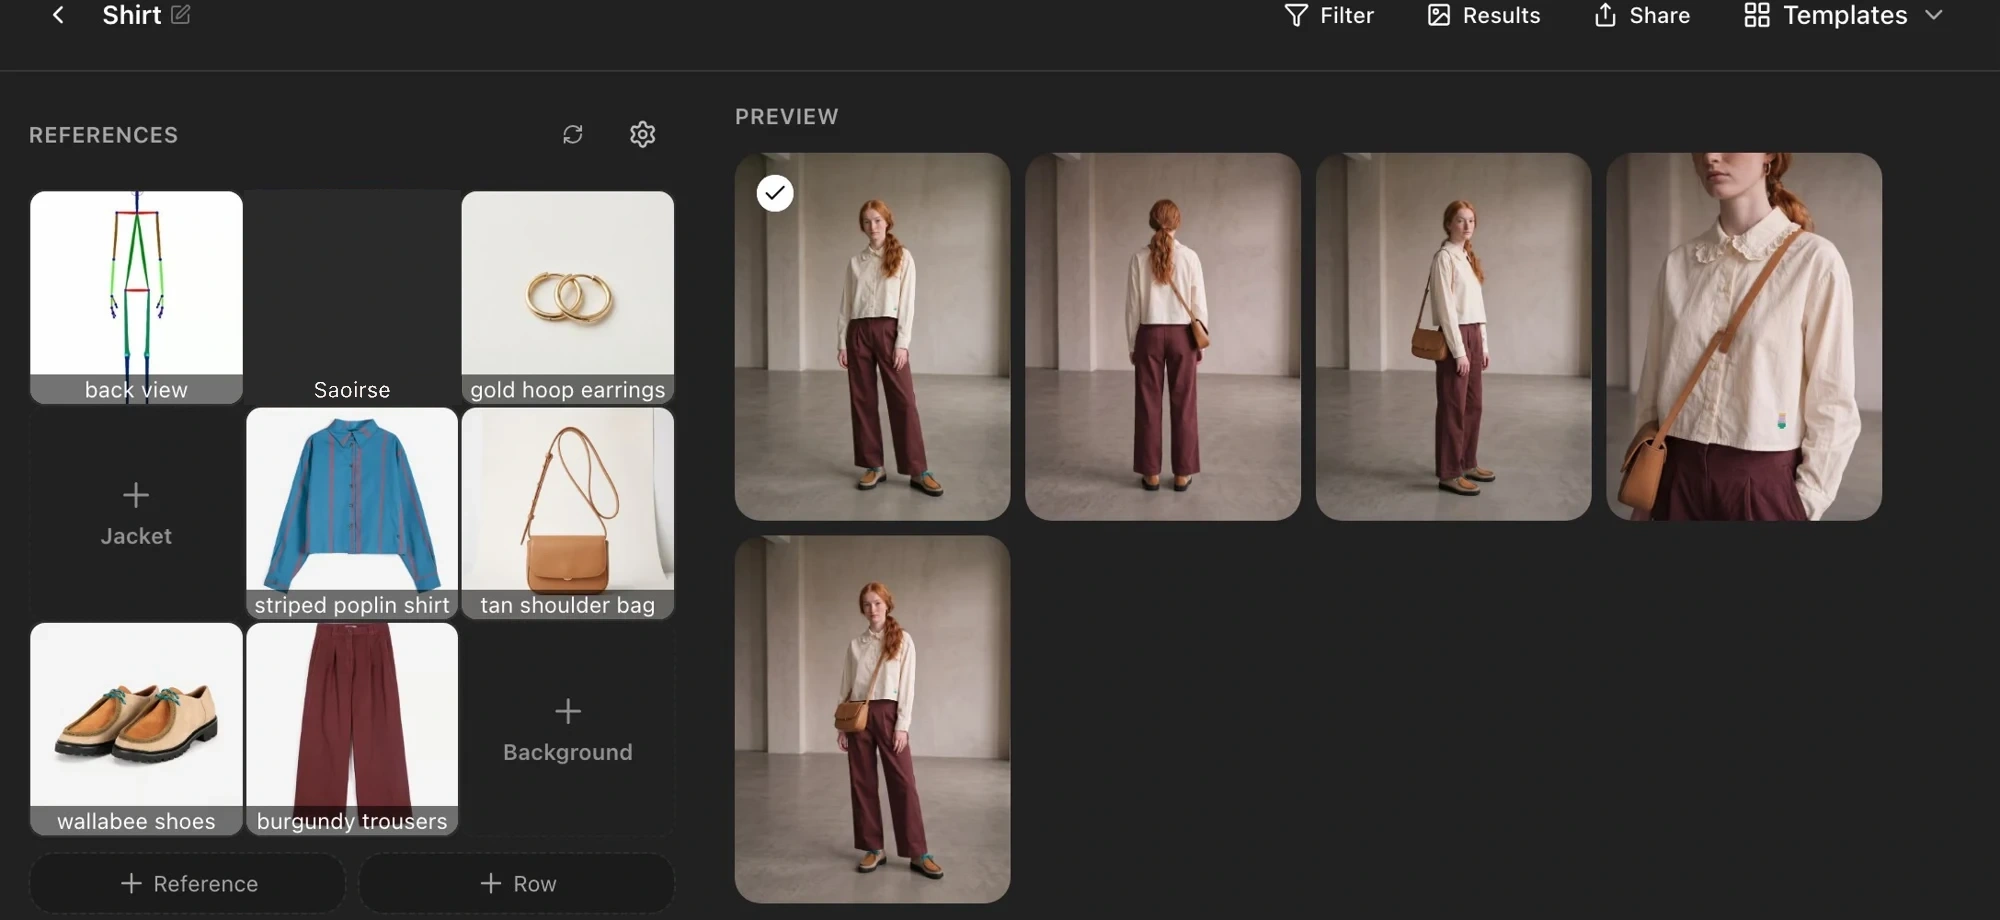
With the new shirt references selected, click Generate.
Check your result
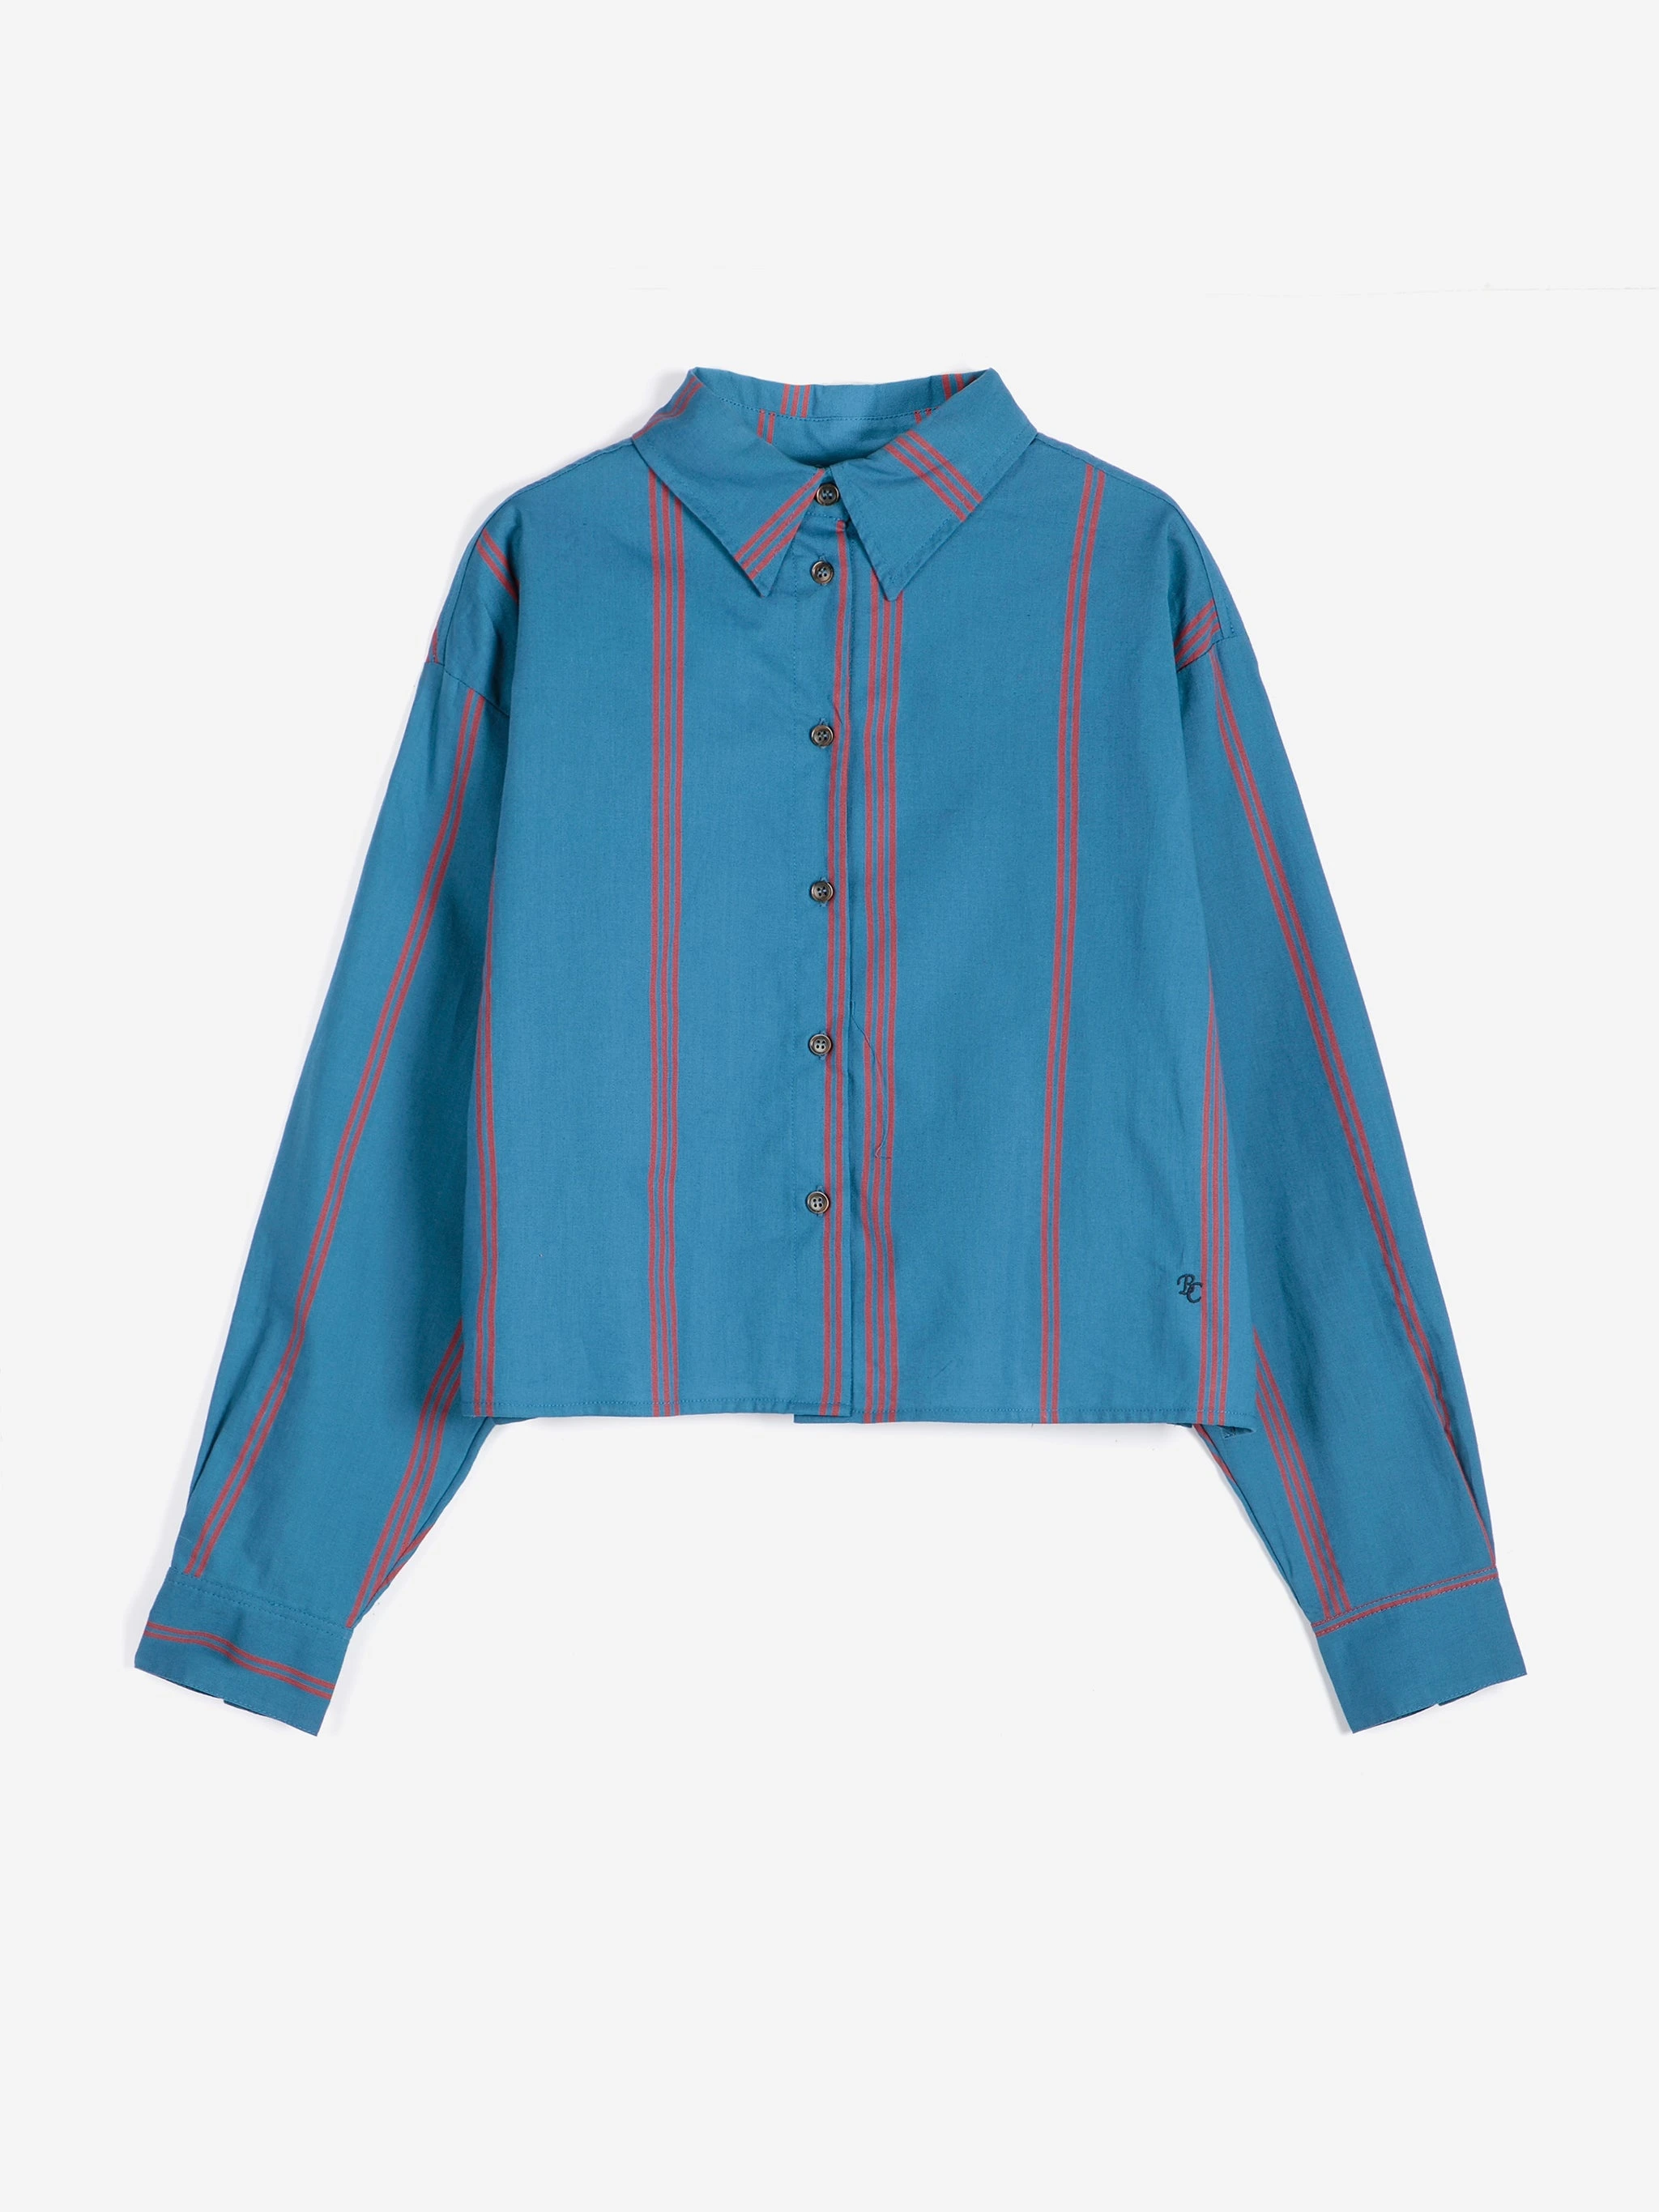
Compare each result with the new shirt’s photos. Check its shape, collar, sleeves and stripe placement. Look for any detail carried over from the previous shirt: the brand’s style should stay consistent while the product changes.
Continue with how to generate multiple styled looks together.