1.7: How to Choose Poses and Framing for AI Product Photos
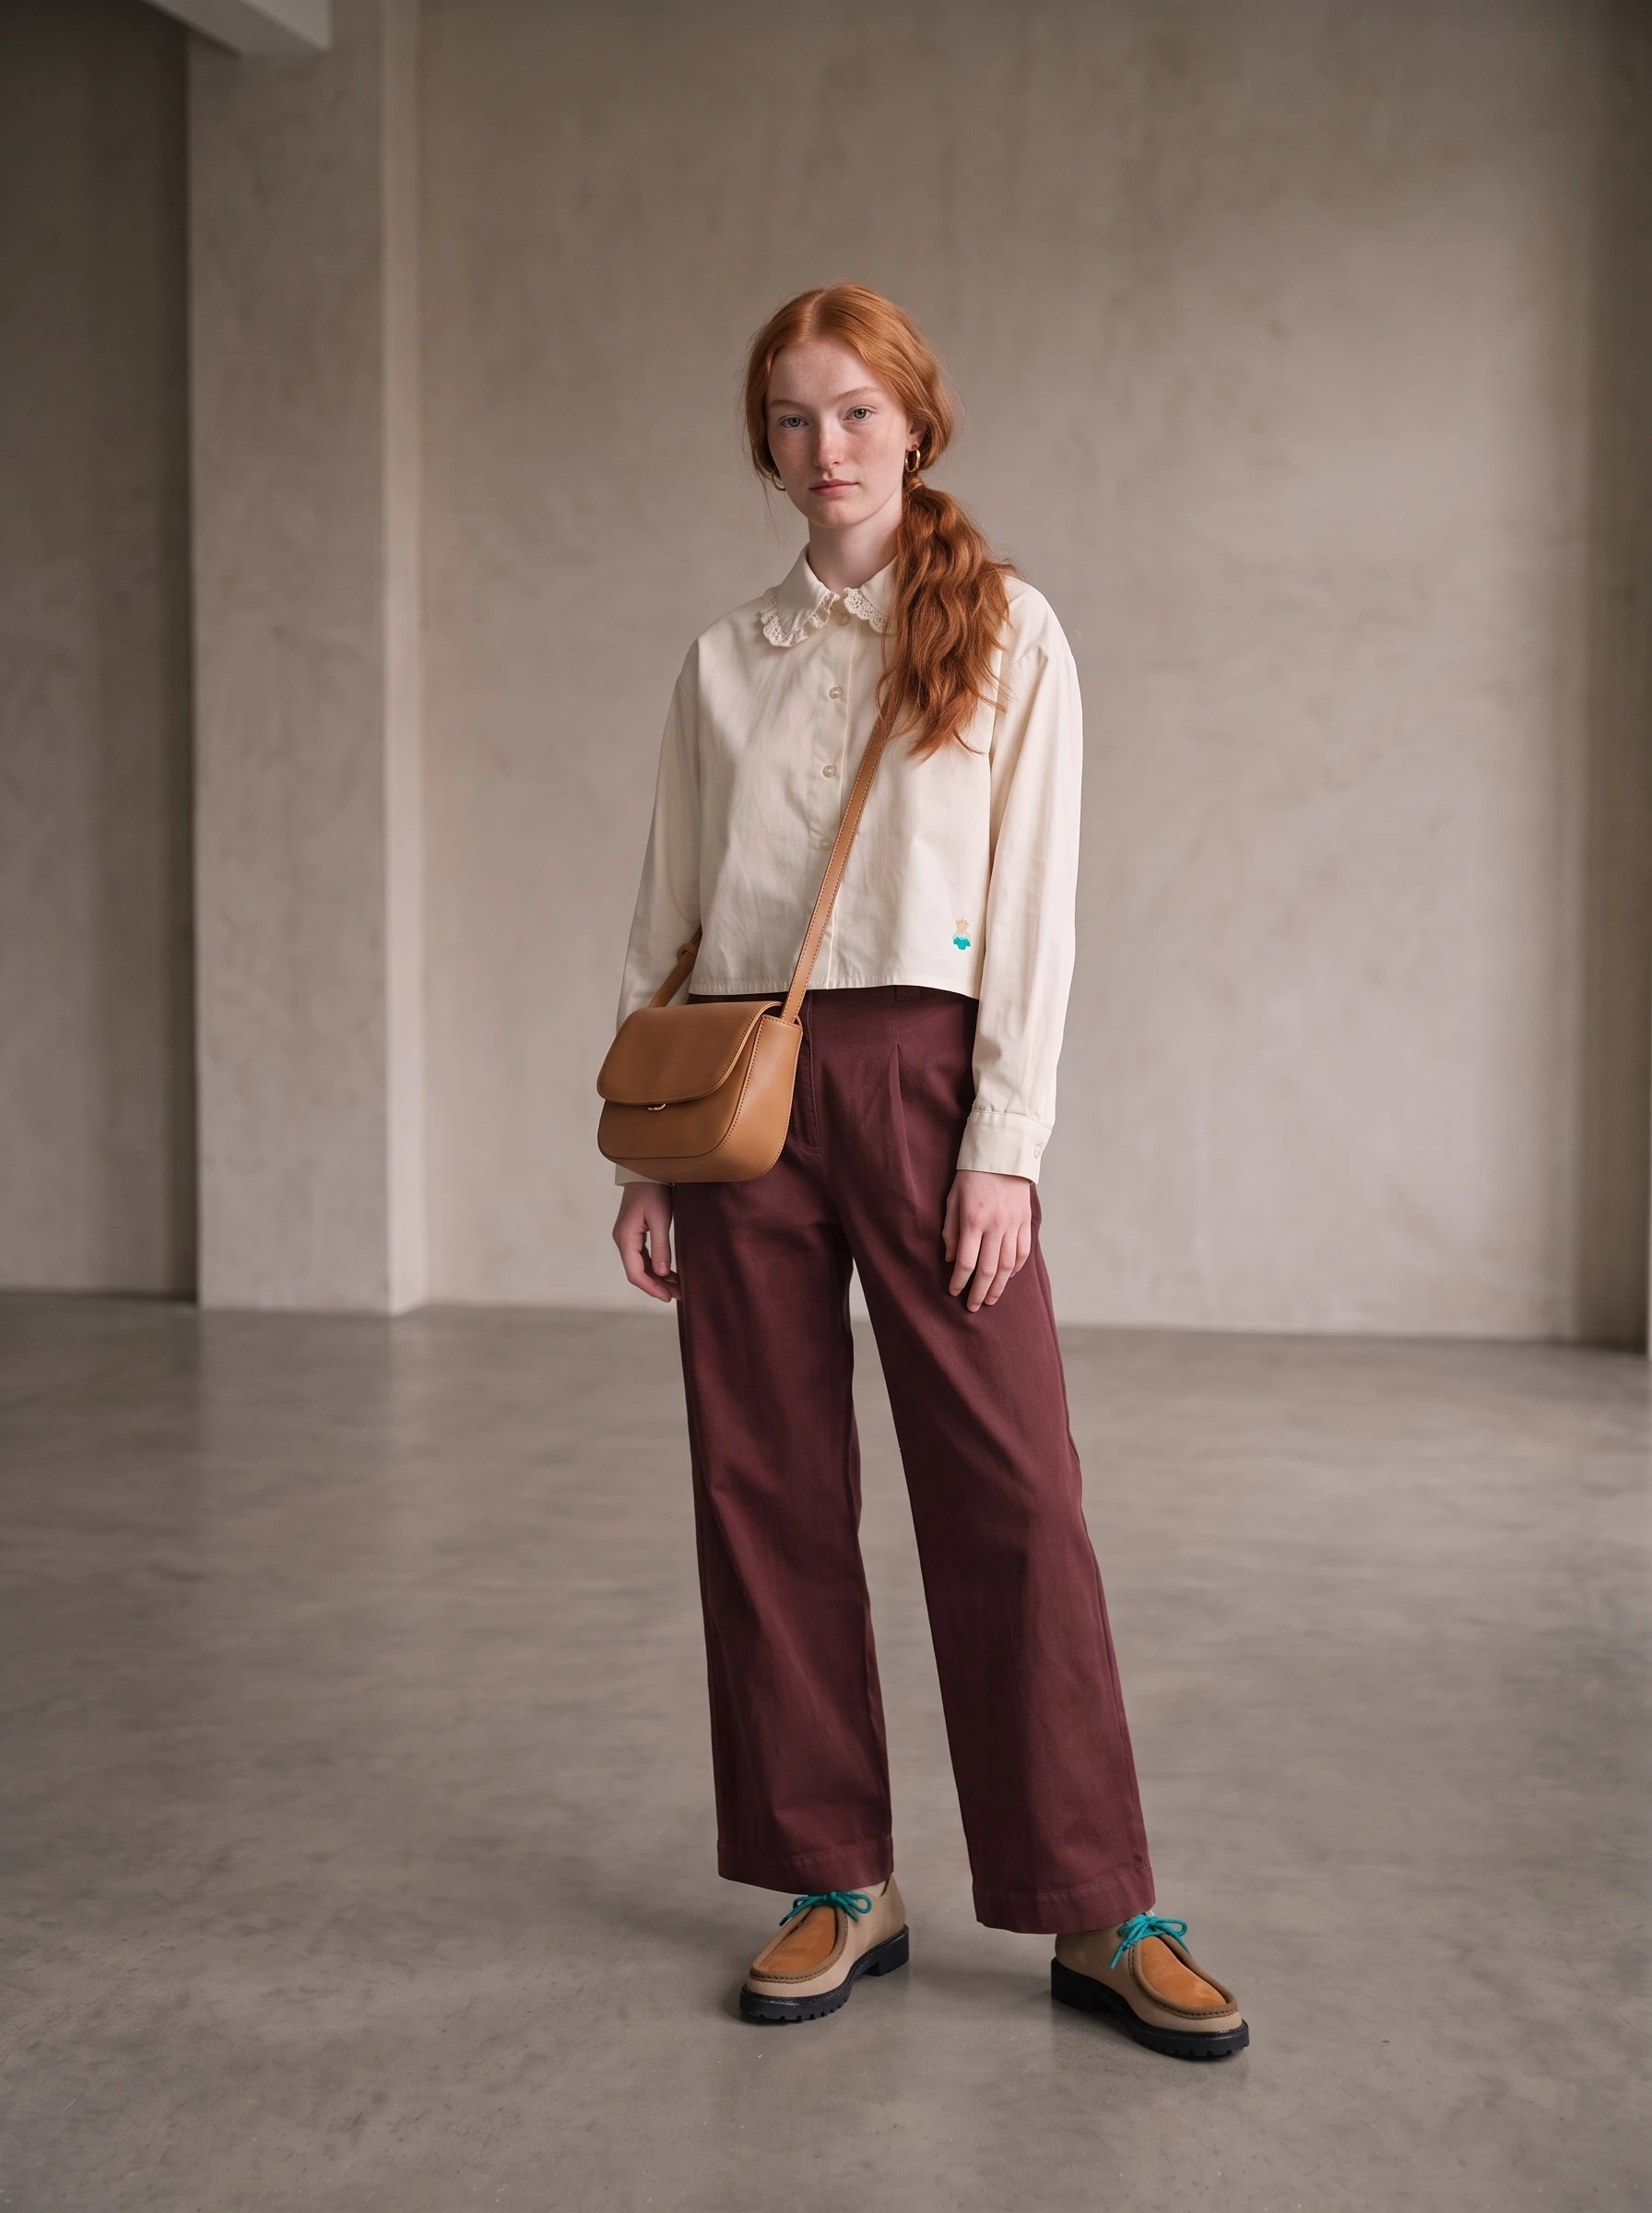
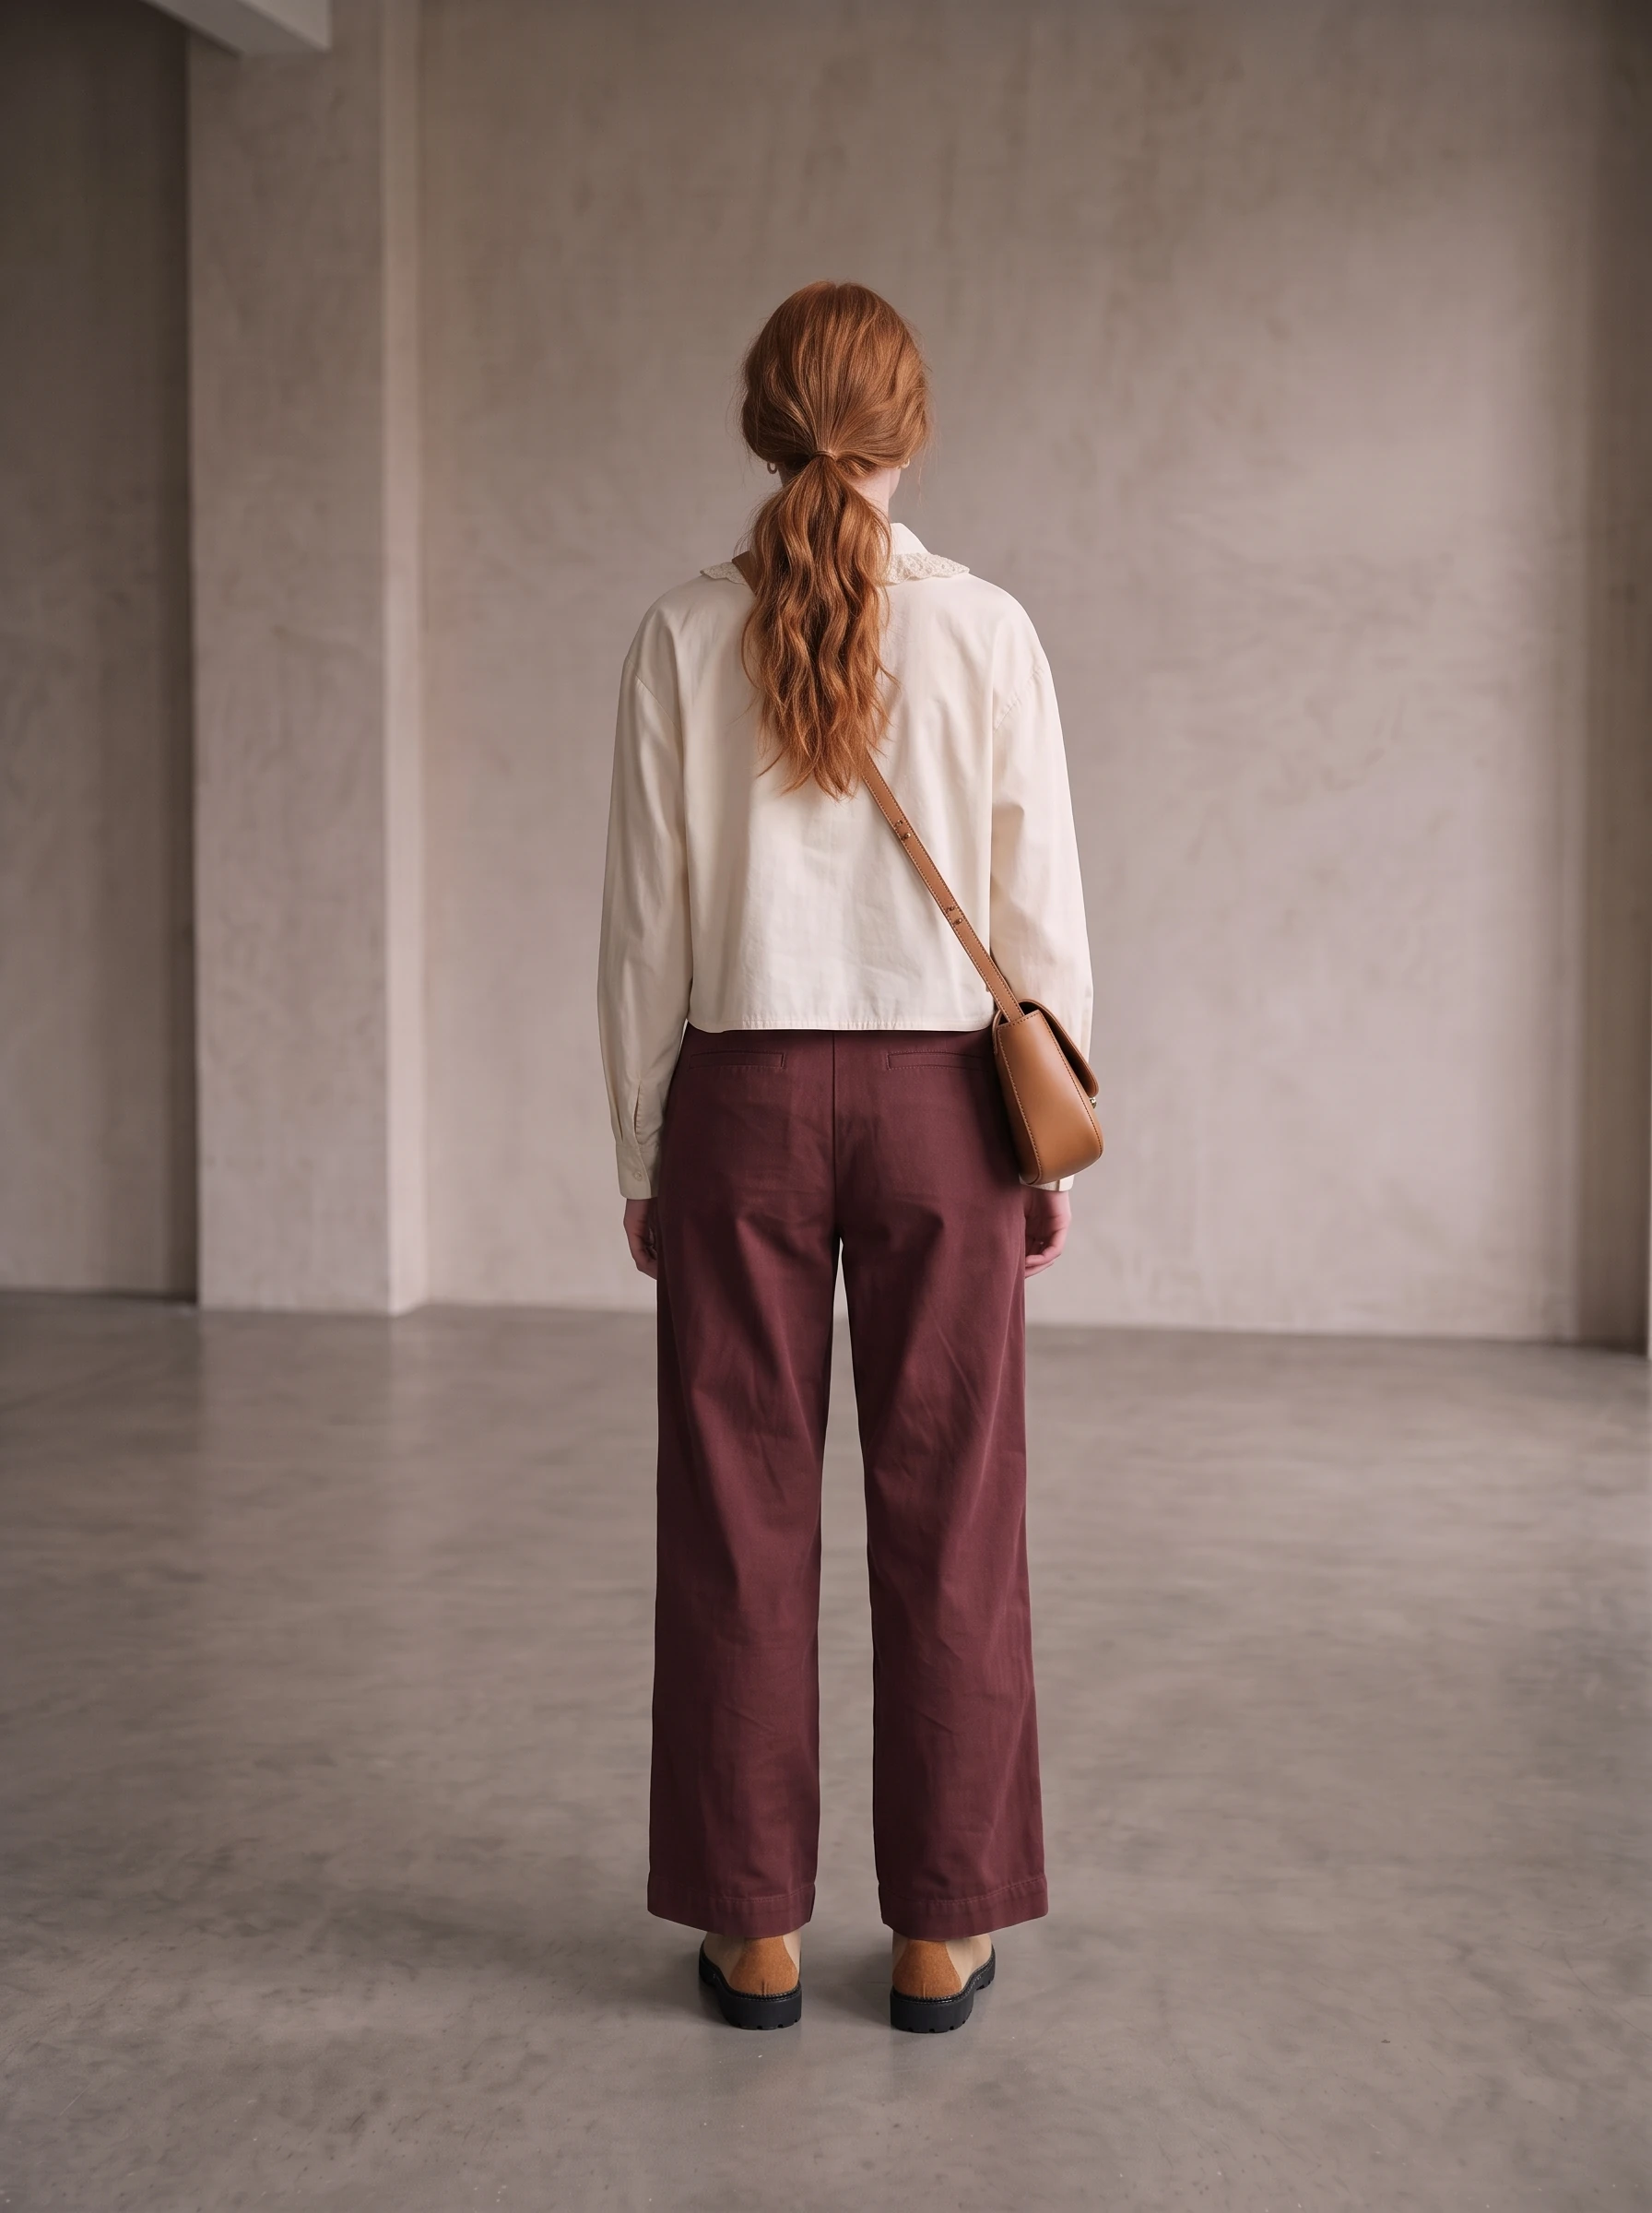 Watch lesson 1.7Astria Academy
 Astria Workshops · Series 1: Your first AI lookbook · Lesson 7
Choose poses and framing that help a shopper understand the garment. You already have a look you’re happy with; now you’ll plan the views that show its fit, shape and details.
Follow workshop 1.7: Poses & Framing. The steps below keep the video’s gallery review, detail study, shot list and result check in the same order.
Before you begin
Have your styled look open in Astria Generate. Keep the product’s original gallery available so you can check which details each view should show.
Step 1: Separate pose from framing
Open two product galleries from the brand. The workshop uses Bobo Choses’ shirt and trouser galleries. Look at how the models are positioned in front, back and turned views.
Then notice framing: how much of the person and garment appears in the photo. A full-length photo shows the outfit together. A closer crop directs attention to part of it. Pose and framing should work together to explain the product.
Step 2: Identify the details each garment needs
Look through the shirt’s gallery for its collar and hem, the bottom edge of the shirt. Notice whether a turned pose or hair moved aside helps reveal them. For a jacket, a closed view may be important too.
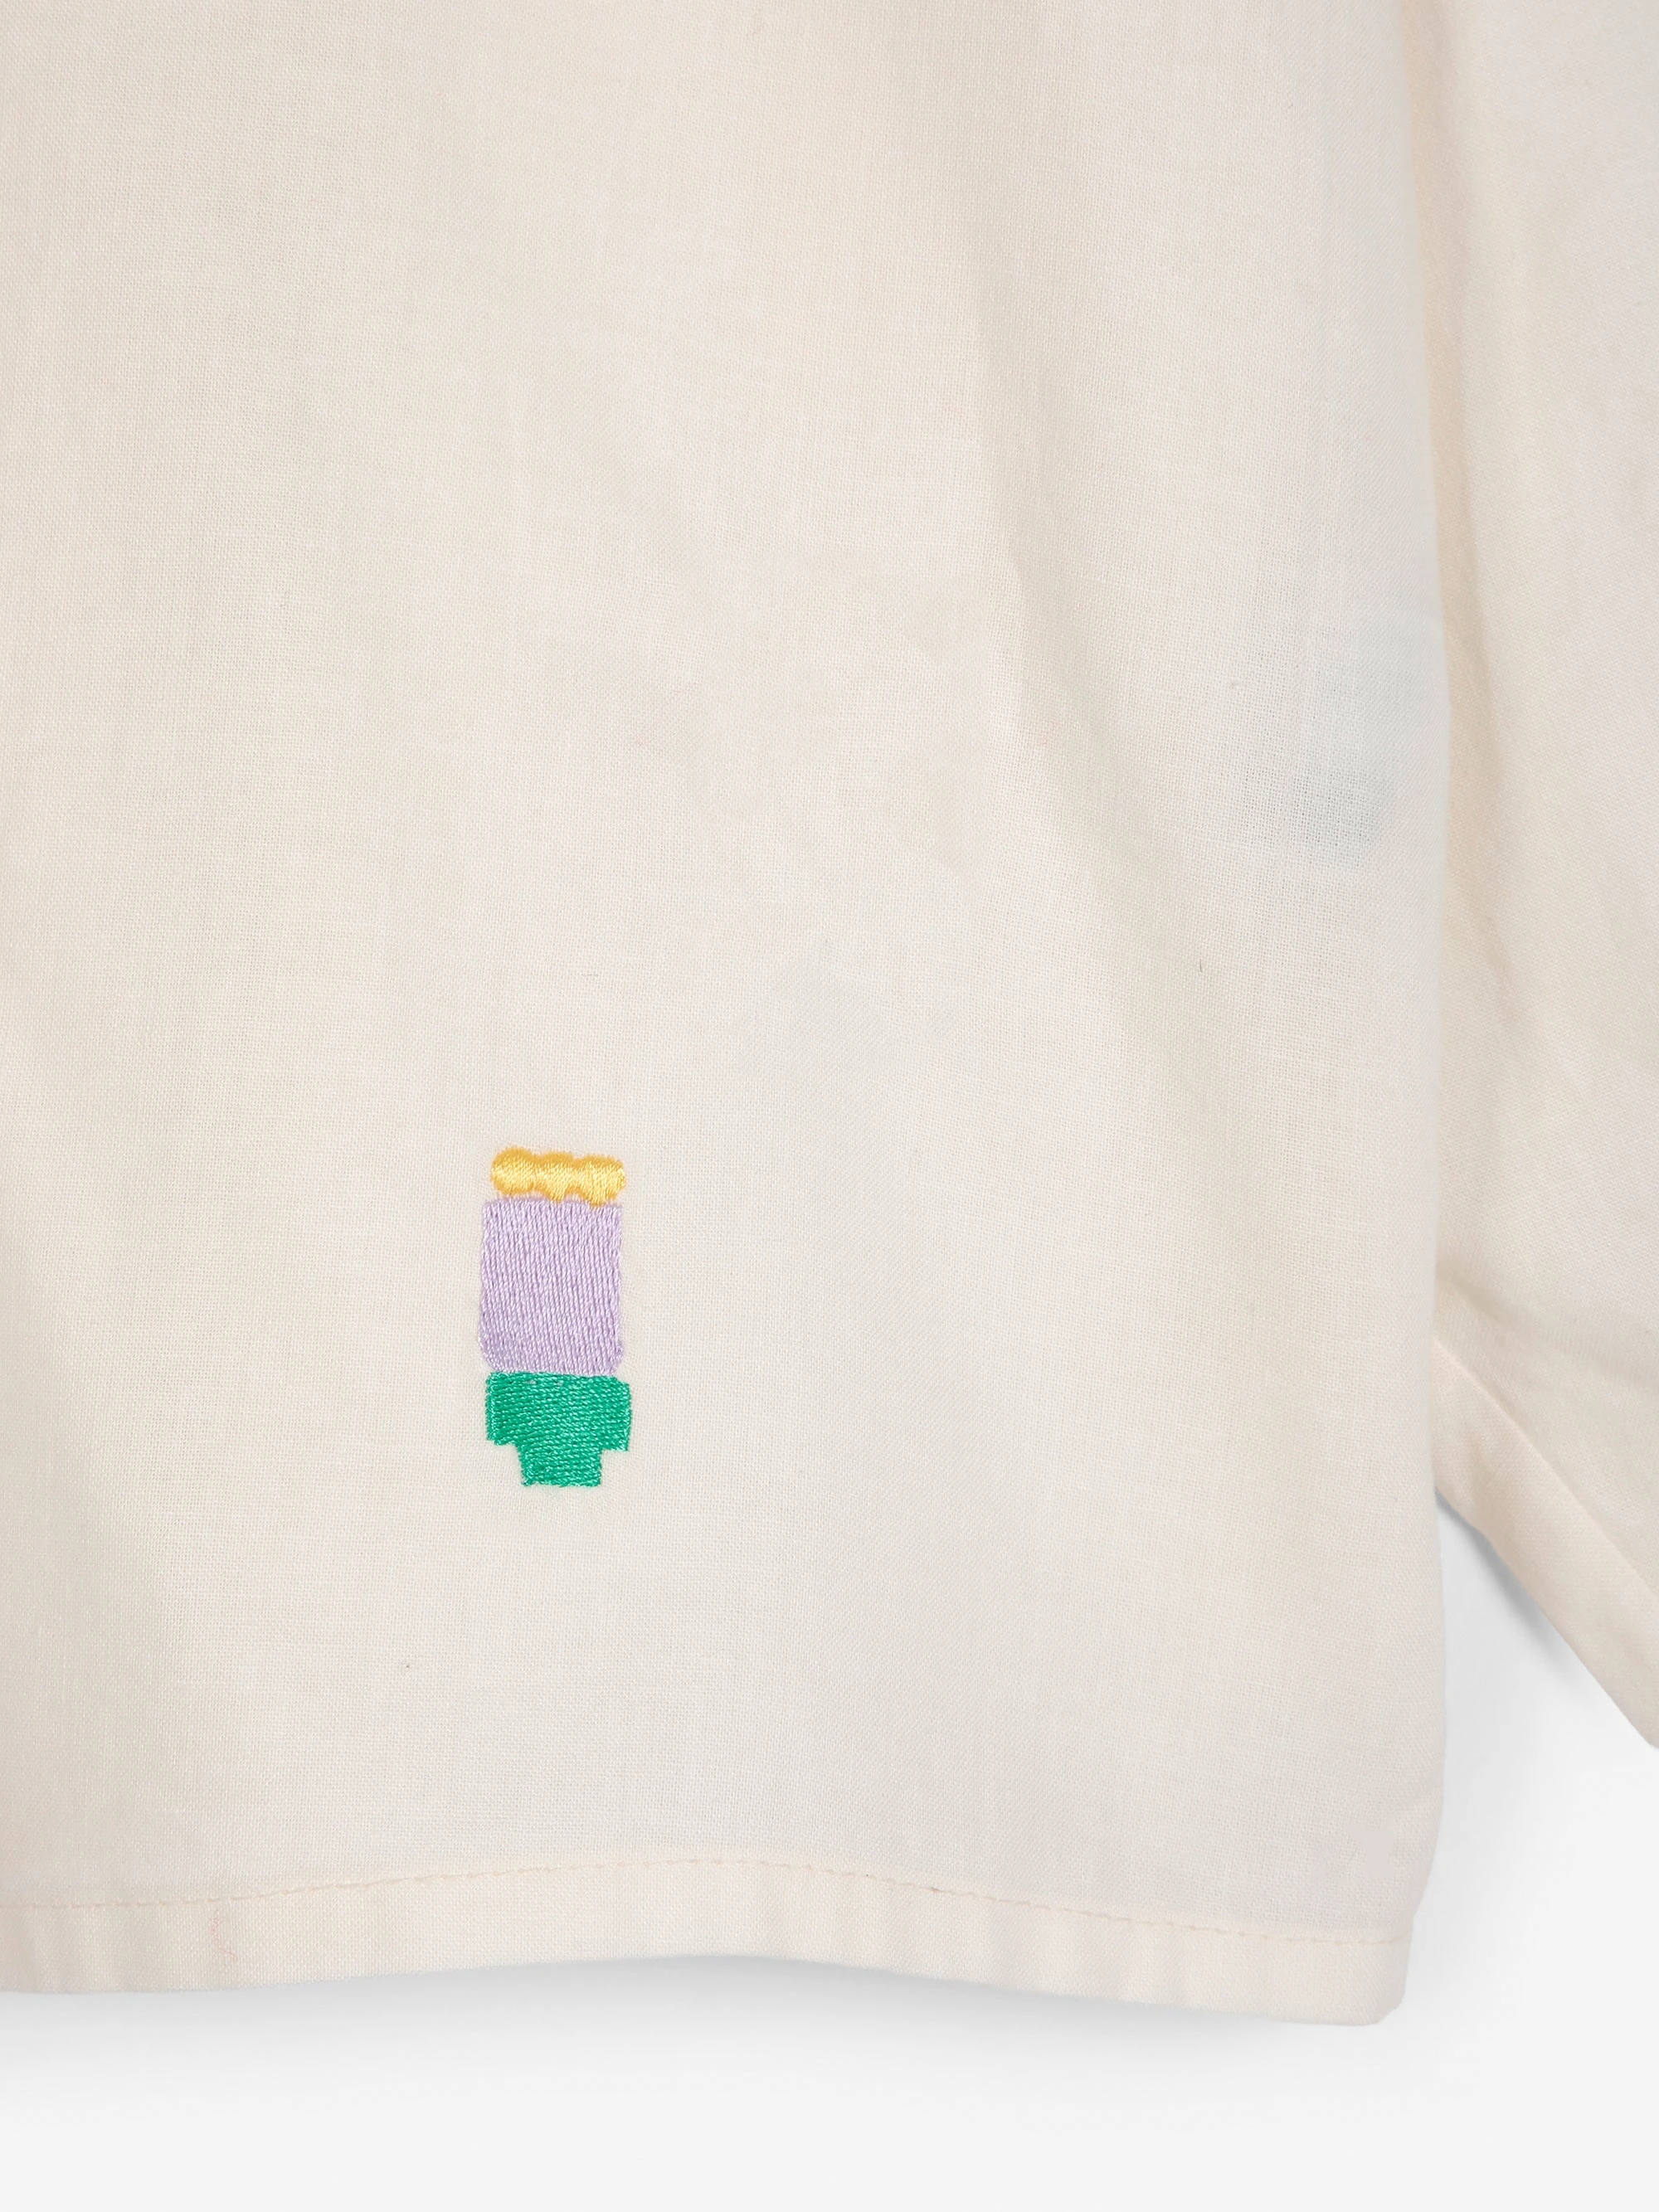
Use those observations to choose the views for your own garment. A pose that hides the collar or covers the hem will not serve the same purpose as one that keeps the detail visible.
Step 3: Write the shot list and choose Pose
List the views you want to create. This is your shot list. For the workshop shirt, it includes a back view, a roughly 45-degree turned view, and closer coverage of the collar and hem.
In Lookbook, open the Pose reference square to choose a stick-figure position. The picker lets you change the model’s position while keeping your other outfit references.
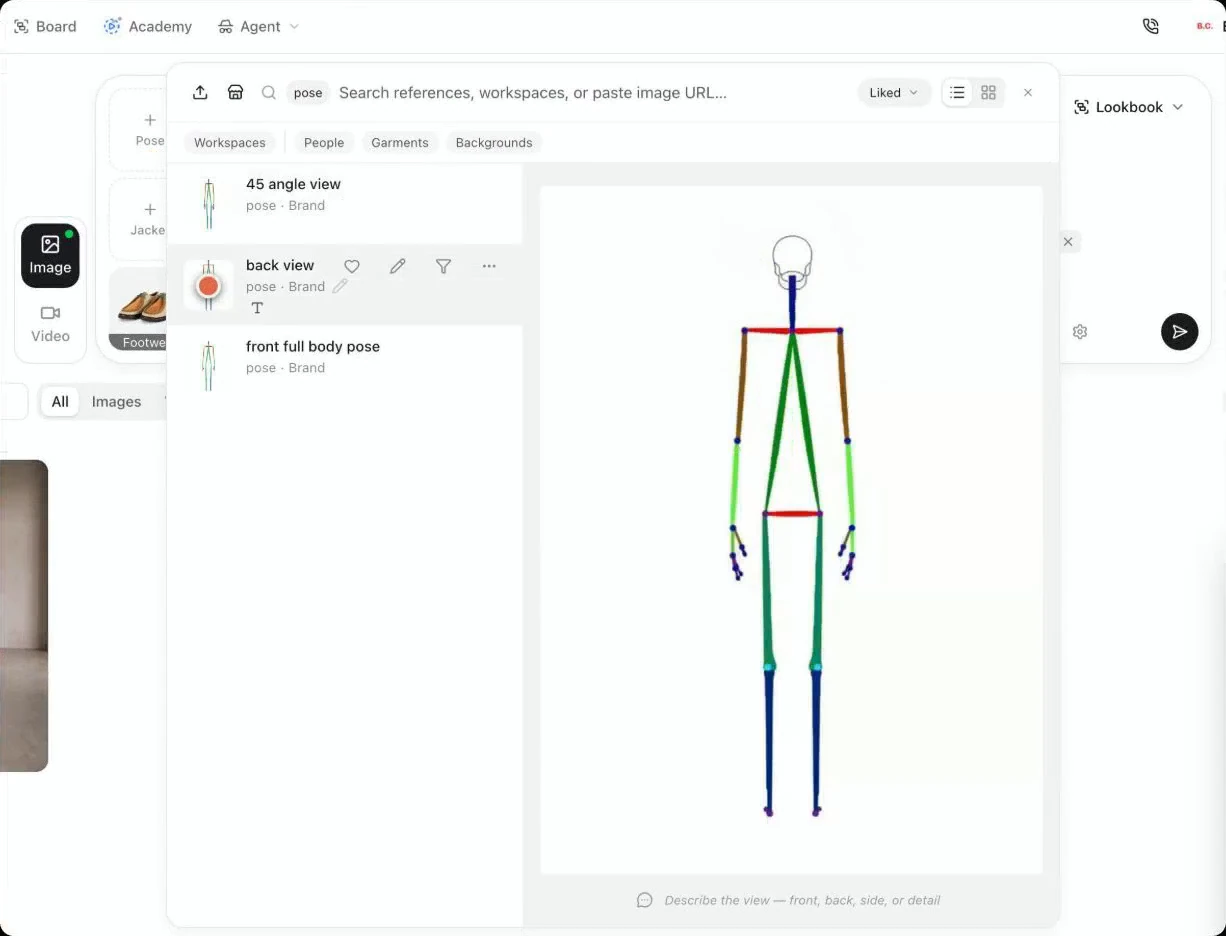
Check each result against the intended detail. Keep the clothes and styling consistent while changing the view.
Step 4: Review the views together
Put the selected views next to one another. Check whether they explain both the overall fit and the details you chose to show.
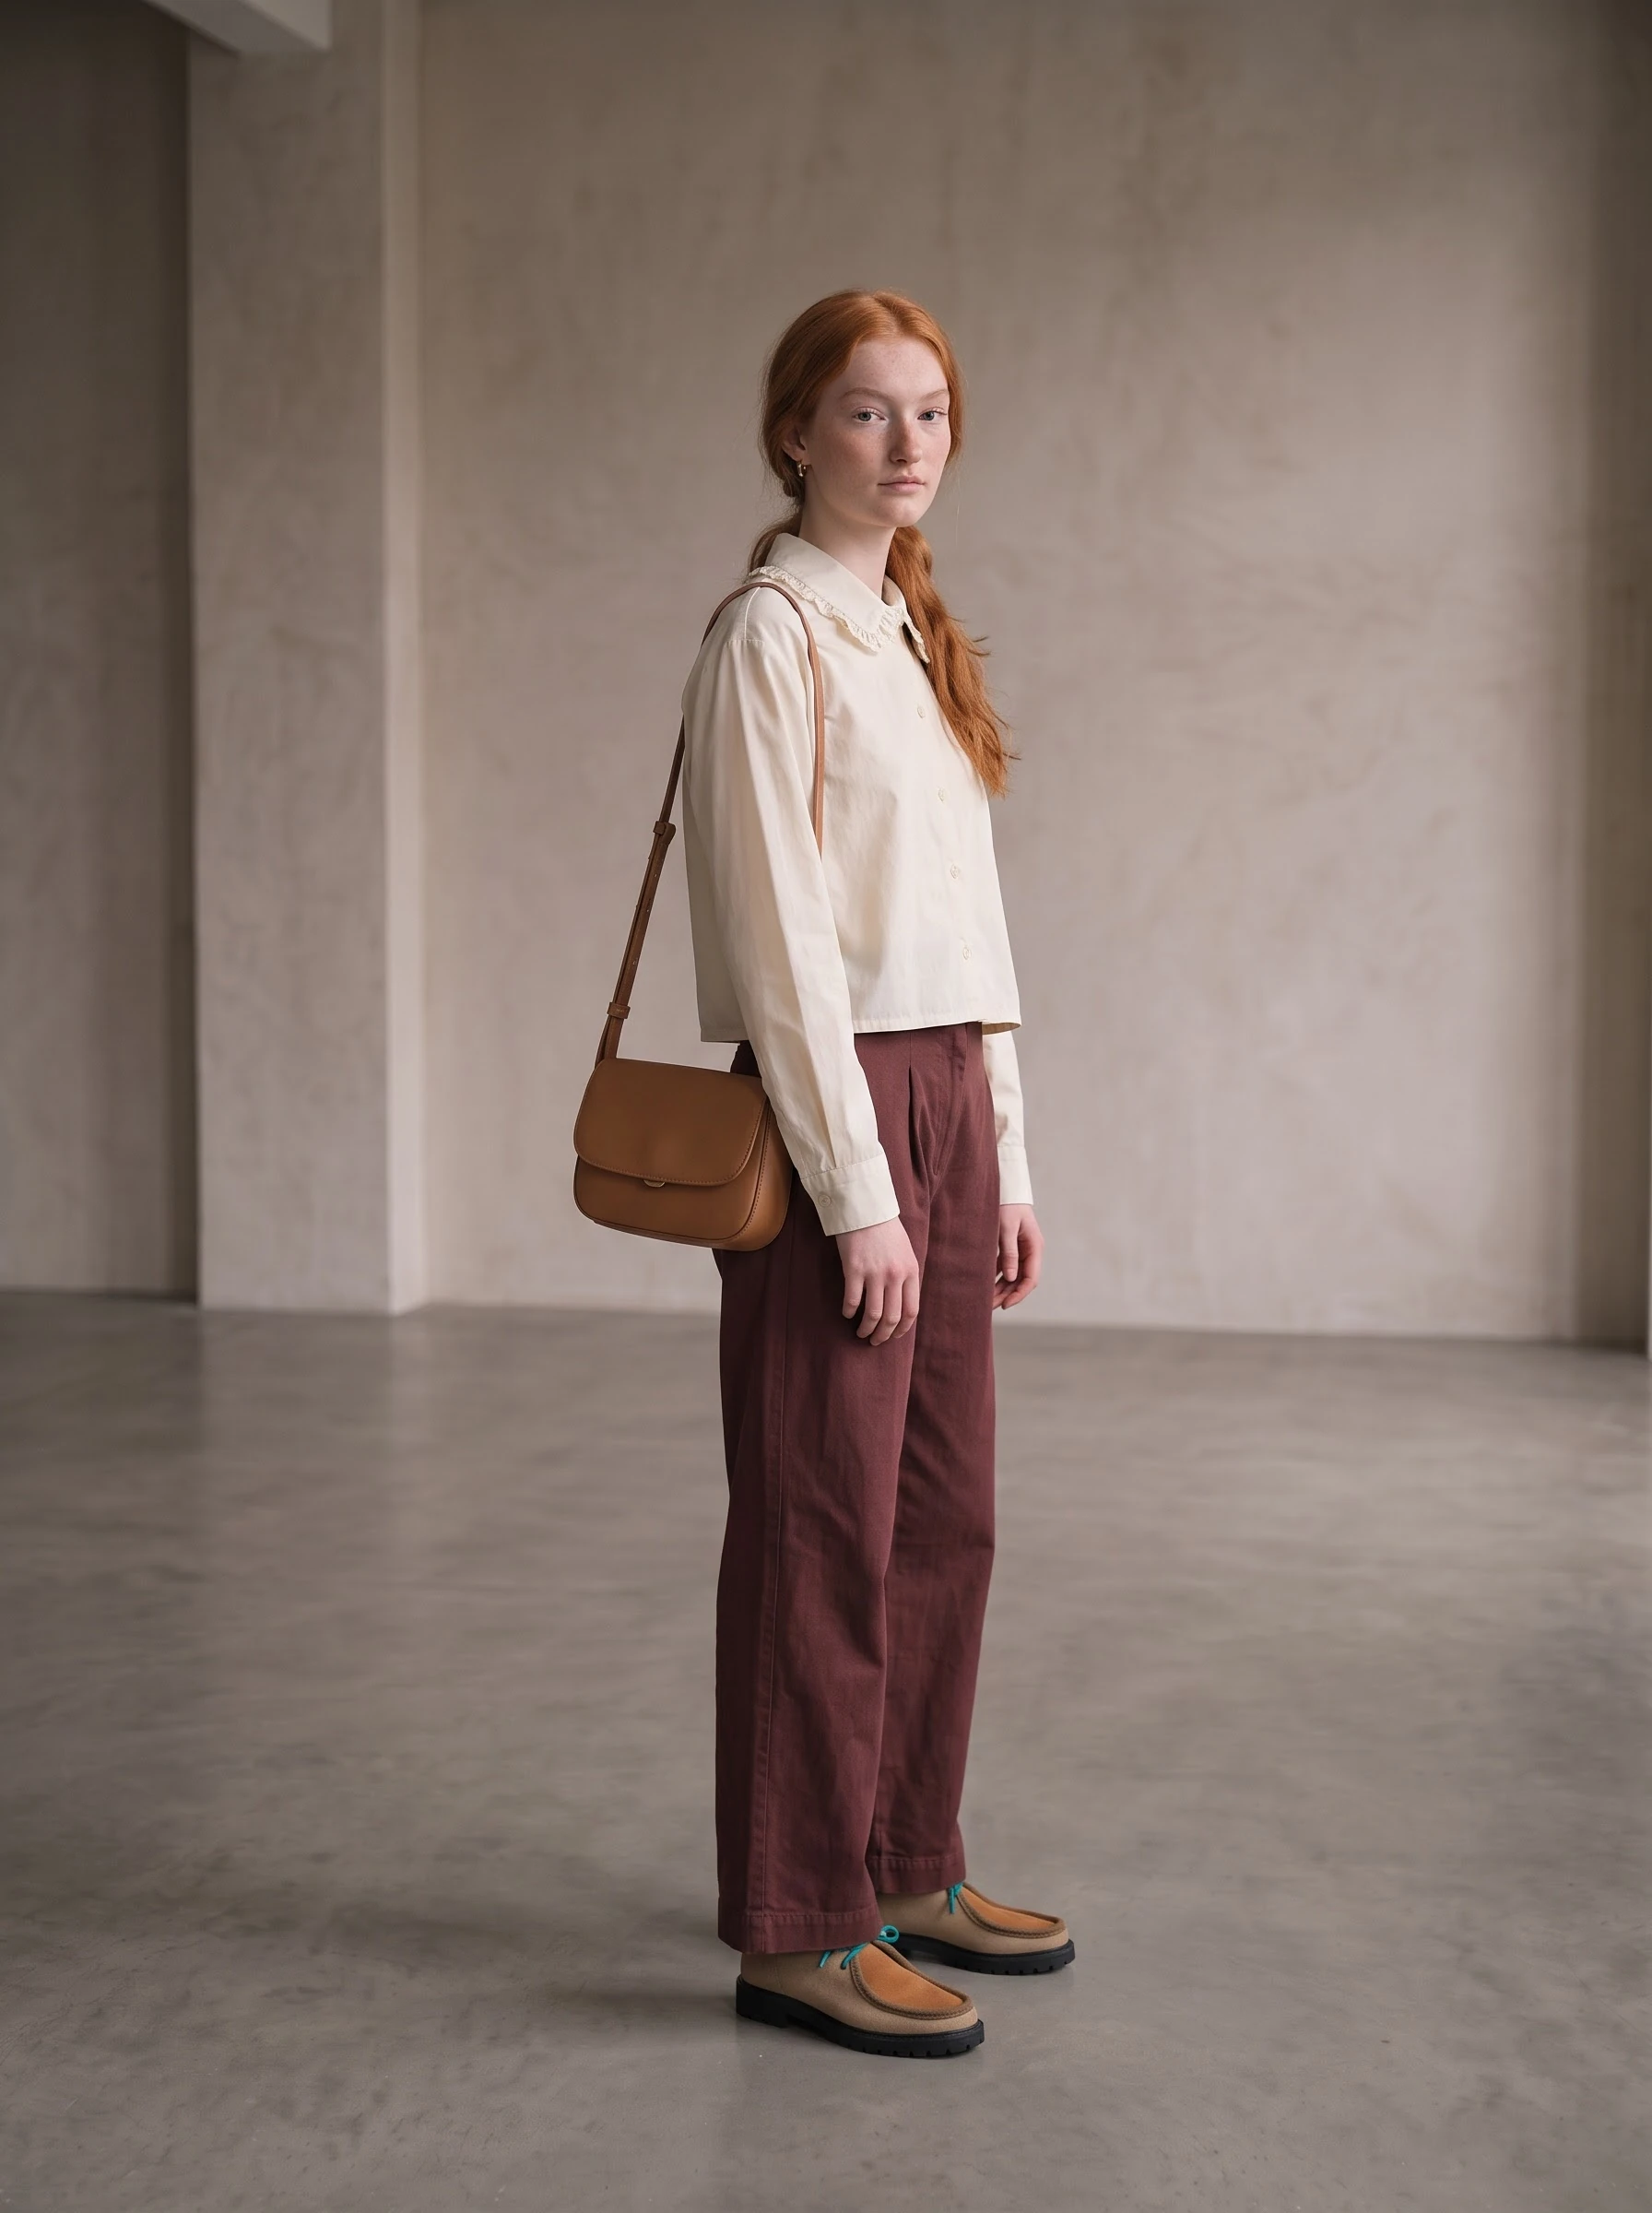
These are the full-resolution source images used in the workshop’s final view set. Check your own set in the same way; a new pose still needs an accuracy and consistency review.
Check your result
Does each photo have a purpose in the shot list? Can you see the intended collar, hem or other garment detail? Check that the clothes, styling, background and lighting remain consistent across views, and return to any view that hides the product information you need.