2.4: How to Generate Multiple Styled Looks with Astria Templates
Astria Workshops · Series 2: Reusable lookbook templates · Lesson 4
Prepare two outfits individually, then generate their lookbook images together. This workshop uses two shirts, with a separate model and outfit selection for each look.
Follow workshop 2.4. The screenshots show its recorded steps, cropped to keep the relevant controls readable. Keyframe times are relative to the named scene. Click any image to enlarge it.
Before you begin
Use the Shirt template you tested in workshop 2.3, and have the product photos for both outfits ready.
Step 1: Check the template before adding more products
Review the template’s results first. The workshop suggests aiming for at least 80% of the images to meet your expectations. This is a practical readiness check, not a promised success rate.
If too many images need fixing, adjust the prompts—the instructions behind each image—before adding more products. Start with a look that already works for your brand.
Step 2: Style the first outfit
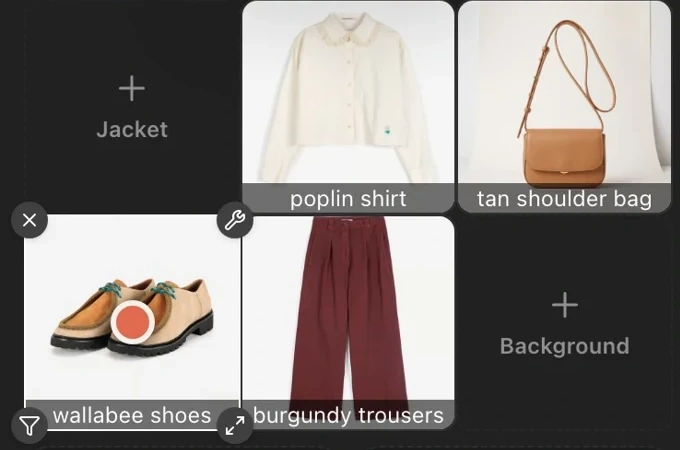
Prepare the look as a stylist would. Choose the model, pair the shirt with suitable trousers, and select the shoes. Add a bag or jewelry when they suit the outfit.
Check the selected photos in the reference squares. The first look in the workshop pairs the cream shirt with burgundy trousers and tan shoes, plus accessories.
Step 3: Use Row for the second look
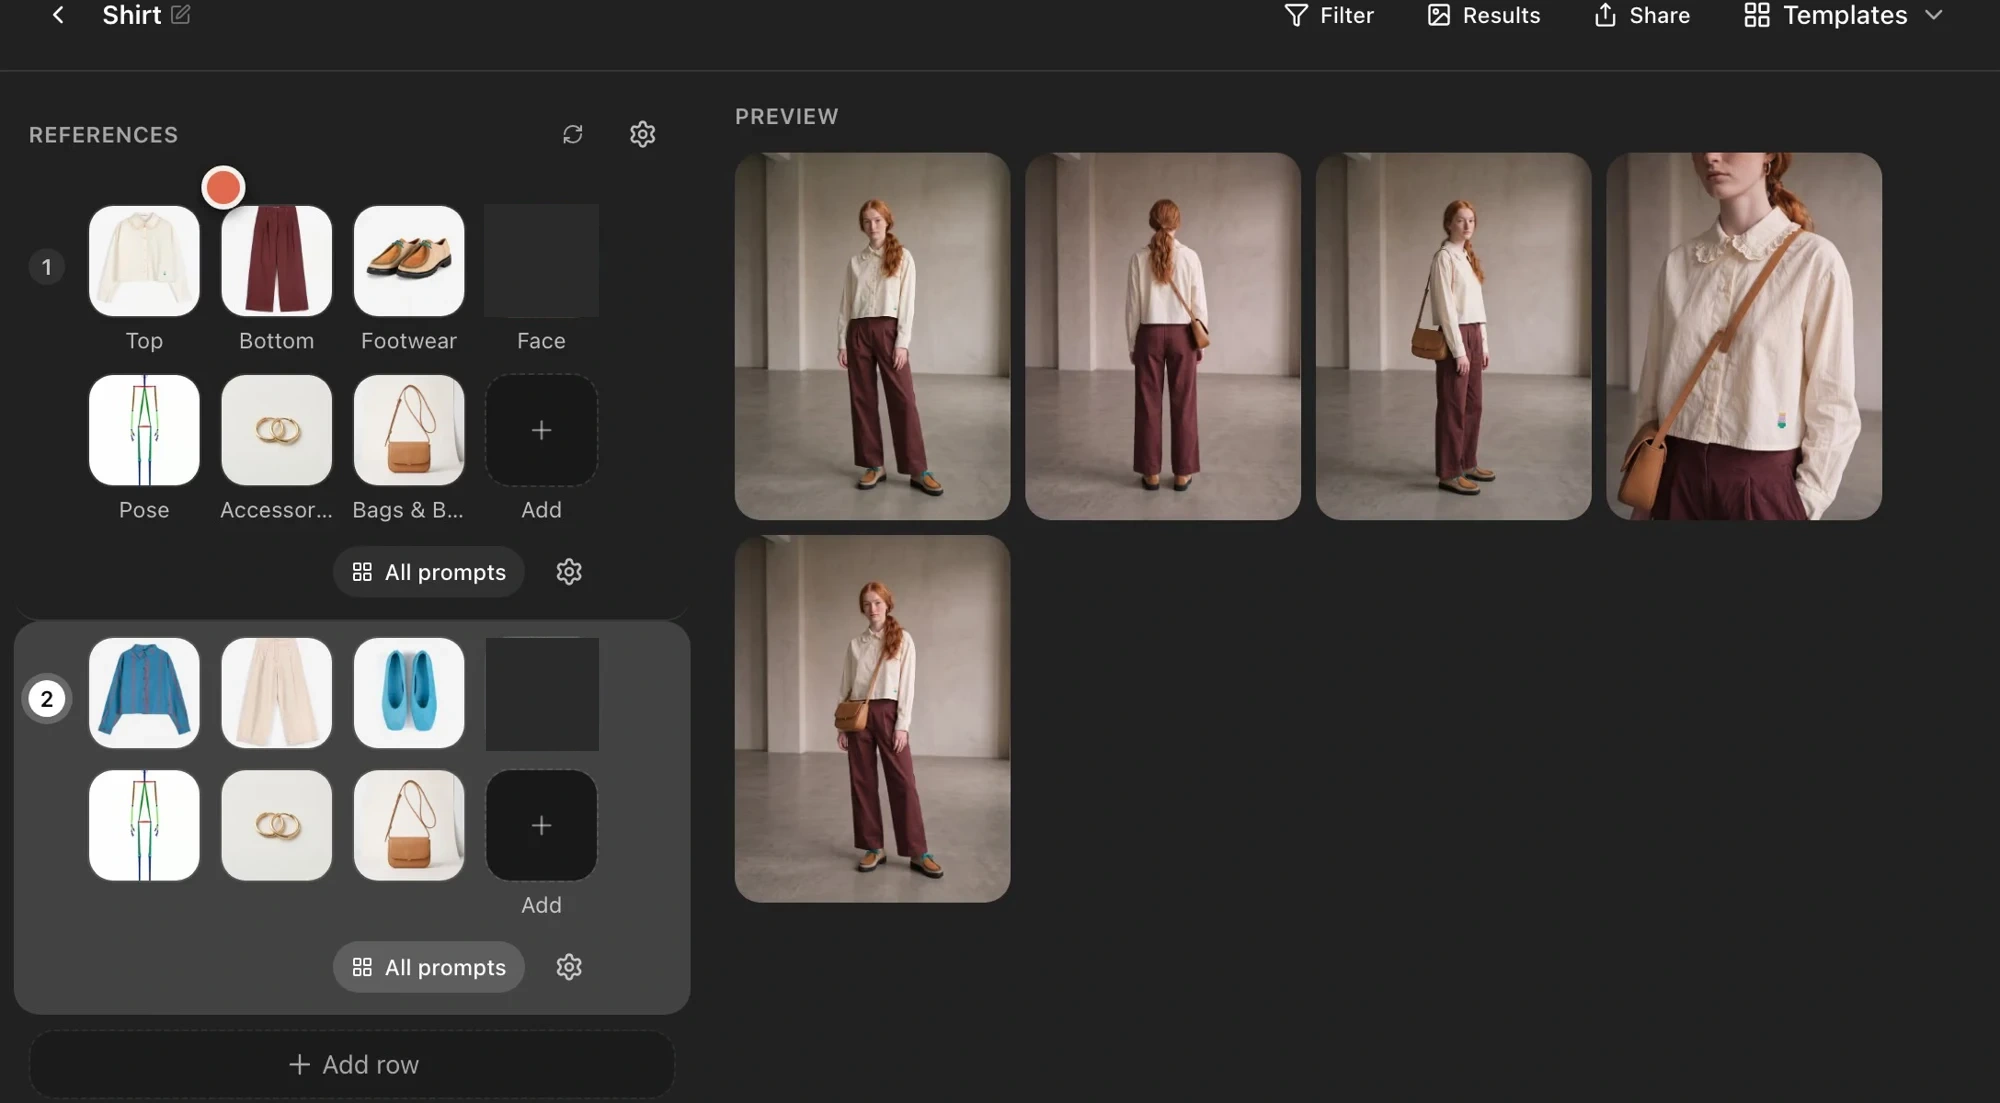
Click Row to prepare a separate row for the other shirt. Select the model and products for that look, checking each choice rather than keeping the copied outfit by default.
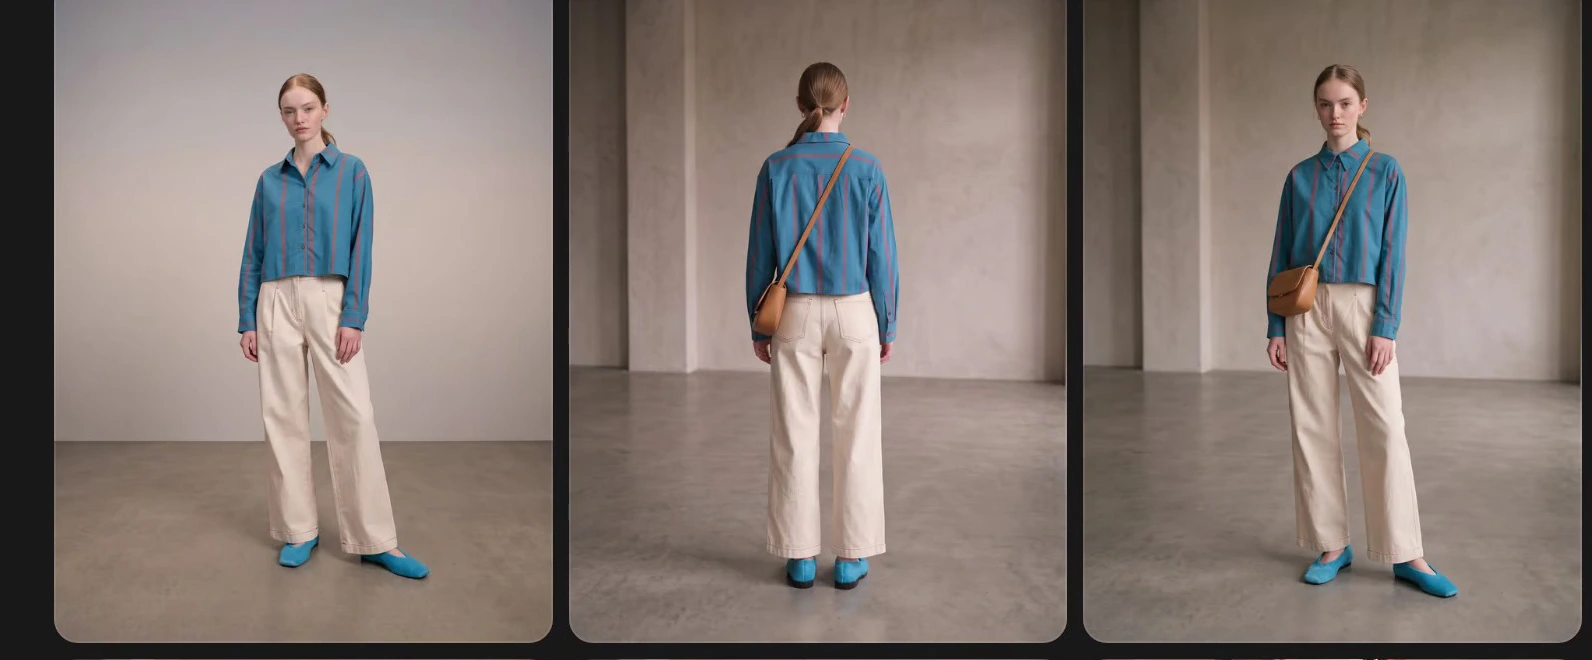
The second workshop look uses the blue striped shirt, cream trousers and blue ballet flats. Keep all the references for one outfit together in its row.
Step 4: Generate both rows together
Once both outfits are ready, click Generate. In the workshop, the button reads Generate 2 rows · 10 images because the two rows each use the five-prompt template.

Check your result
Review the images for each shirt alongside that shirt’s own product photos. Check garment details, then look at how the model, clothes and accessories work together. Each outfit was styled separately, so assess each one on its own terms.
Continue with how to choose and organize templates by garment category.