1.1: How to Define Your Brand’s Visual Direction for an AI Lookbook
 Watch lesson 1.1Astria Academy
 Astria Workshops · Series 1: Your first AI lookbook · Lesson 1
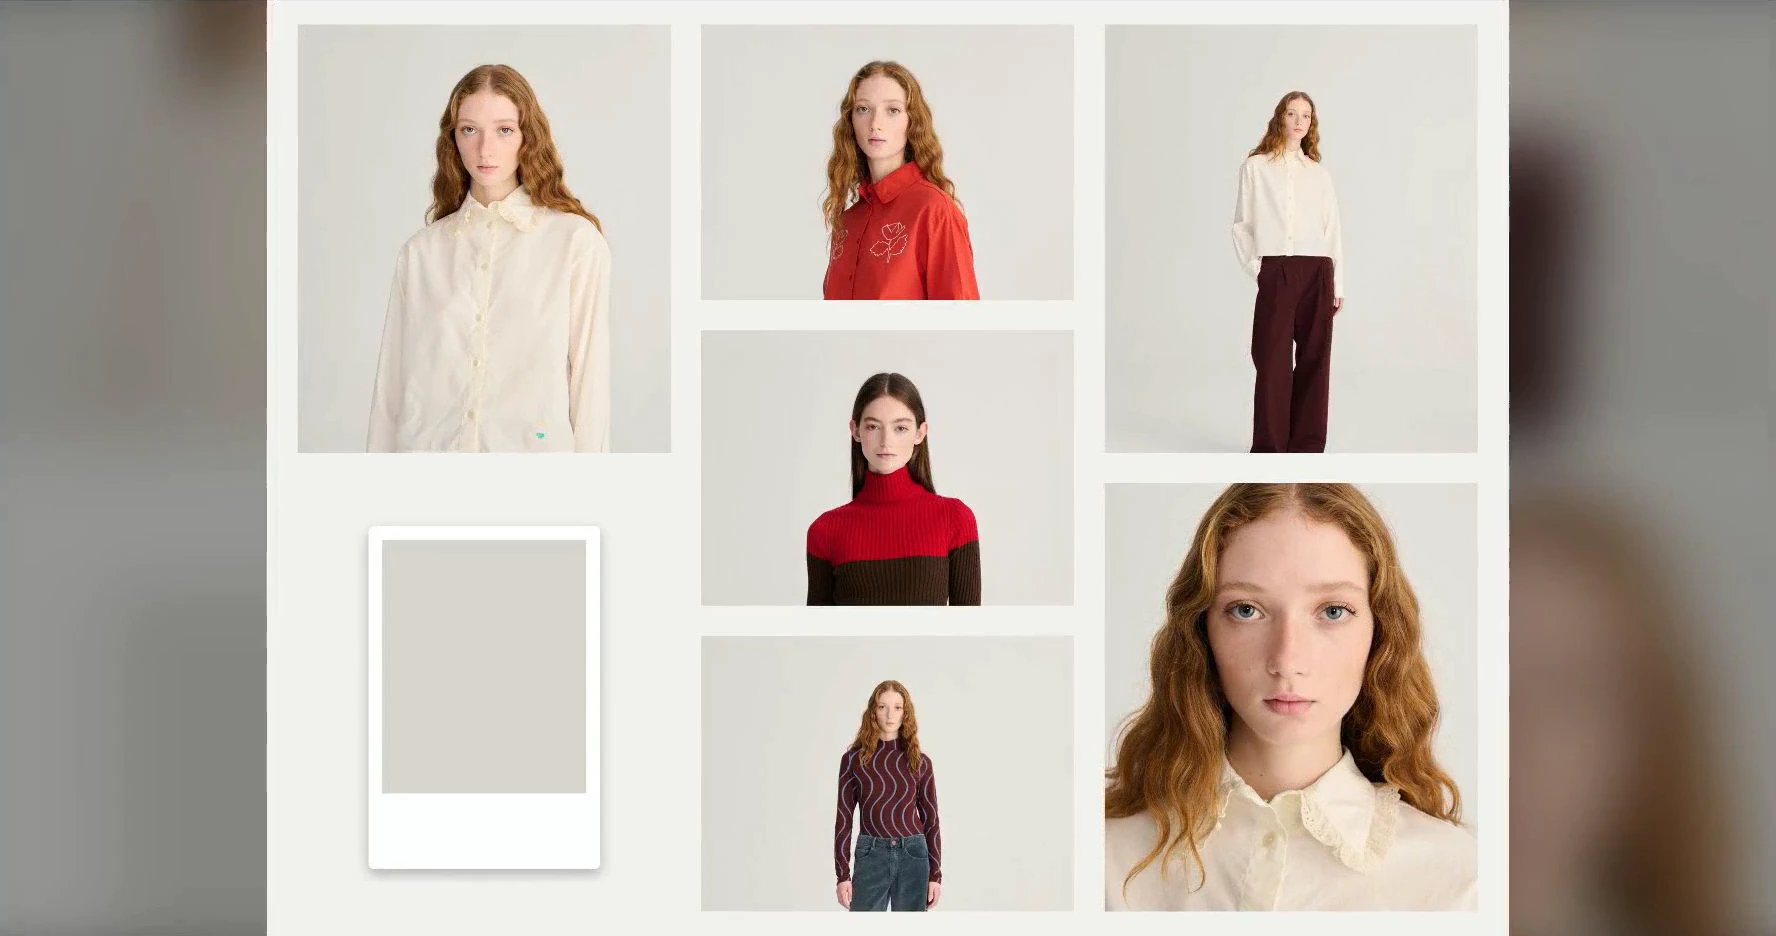
Define the visual direction for your AI lookbook before generating an image. You’ll study a real brand’s product photography, identify the choices that give it a recognizable style, and collect references you can use to create and review your own images.
Follow workshop 1.1: Brand Product Page. The example follows Bobo Choses in the same order as the lesson: background, models and styling, garment views, then the visual brief.
Before you begin
Open your brand’s website and choose a shirt product page with a gallery of images. Keep a few more product pages available so you can compare recurring choices across the collection. You don’t need to generate anything in this lesson.
Step 1: Study the background
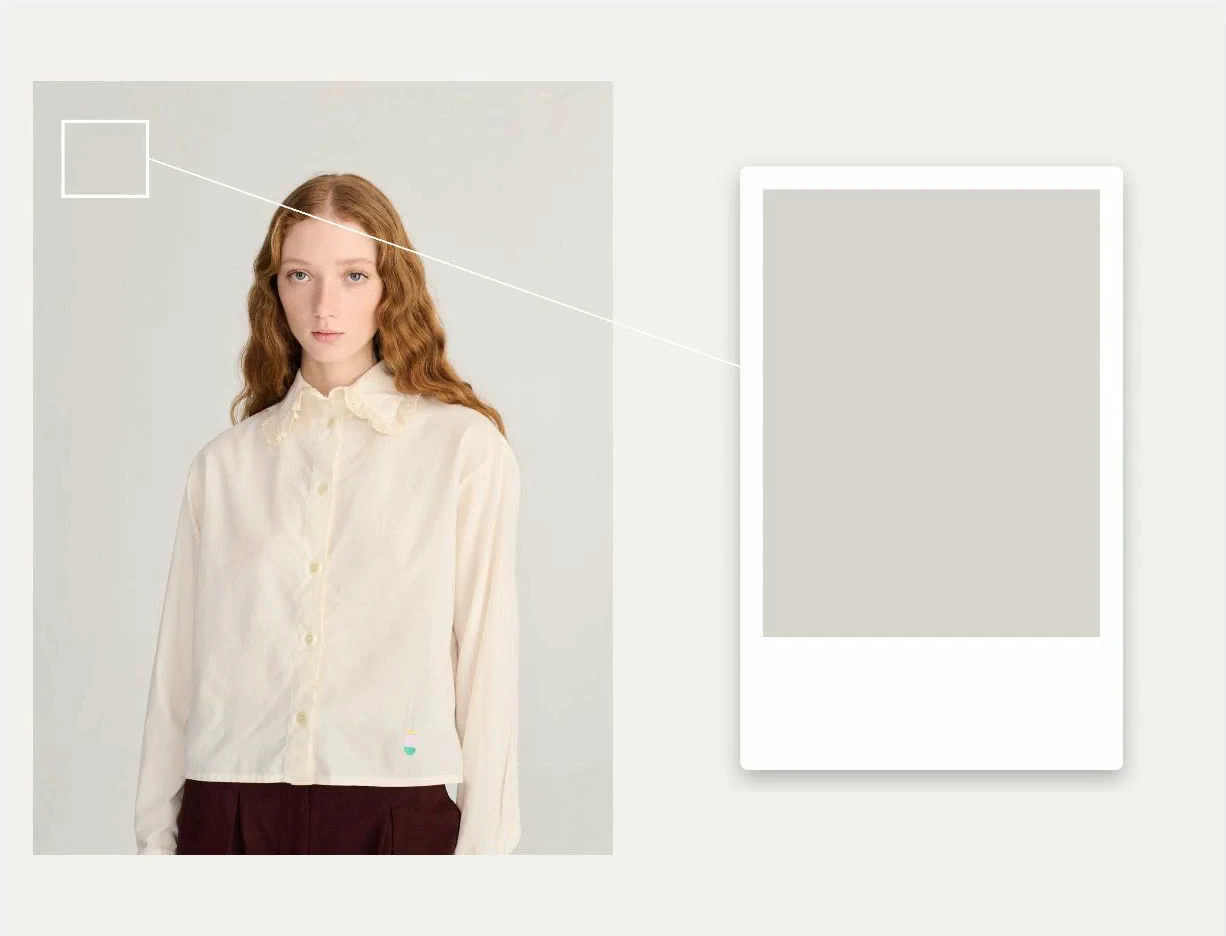
Start with the setting behind the clothes. In the workshop’s example, it is a smooth, light grey wall with soft shadows. Notice the color, texture and shadows together: these choices establish the mood while keeping the outfit easy to see.
When a background is plain, save its color. When it has a texture, keep an image reference so you have something specific to recreate in Astria.
Step 2: Find the repeated casting and styling choices
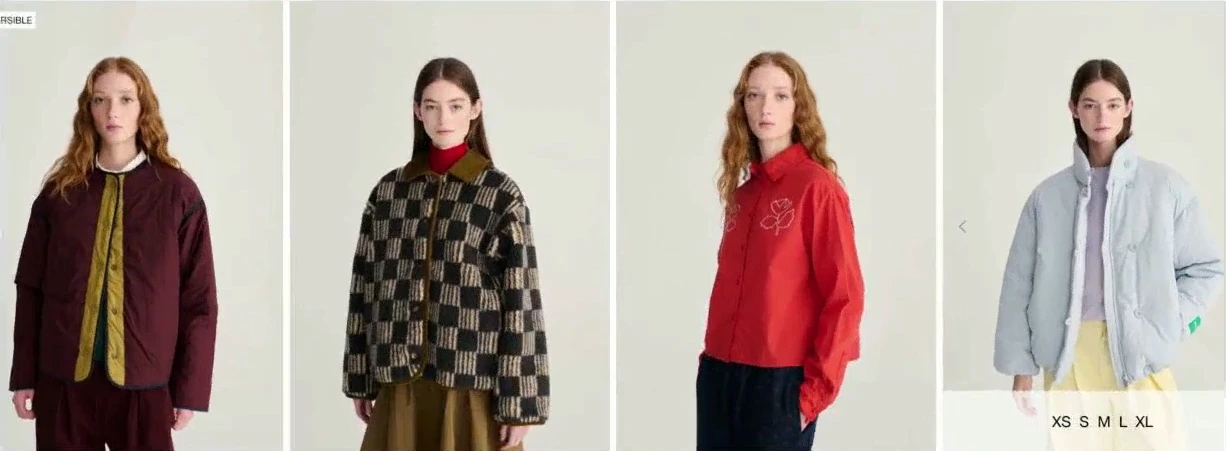
Look at the models’ hair, their styling and their poses. Open a few more products and check which choices repeat.
In this example, models face the camera with a calm, neutral expression. They wear complete outfits with flat shoes. Record those choices alongside the background. Together, they form the brand’s visual DNA: the recognizable style you want to carry into the AI lookbook.
Step 3: Choose the views that explain each garment
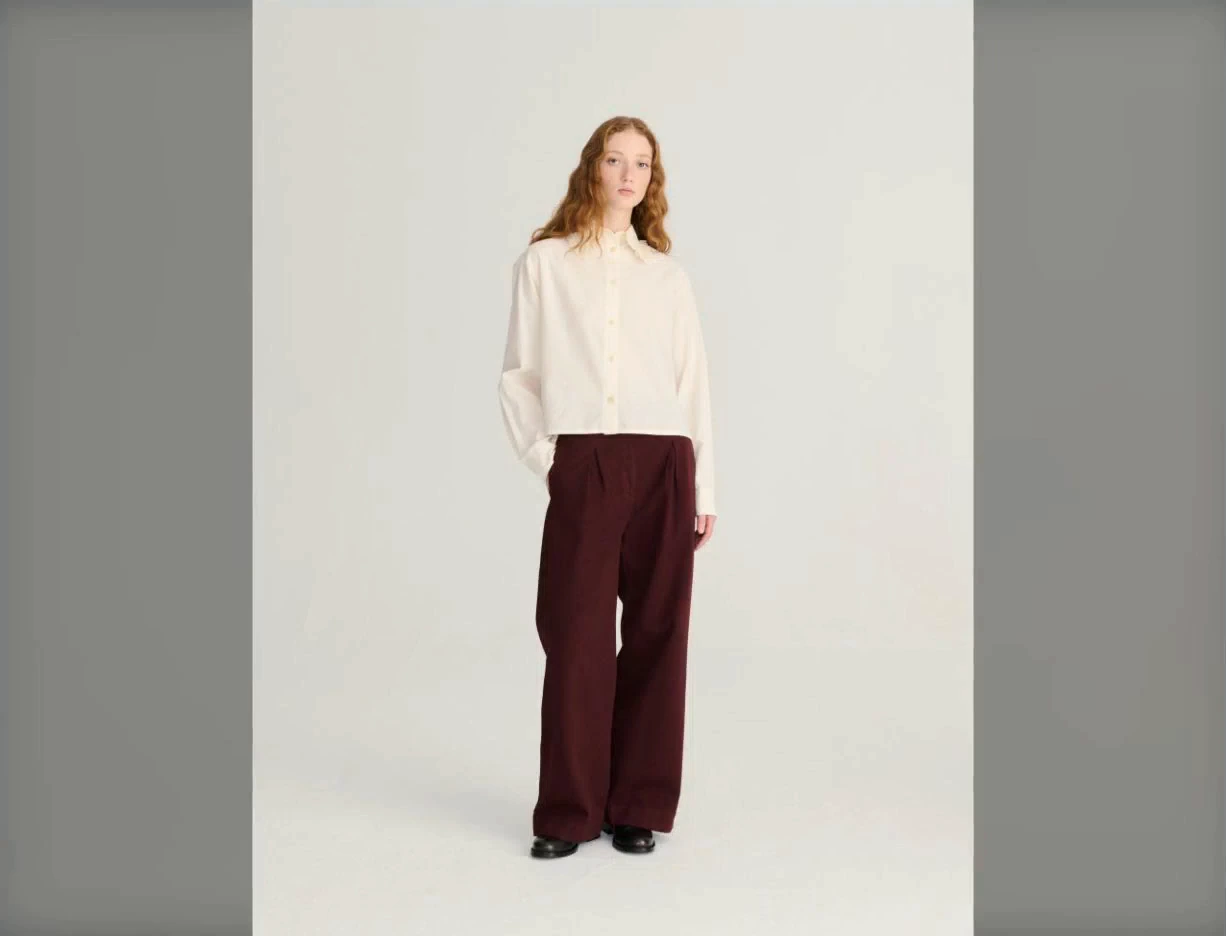
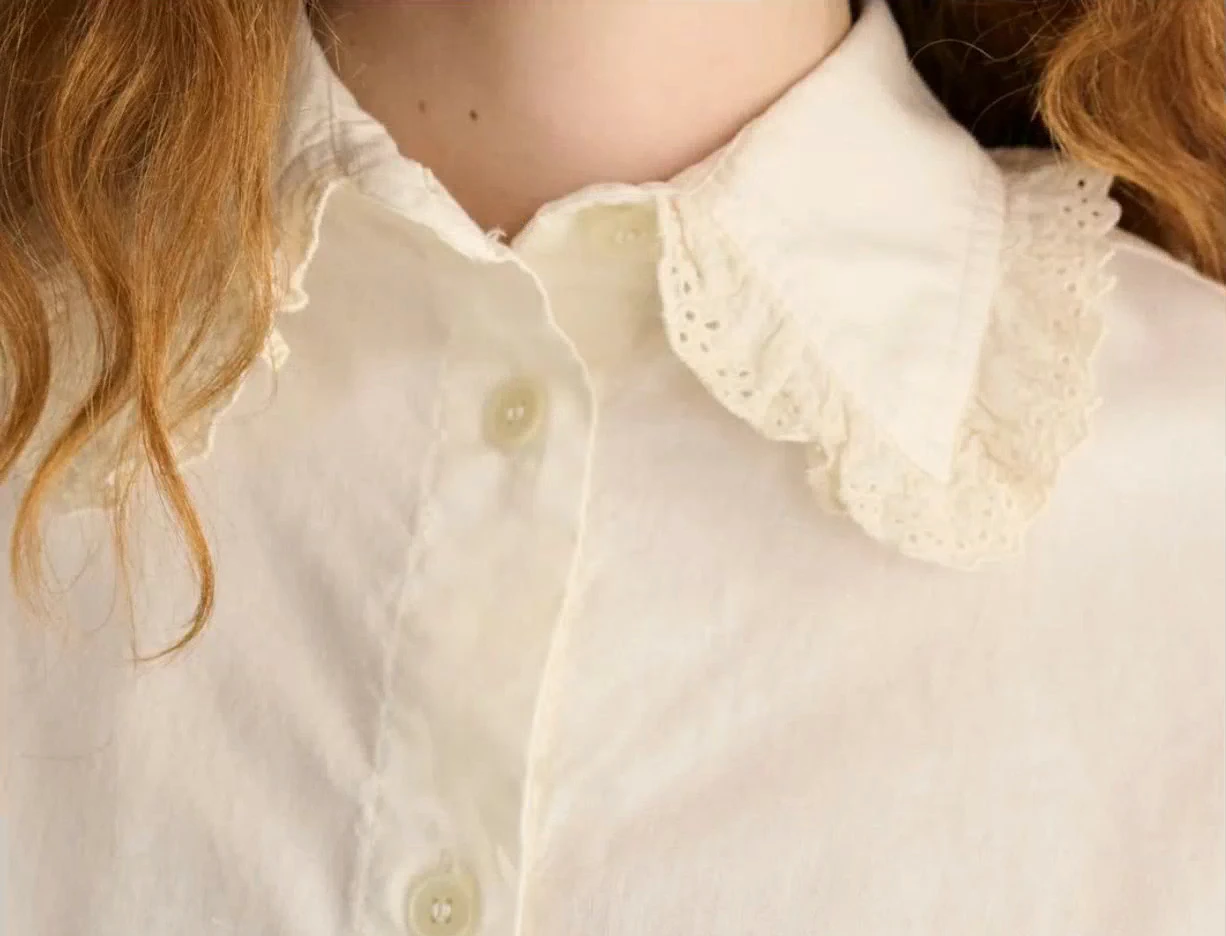
Product photography needs to help a customer understand the clothes. A full-length image shows the overall fit; a close-up reveals something that may be difficult to see at that scale, such as the shirt’s lace collar.
Choose the views each garment needs. Keep the same visual style across the set so a detail image still belongs with the full-length image.
Step 4: Assemble your visual brief
Bring the references together before generating:
| Part of the brief | What to keep |
|---|---|
| Background | The plain background’s color, or a reference for its texture, with the shadows you want. |
| Model and styling | Examples of the hair, expression, pose, outfit styling and footwear that recur. |
| Garment views | The full-length and detail views needed to explain the product. |
Check your result
Your brief should give you a specific look to recreate and a reference to check the results against. Confirm that it describes the brand’s repeated choices and includes the views shoppers need to understand the clothes.
Continue with workshop 1.2: Create a brand workspace, where you’ll give the project a shared home in Astria.