2.1: How Astria Templates Reuse Your Lookbook’s Creative Direction
Astria Workshops · Series 2: Reusable lookbook templates · Lesson 1
Reuse the creative direction behind a lookbook you’re happy with. In this workshop, you’ll compare the shots on two product pages, identify the prompts behind a consistent image set, and see how a template applies that direction to another shirt.
Follow workshop 2.1: Why Templates?. This starts Series 2: turning the lookbook into reusable templates for more products.
Before you begin
Start with a set of product-page images you’re happy with and keep the prompts behind those images. If you followed Series 1, use the lookbook you’ve reviewed in lesson 1.9. You’ll save the prompts as a template in the next lesson; this workshop explains what you’re carrying forward.
Step 1: Compare the shots on two product pages
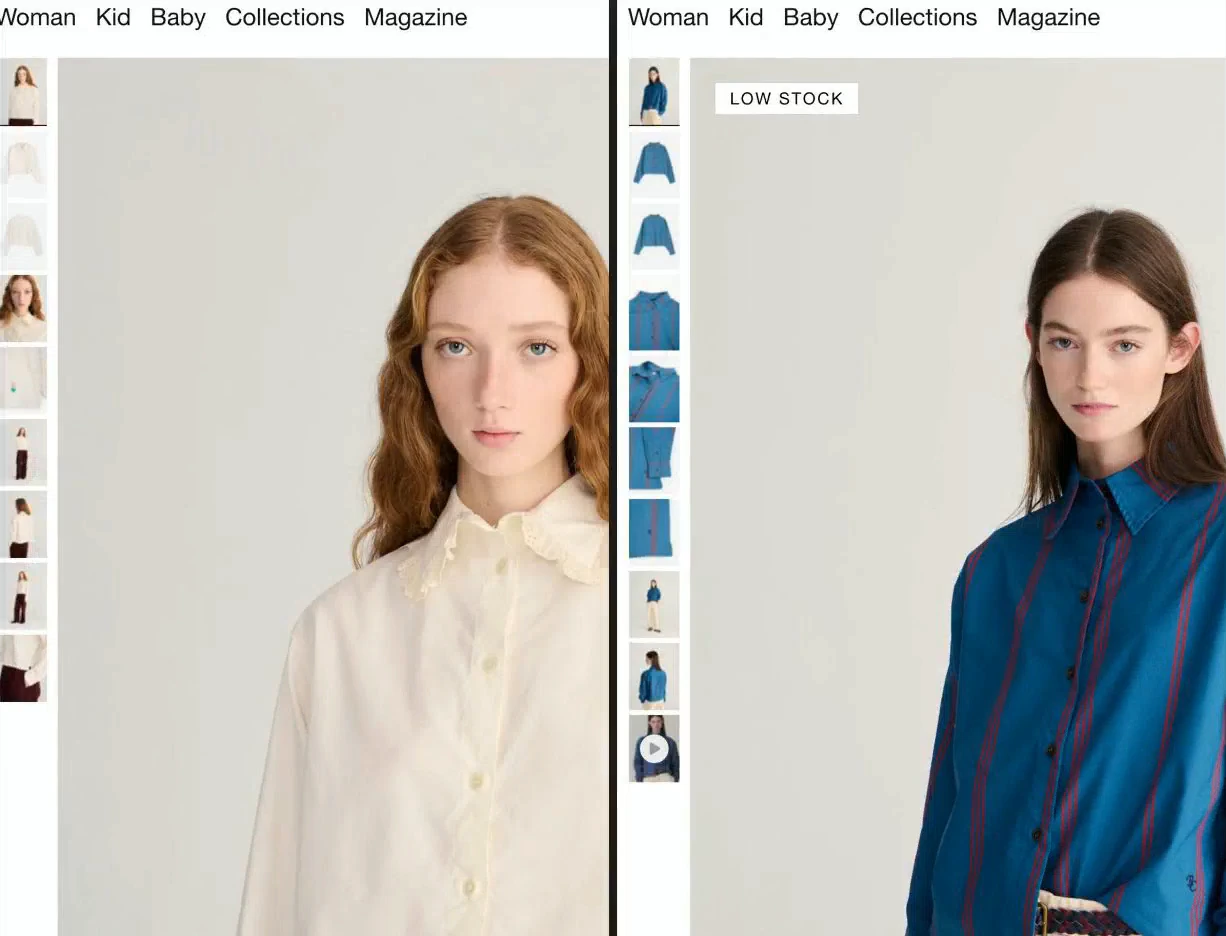
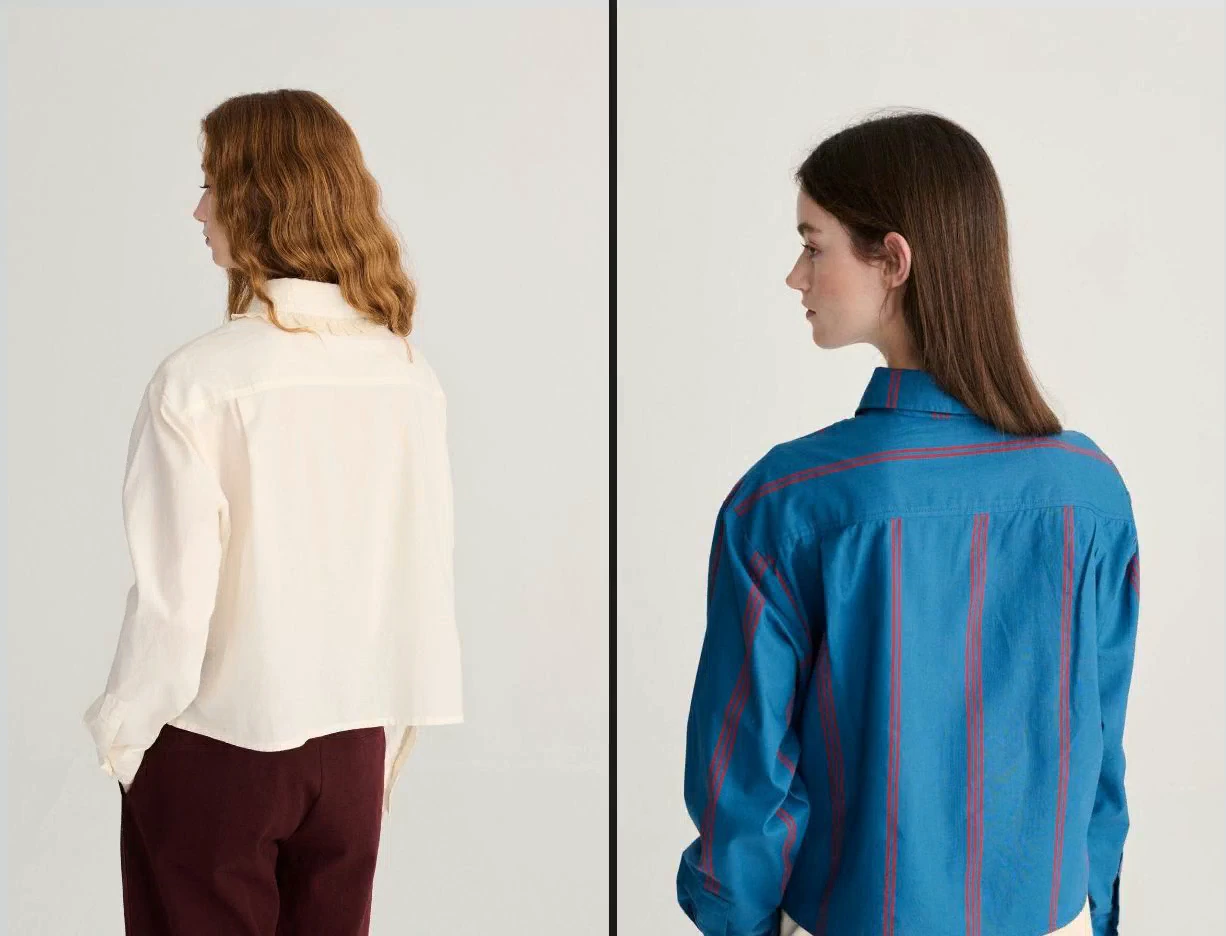
Open two shirt product pages from the same brand. In the Bobo Choses example, similar views recur: front, back, turned views and close-ups of the details.
Compare matching shots side by side. Notice how the arrangement repeats within the same garment category, giving you a useful set of views to repeat for another shirt.
Step 2: Identify the instructions behind the set
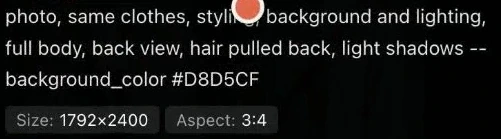
Prompts are the written instructions for each image. They include choices such as the pose, background and lighting. Together, these choices express the brand’s identity.
A template saves the prompts behind the image set. Save it in the shared workspace so the rest of the team can use it too.
Step 3: Reuse the prompts with a different shirt
Use photos of the new shirt with the saved front, back and side-view prompts. Run the template for that shirt, then inspect the new results.
The aim is to show the new product accurately while preserving the visual style you already chose. Compare the new shirt’s photos with the results, then compare the setting, framing and poses with the original lookbook.
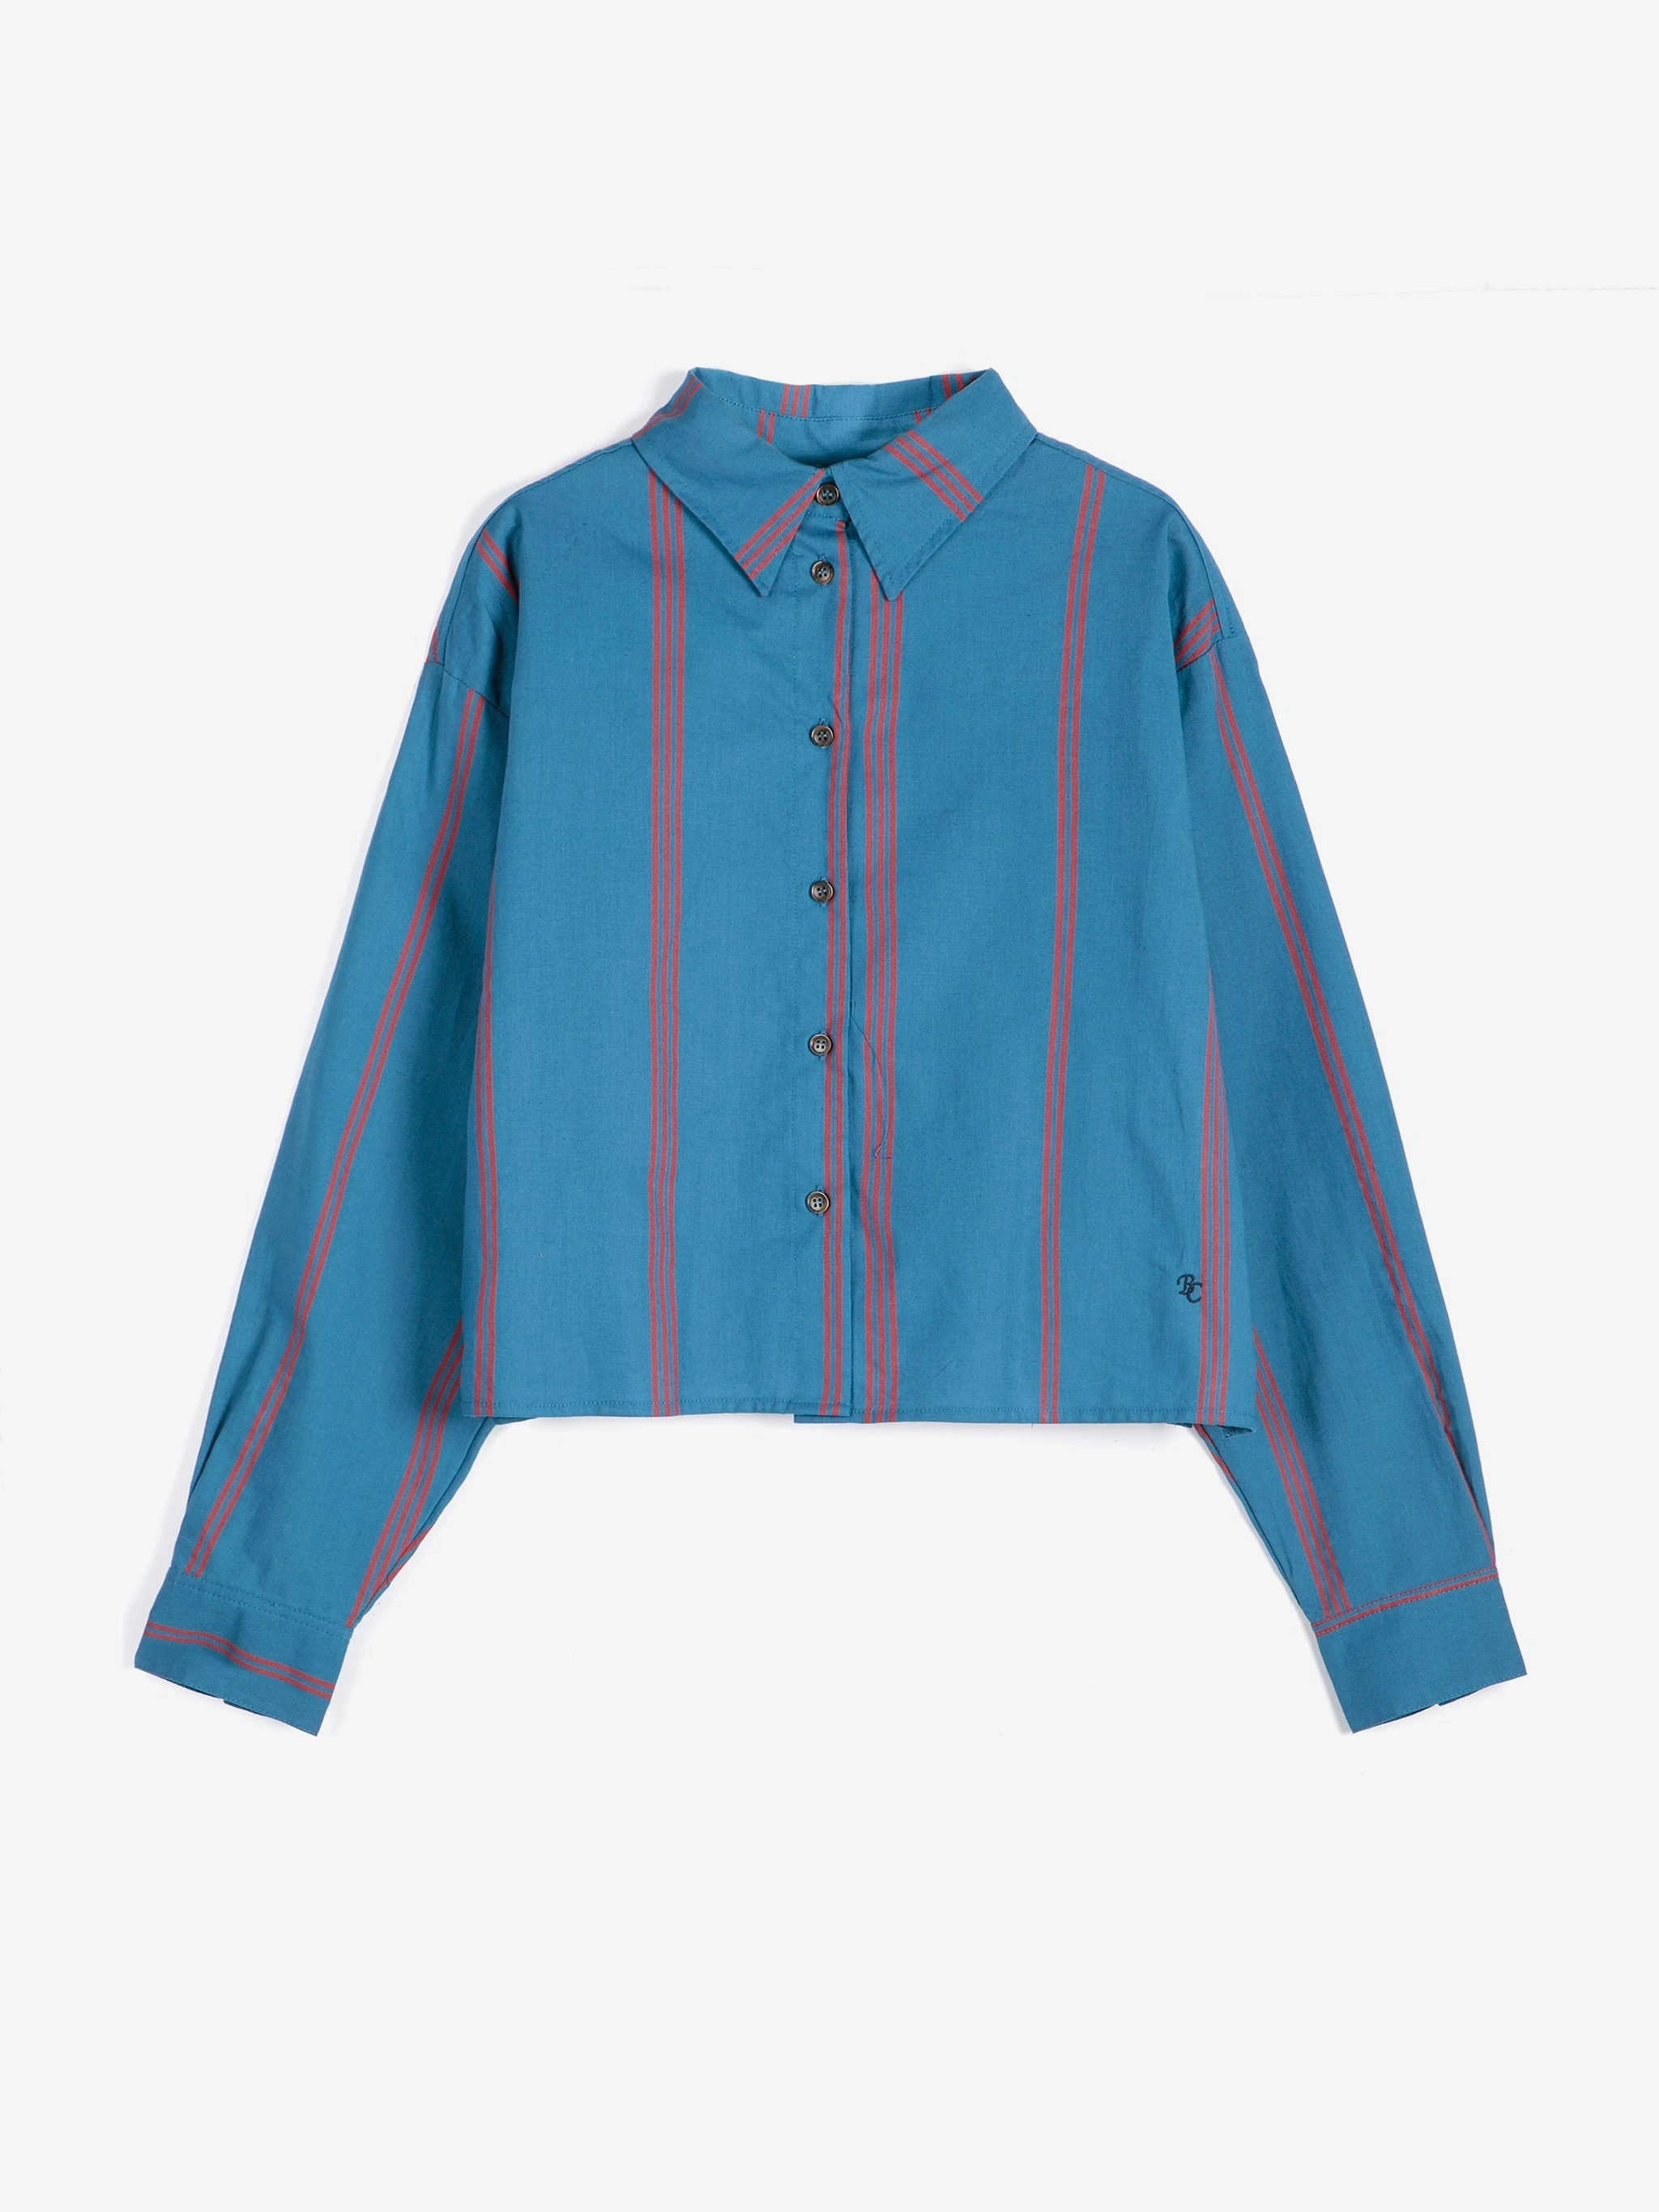
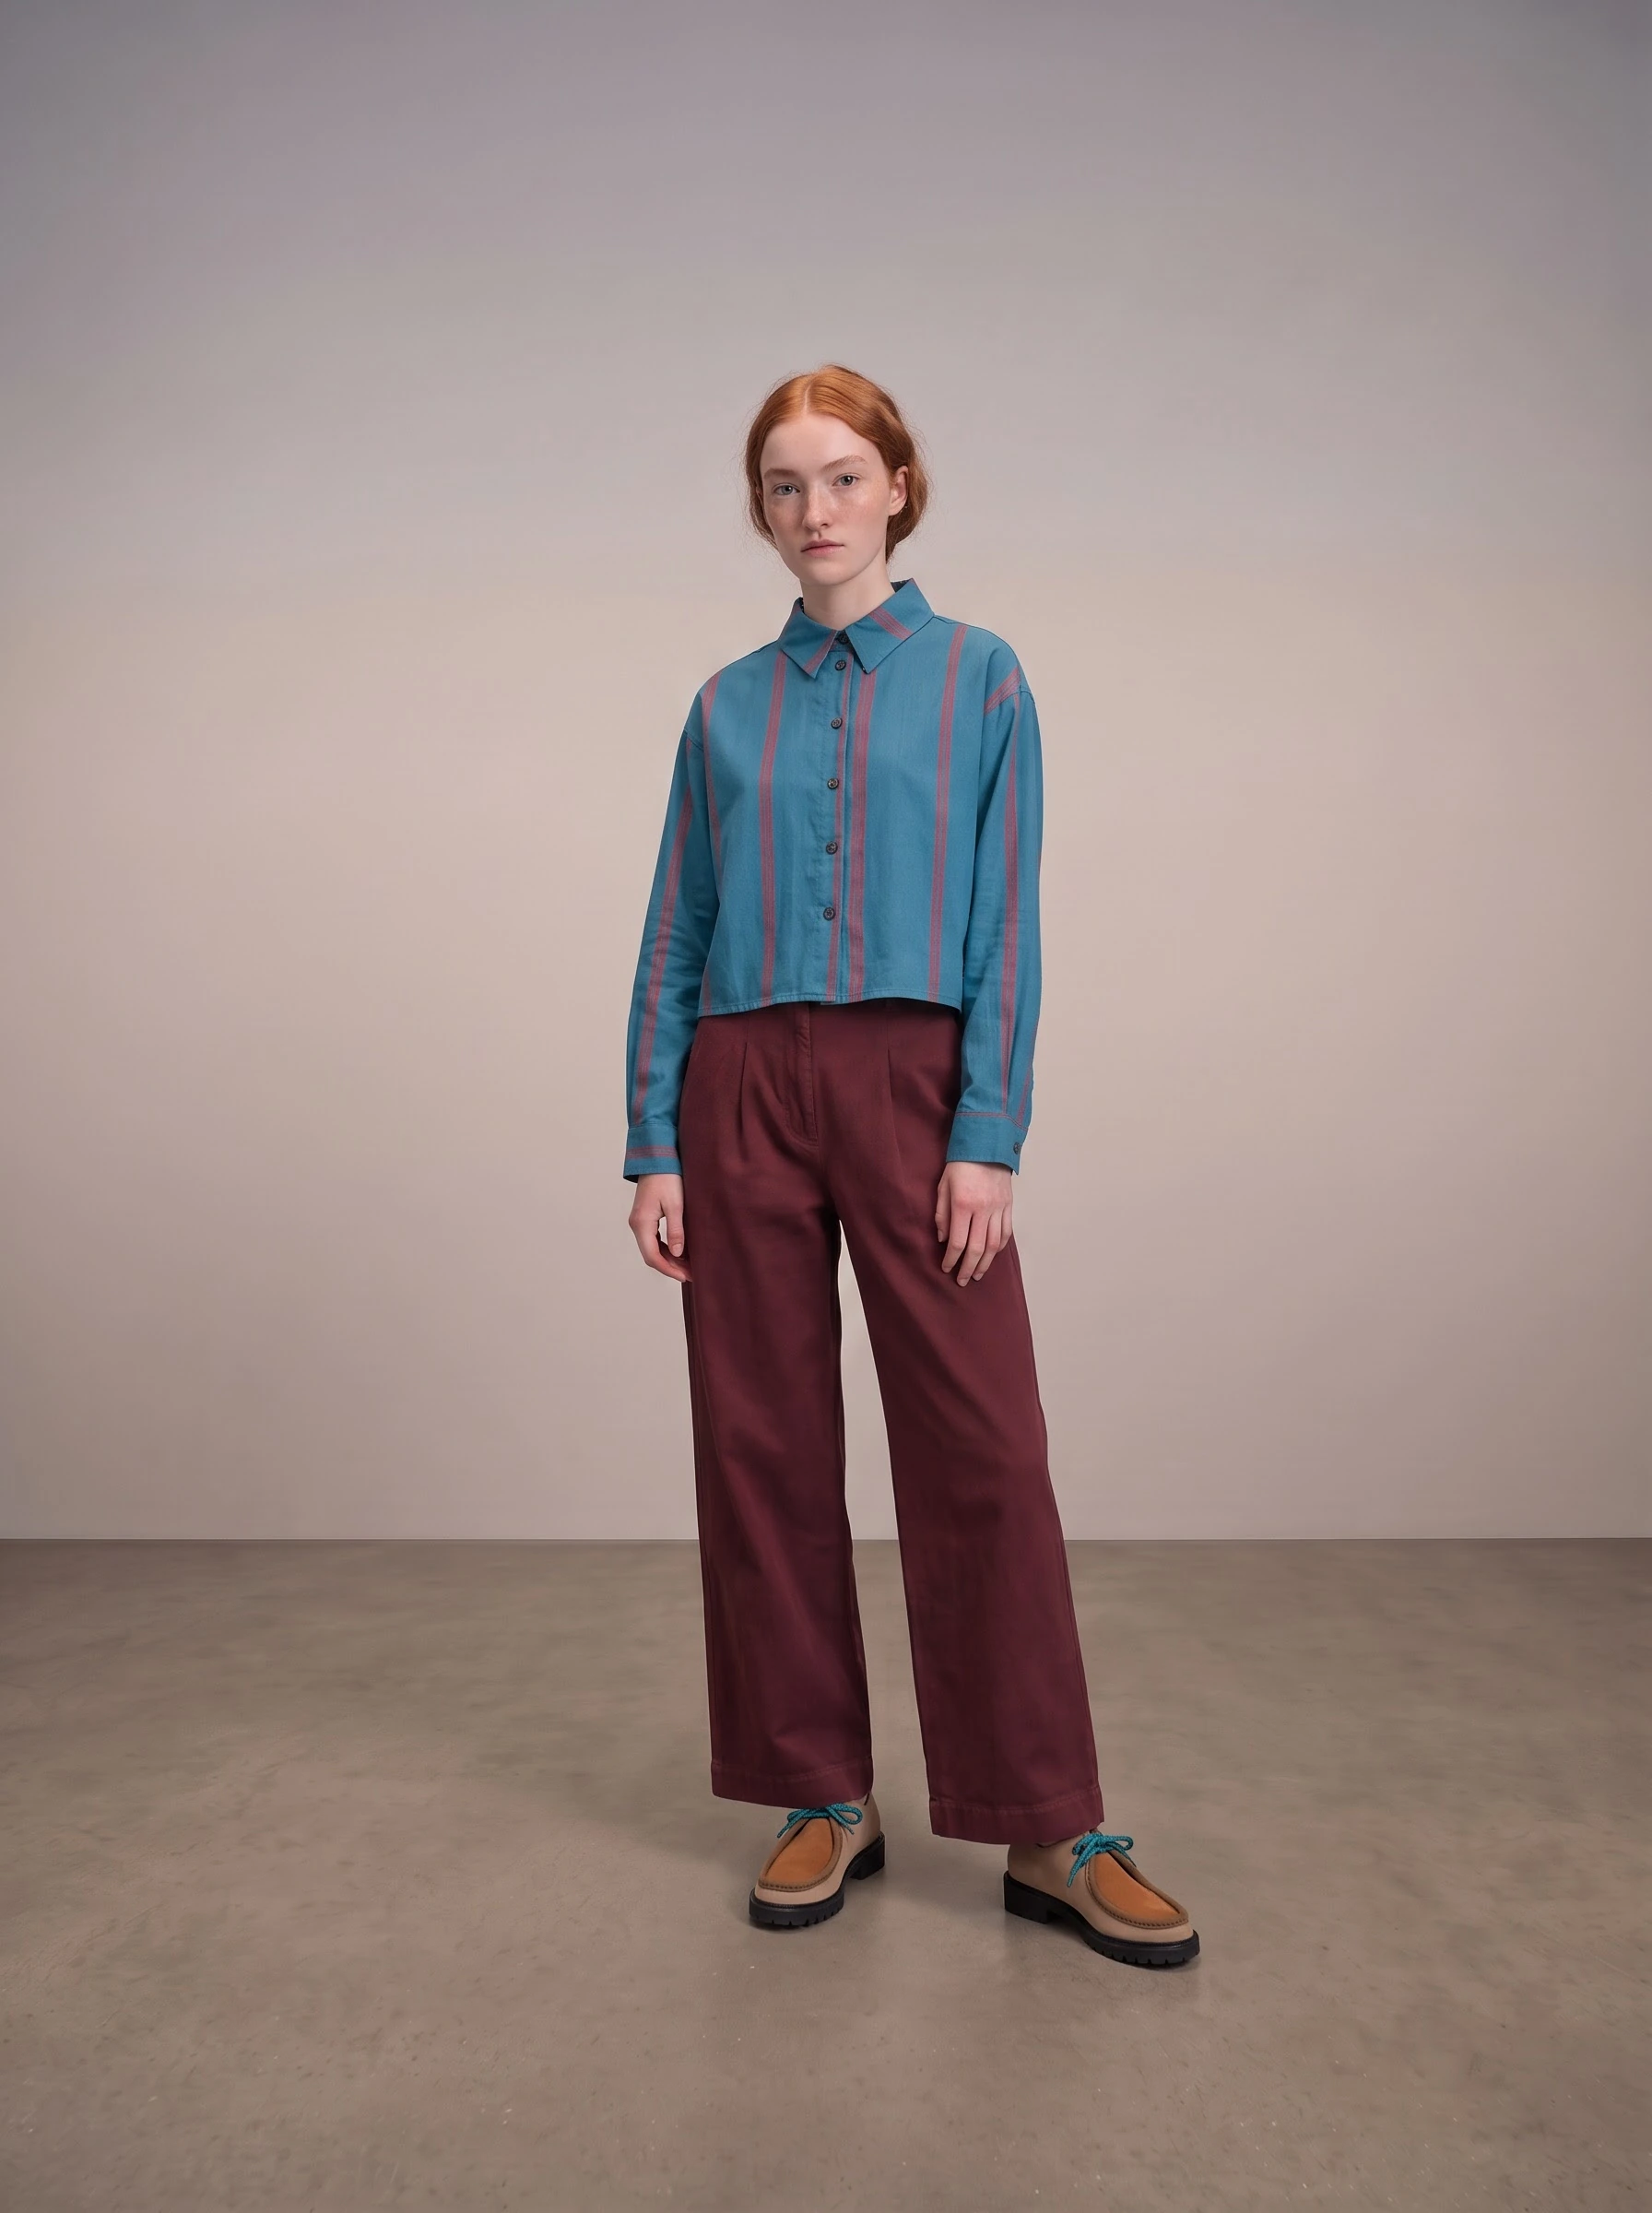
The product reference and result above are the original image files from the workshop, rather than enlarged video thumbnails.
Check your result
You should be able to identify what stays consistent—the creative direction in the prompts—and what changes—the product references used for the next shirt. This lets you build the lookbook around the same direction without writing every product’s instructions from scratch.
Continue with workshop 2.2: Create a template, where you’ll select the lookbook’s prompts and save them together.