2.2: How to Create an Astria Template from Your Lookbook Prompts
Astria Workshops · Series 2: Reusable lookbook templates · Lesson 2
Turn a lookbook you like into a template your team can reuse with another product. In this lesson, save the prompts behind five shirt images and name the template Shirt.
Follow workshop 2.2. The screenshots show its recorded steps, cropped to keep the relevant controls readable. Keyframe times are relative to the named scene. Click any image to enlarge it.
Before you begin
Open the workspace containing your chosen lookbook images on Astria Generate. A prompt is the instruction used to generate an image. You’ll collect those instructions into a template, so first choose a set that represents the creative direction you want to repeat.
The previous workshop explains what a template carries into the next product shoot.
Step 1: Review the five shots
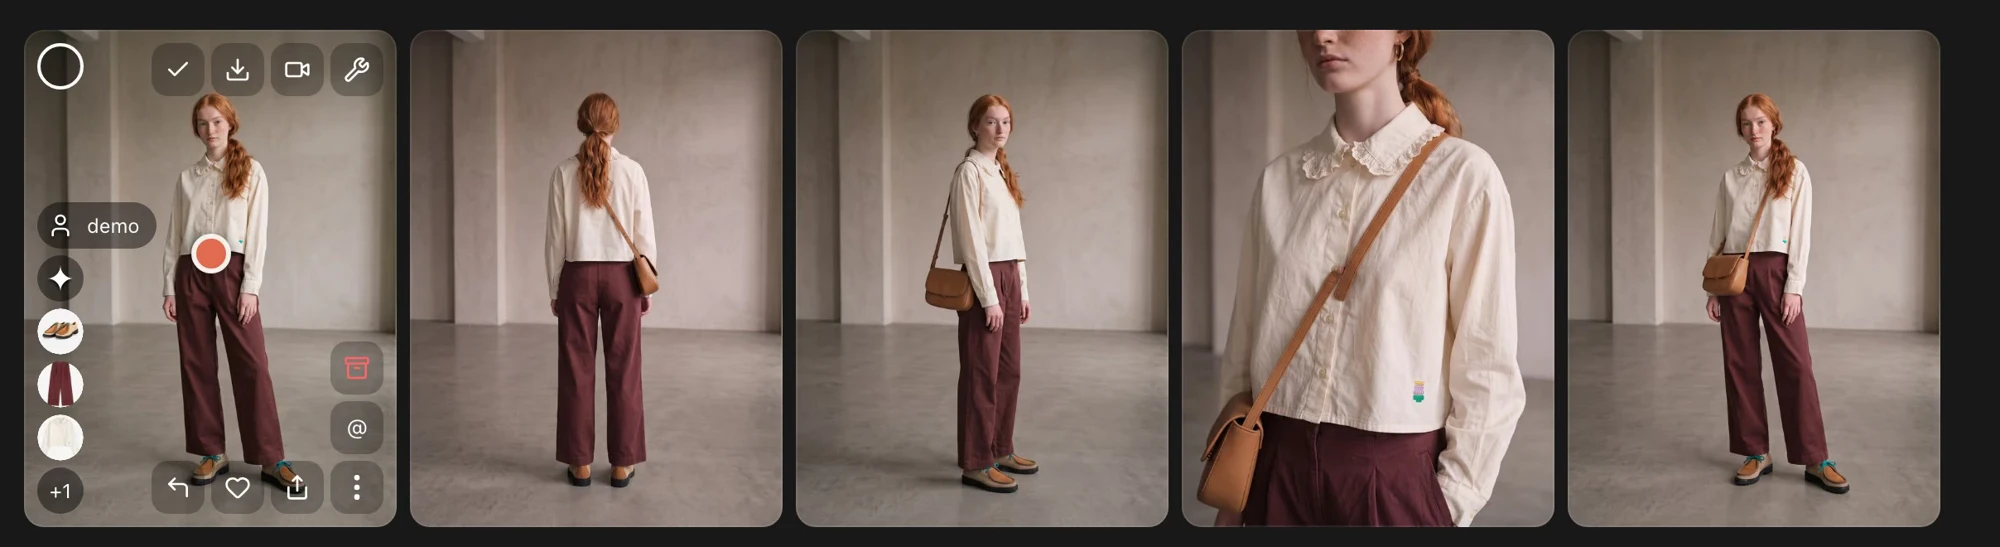
Start with the front, back and side images you created, plus a close-up detail and a styled look. Together, these give the shirt a useful set of views. Check the images before saving their prompts: you’ll be repeating the decisions behind these shots.
Step 2: Select each prompt
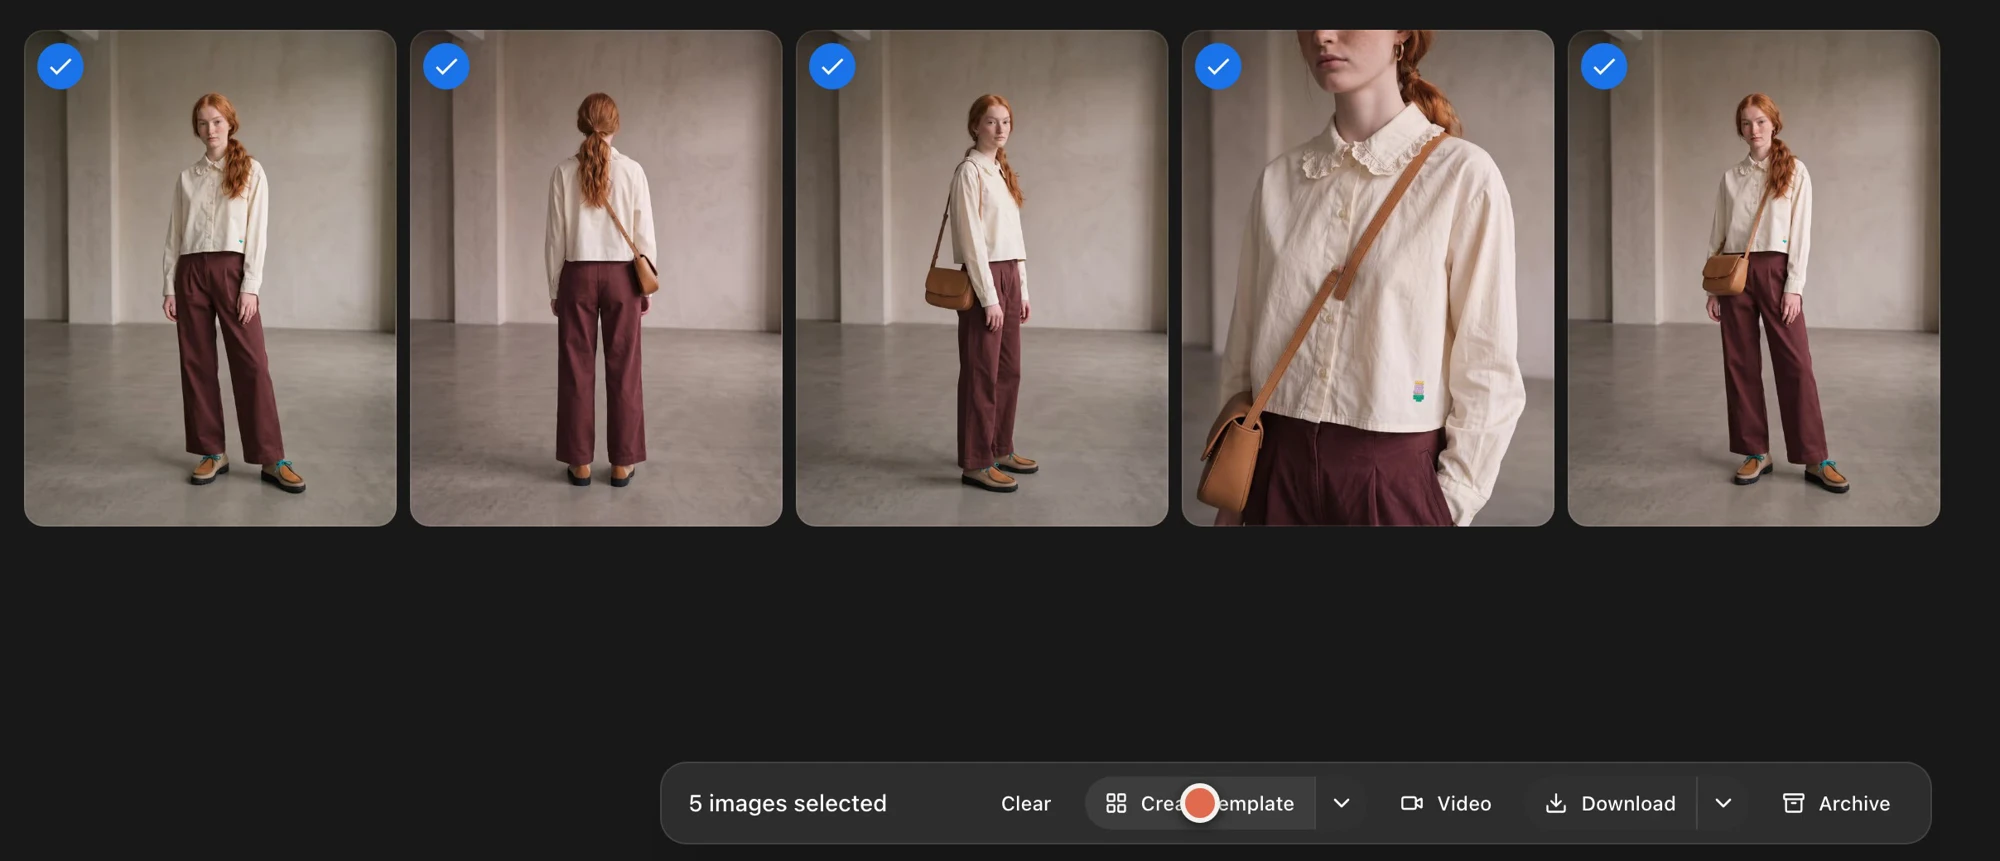
Hover over the first image thumbnail. A selection circle appears at its upper-left corner. Click it, then select the remaining four prompts. Each selected thumbnail has a blue check mark.
Step 3: Click Create template
Once the set is selected, a toolbar appears at the bottom of the page. Confirm that 5 images selected is shown, then click Create template. Wait for Astria to finish adding all five prompts.
Step 4: Name the template Shirt
When the saved template opens, use the edit control beside its name to rename it Shirt. Naming it after the garment category makes its role clear when you choose a template for another product.
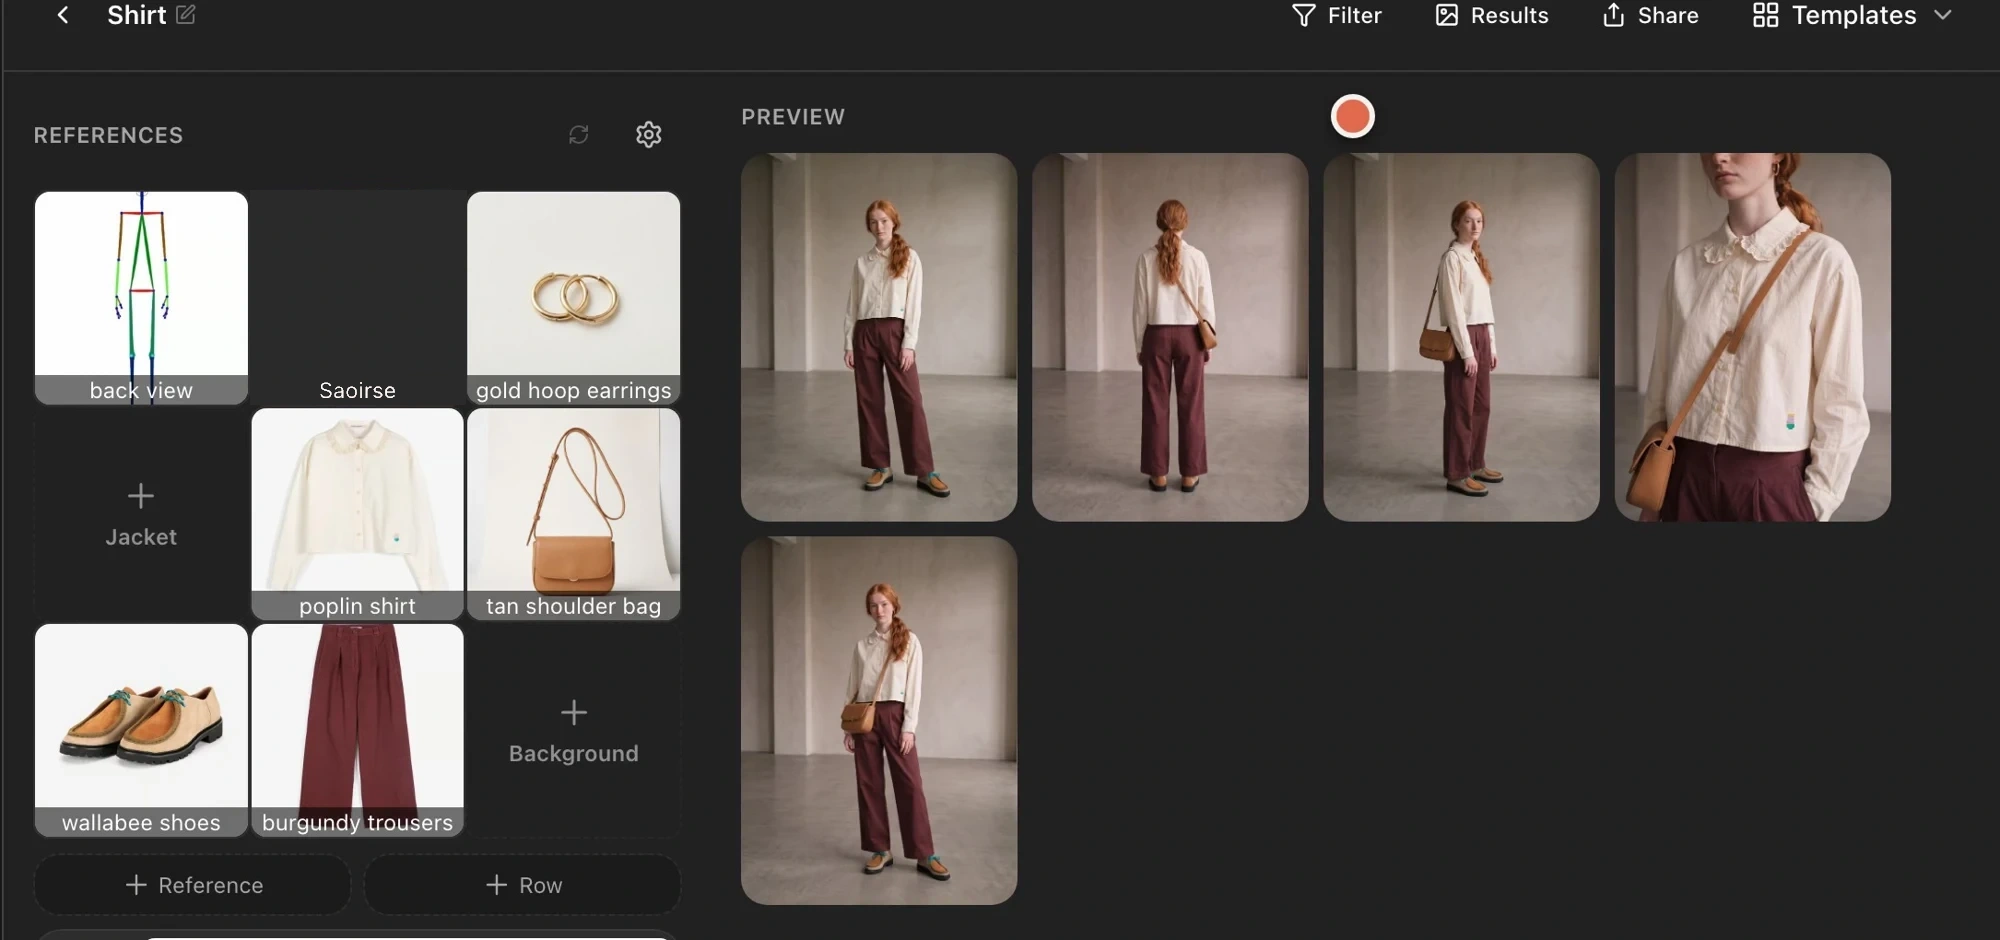
Check your result
Confirm that the template includes the front, back, side, detail and styled prompts. It should now be ready to use with another shirt.
Continue with how to run an Astria template on a new product.