1.8: How to Choose Product Reference Photos for AI Fashion Images
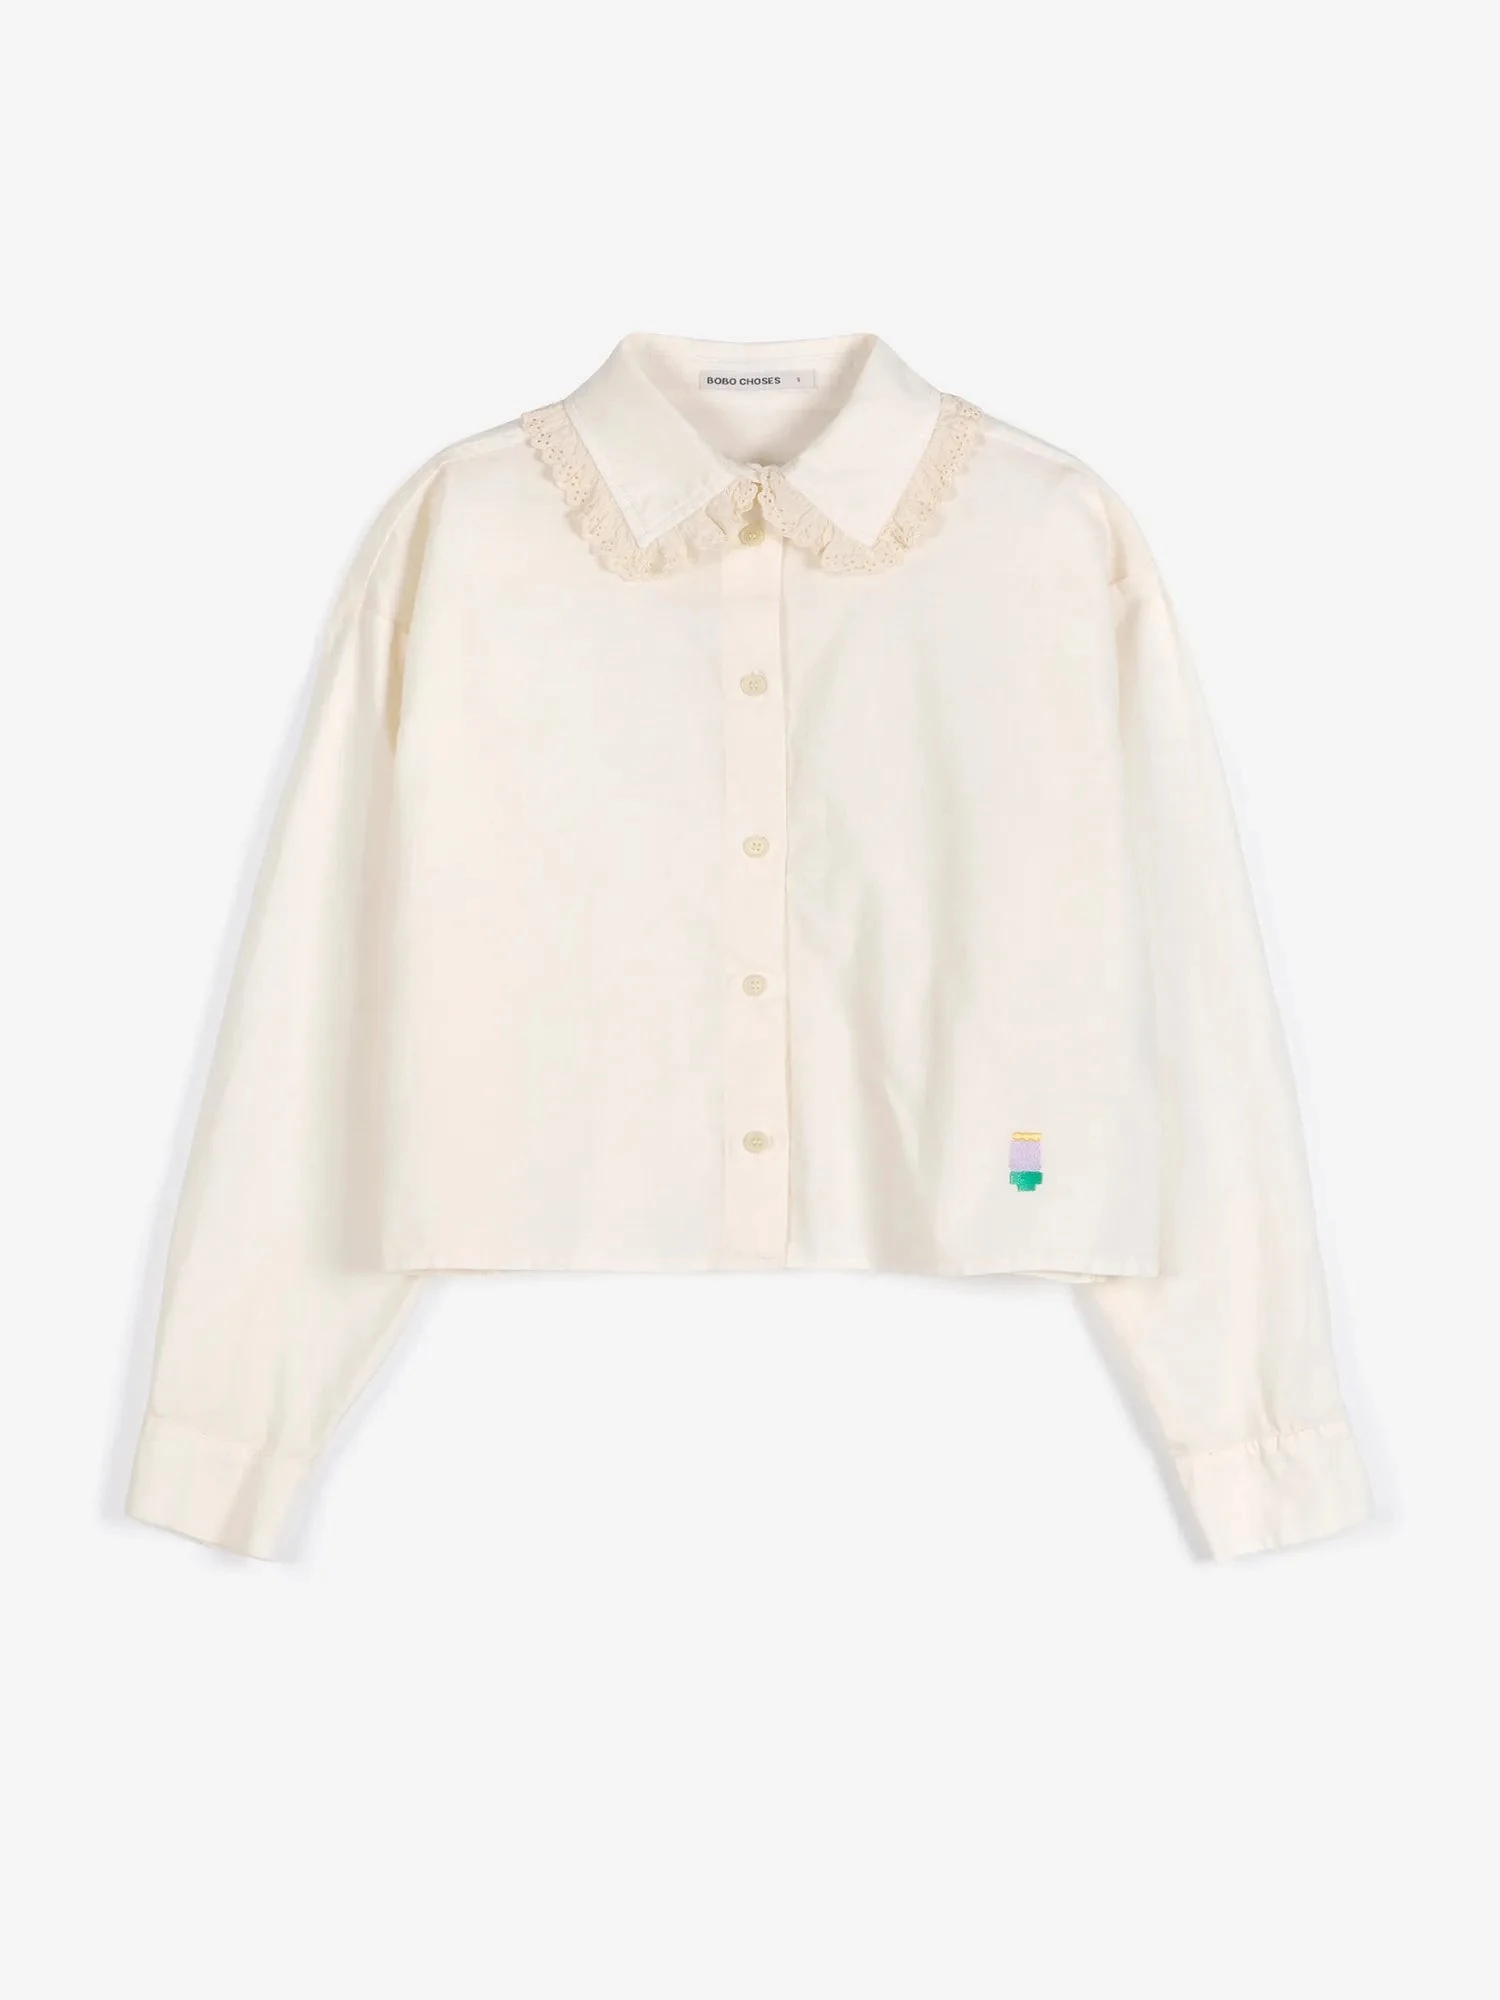
 Watch lesson 1.8Astria Academy
 Astria Workshops · Series 1: Your first AI lookbook · Lesson 8
Choose reference photos that explain your product’s shape, color and details. More references are not always better: extra images that add no useful information can make the direction less clear.
Follow workshop 1.8: Troubleshooting AI. You’ll prepare the product, identify missing views, choose a shoe reference, match inputs to the crop and use a short prompt to clarify fit.
Before you begin
Gather the original photos of the products you want to show. Open the look you’re working on in Astria Generate, and keep your shot list nearby. It tells you which details and products must appear in each image.
Step 1: Make the product easy to see
For a simple T-shirt, a clear phone photo may be enough. For more detailed garments, consider a DSLR camera with even flash lighting. Keep the white balance consistent so the colors look accurate.
Iron out unwanted creases before shooting: they may appear in the generated image too. Keep the garment’s real seams and details visible.
Step 2: Add back views when they provide missing information
Look for details the front photo does not explain. Add a back photo when the garment has a back logo, a print or a different color. For a T-shirt with a plain back, a front photo may be enough.
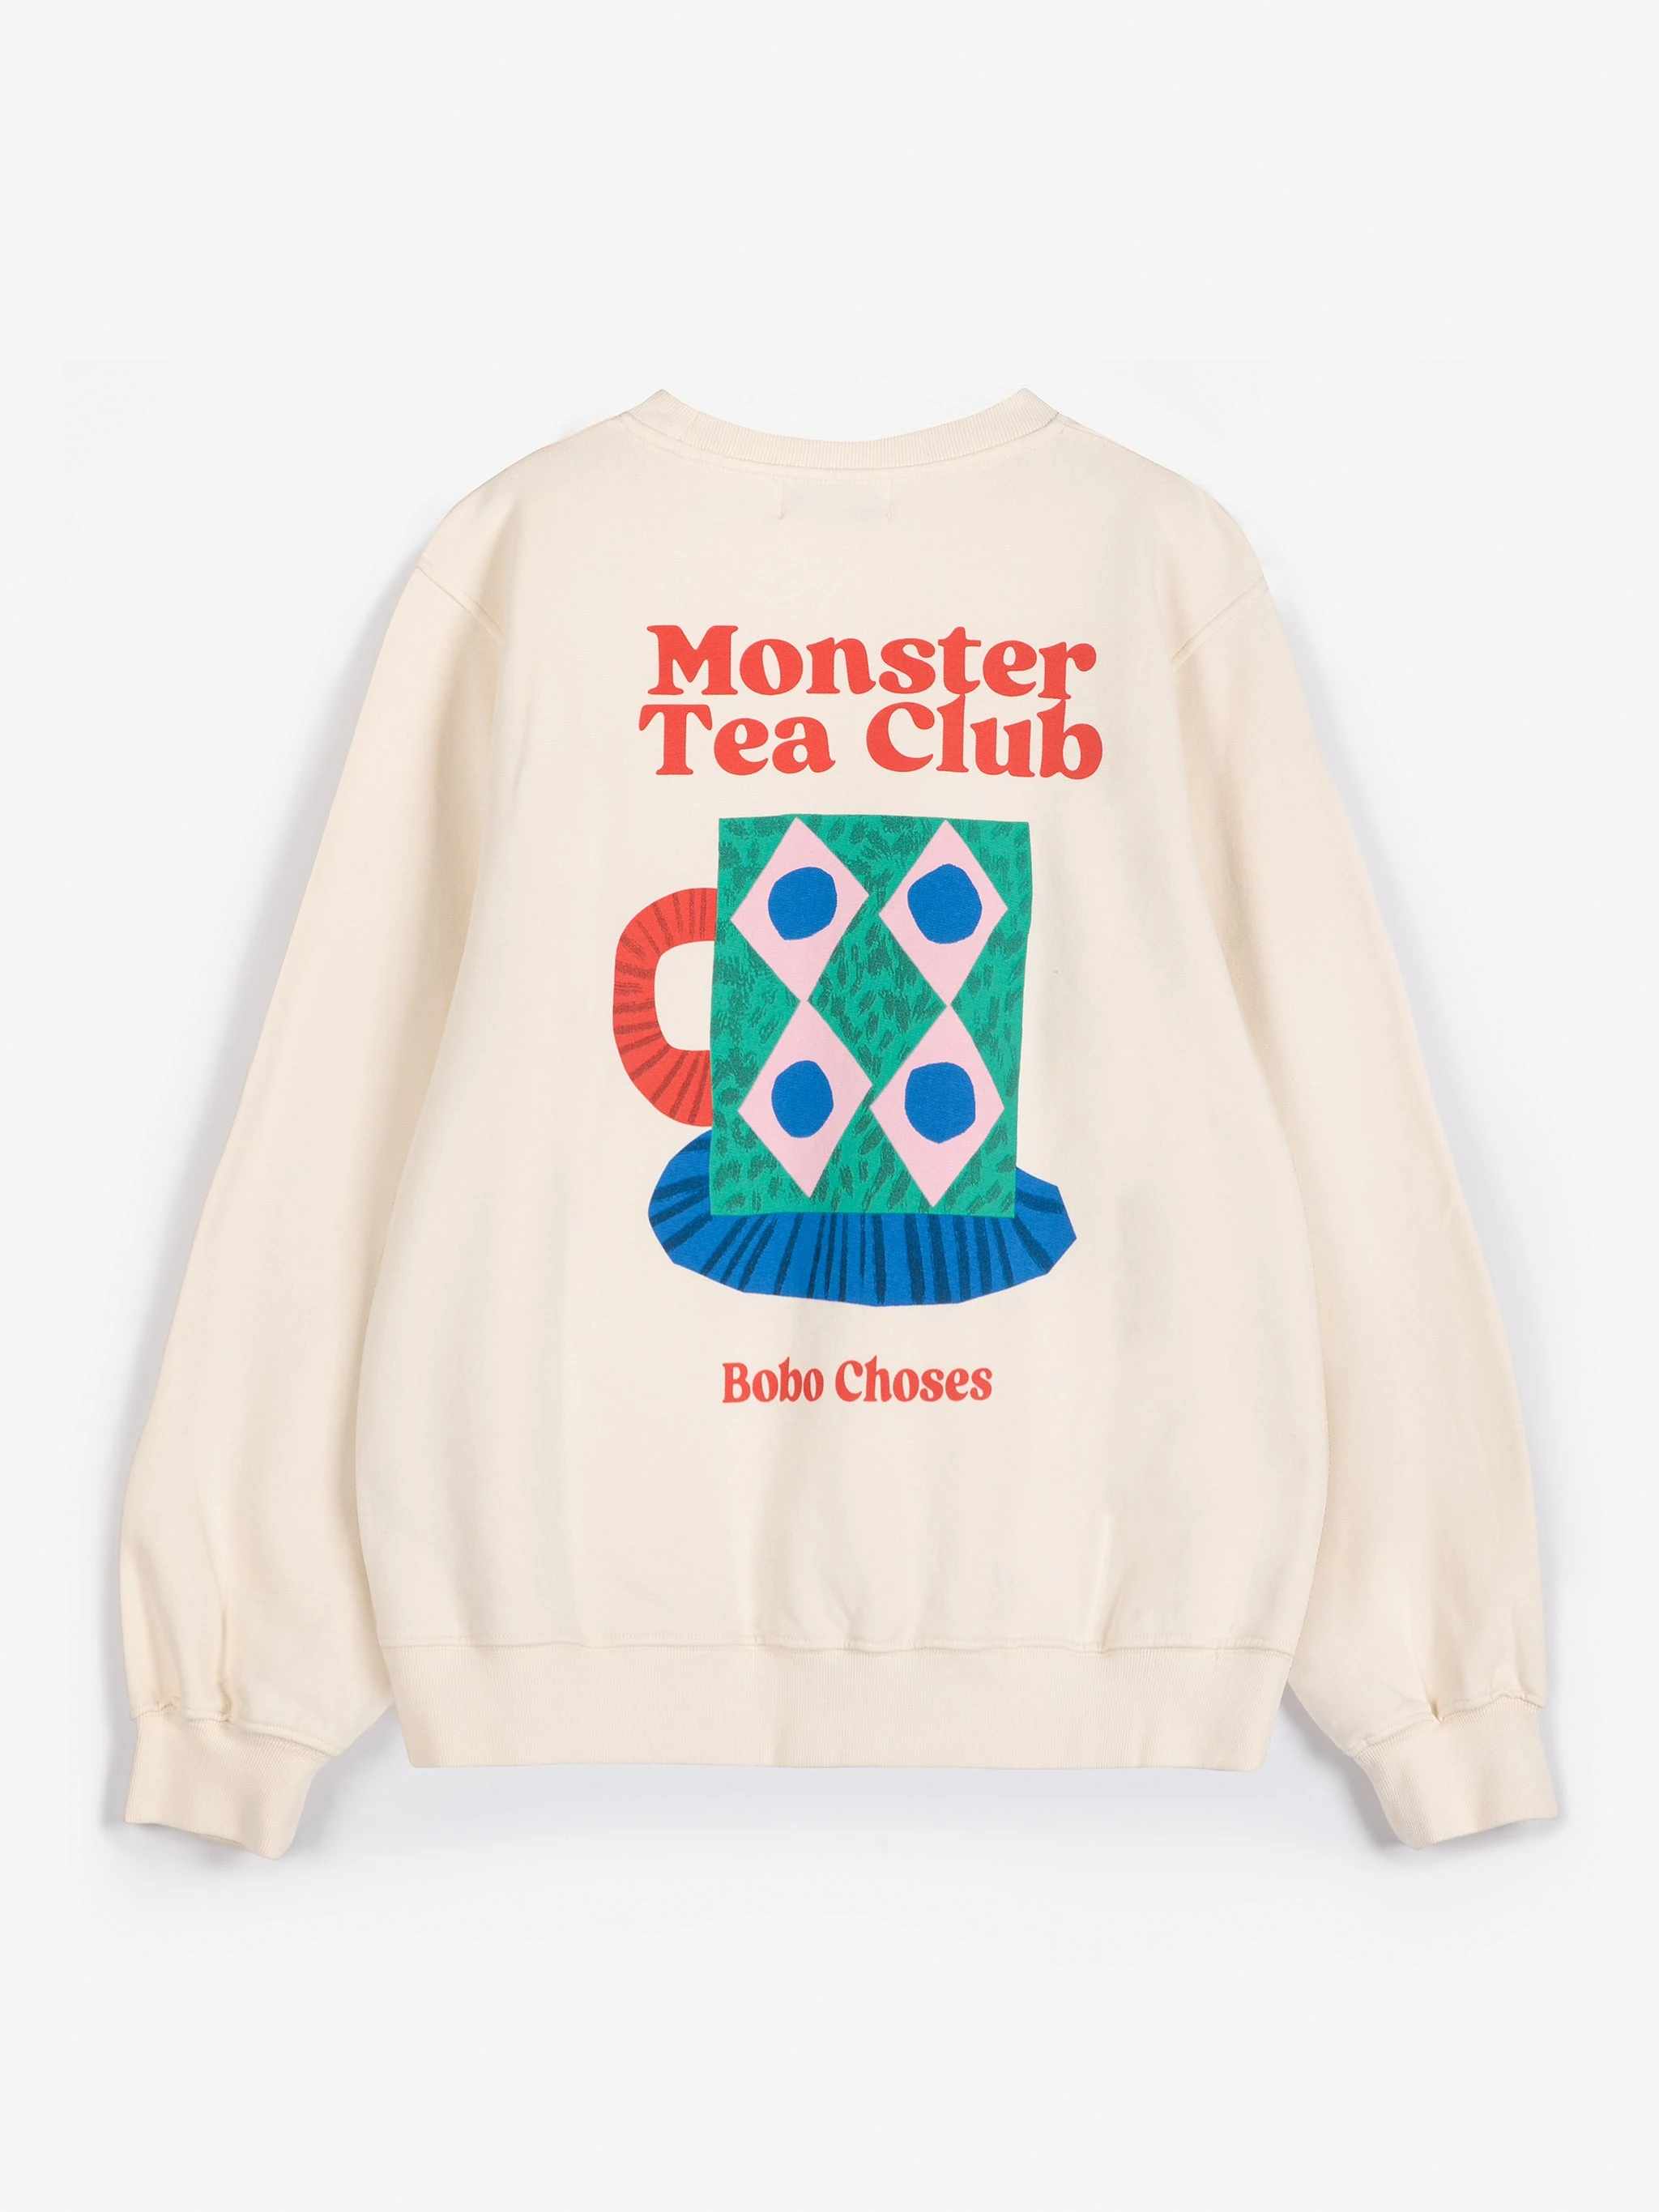
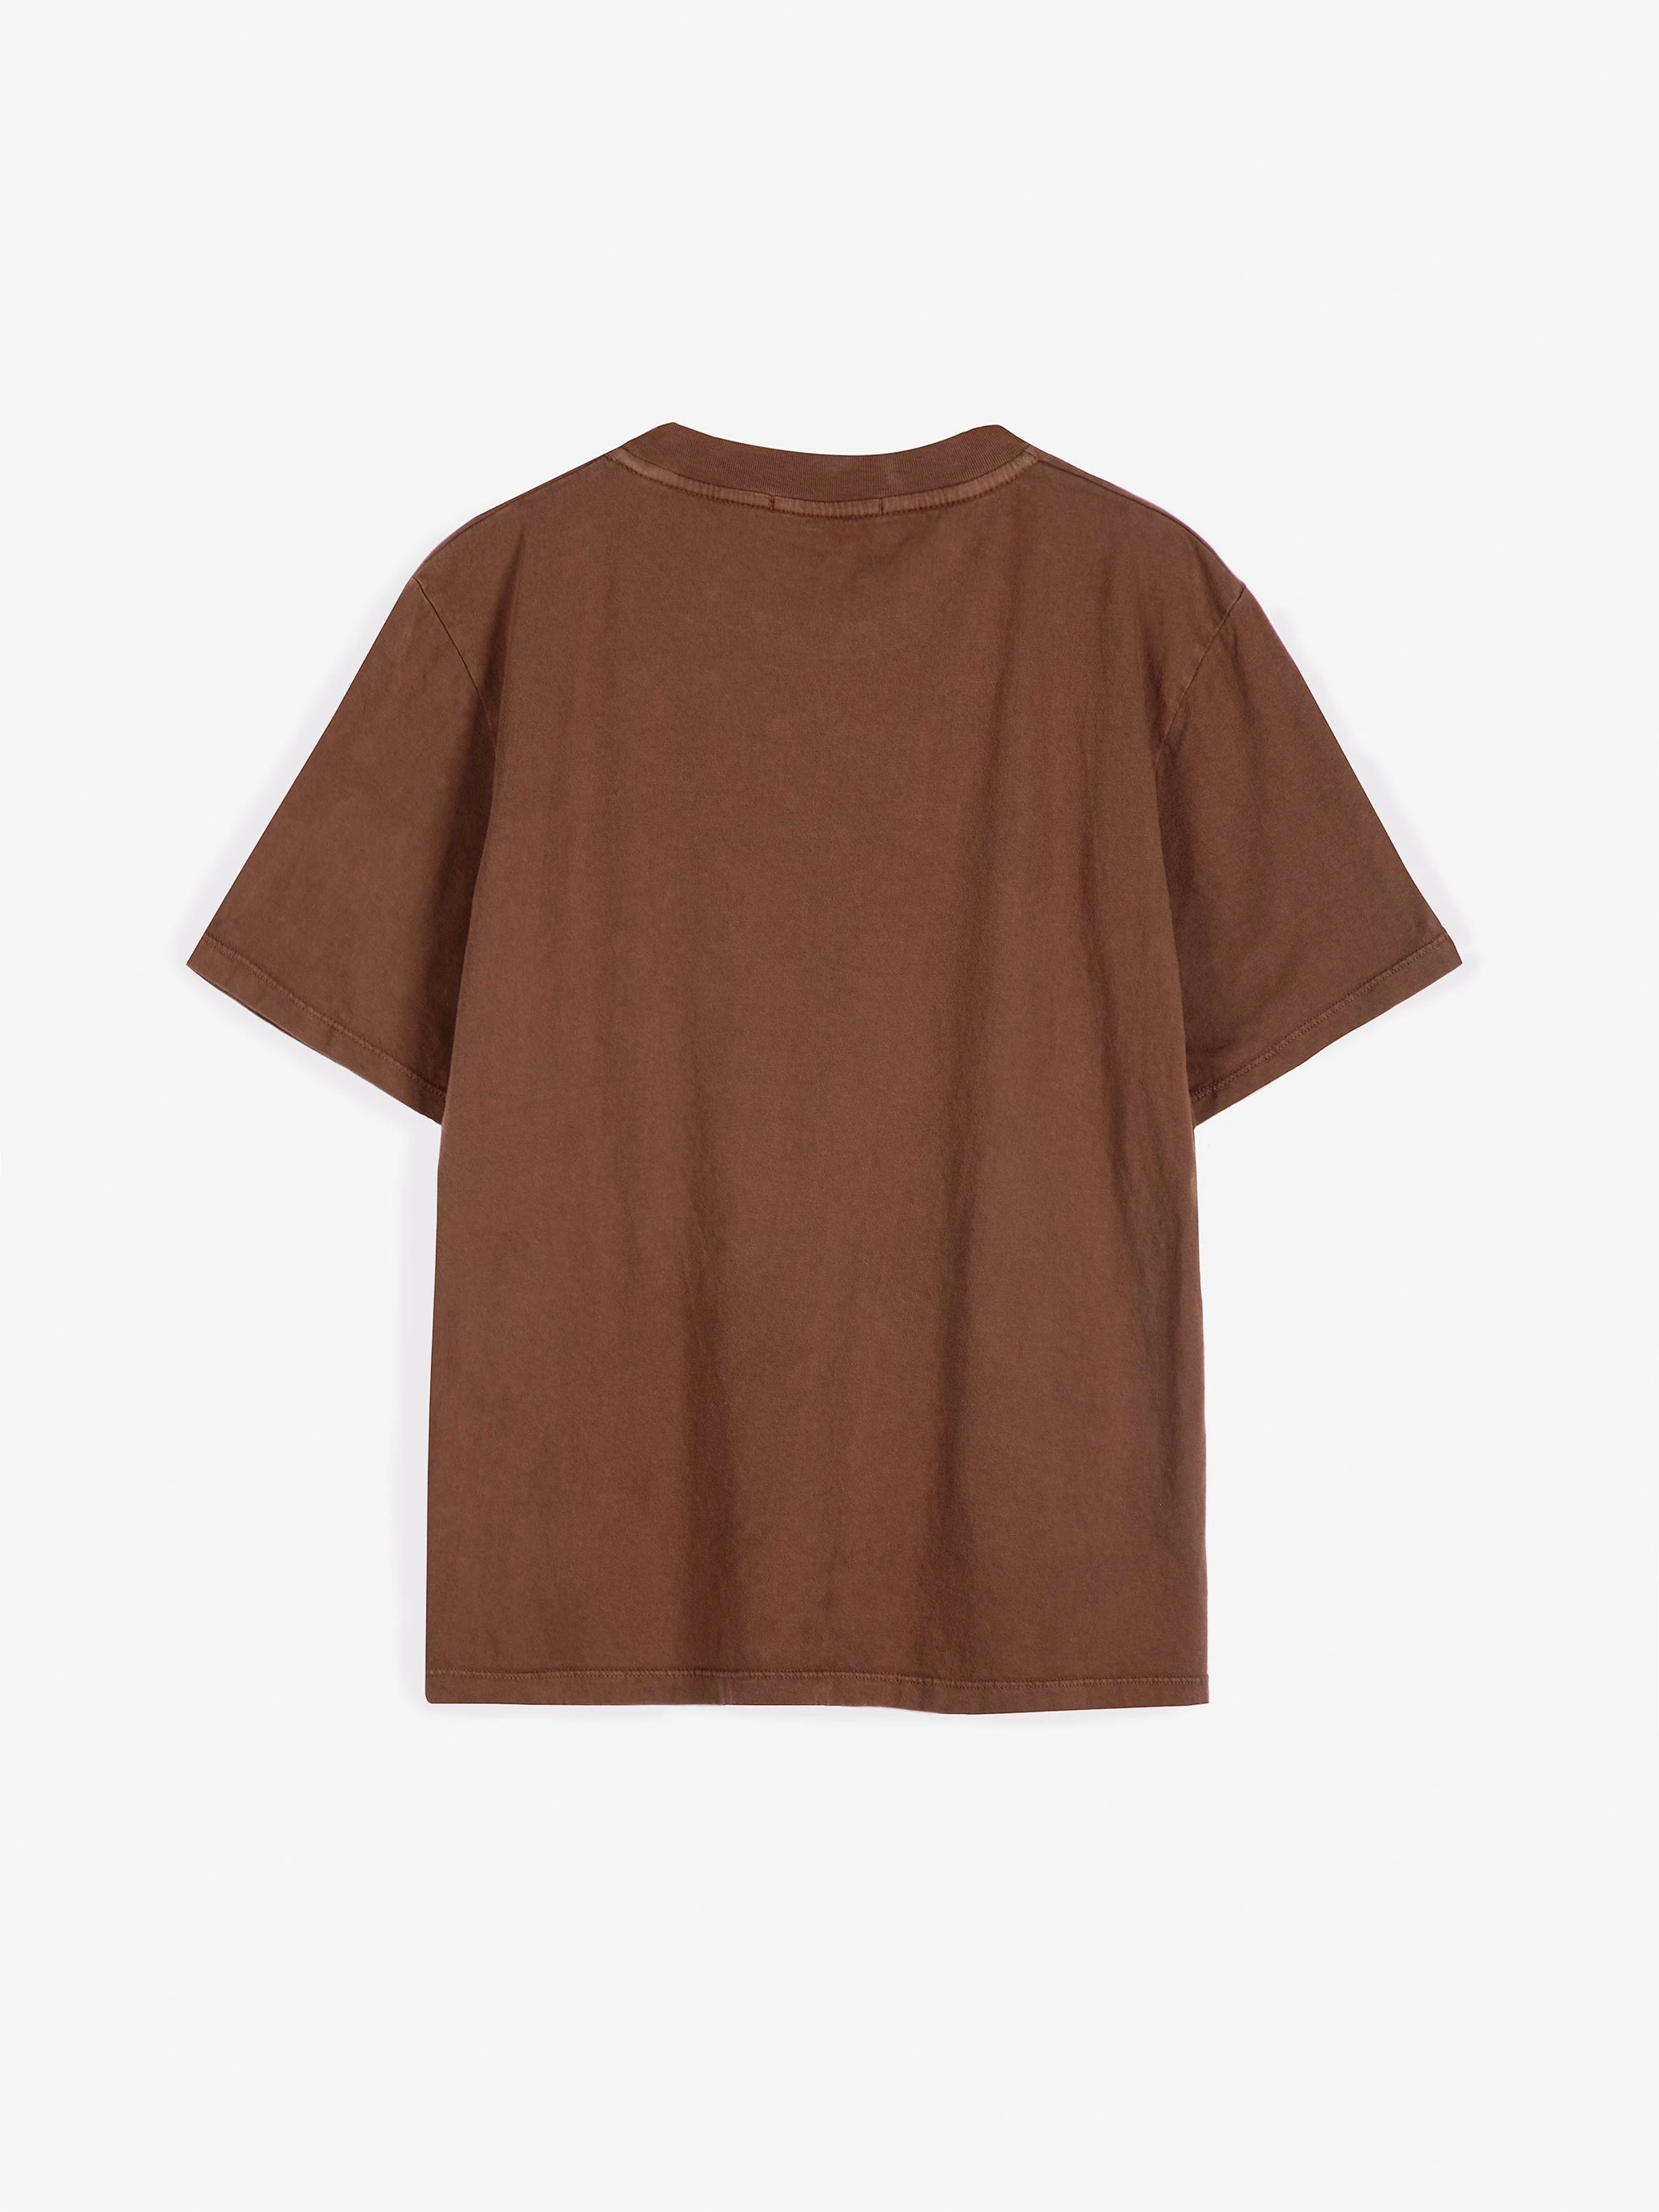
If a generated back view repeats a print that belongs only on the front, state that the back is plain in the prompt. Check the next result against the real garment.
Step 3: Choose a useful shoe angle
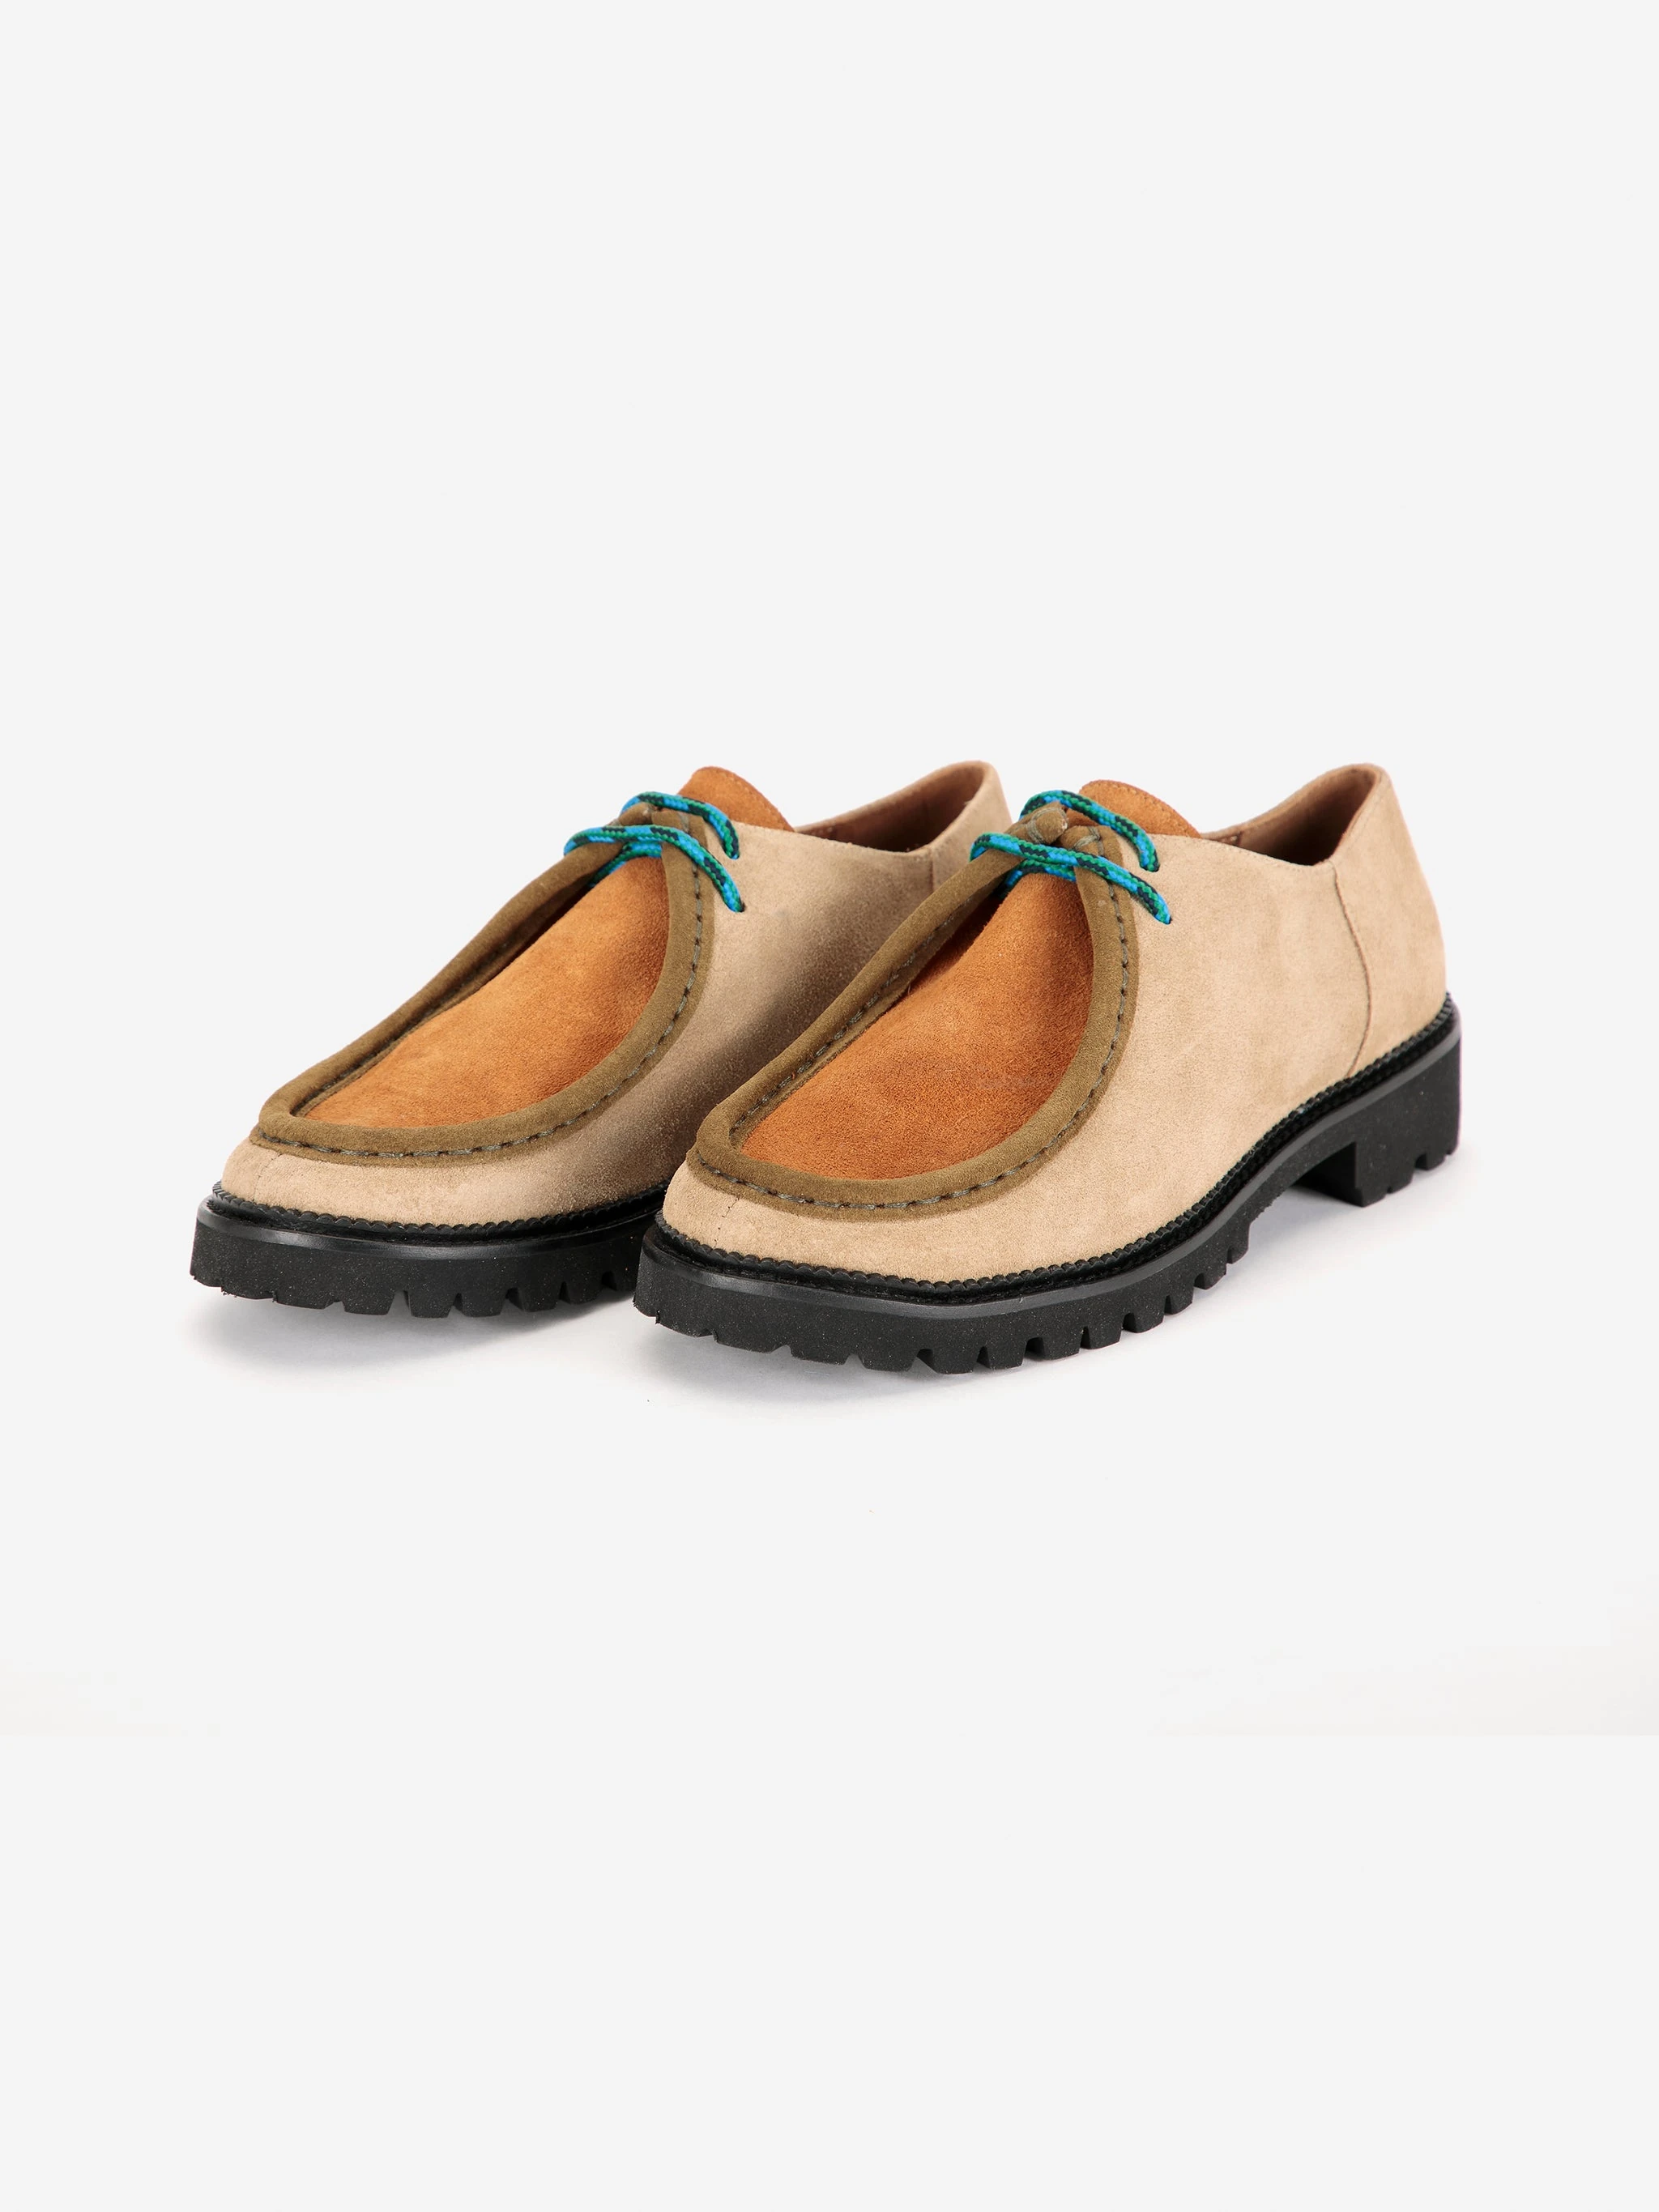
When shoes support the outfit, use one clear photo from the front at about 45 degrees. It shows the toe and side together. Several similar views may not add useful information.
When shoes are the main product, extra references may help show their details. Choose them for what each one adds.
Step 4: Match the references to the framing
Include a shoe reference in a full-length image that shows the shoes. If the shot crops them out, remove that reference. Keep the inputs focused on what you want in the image.
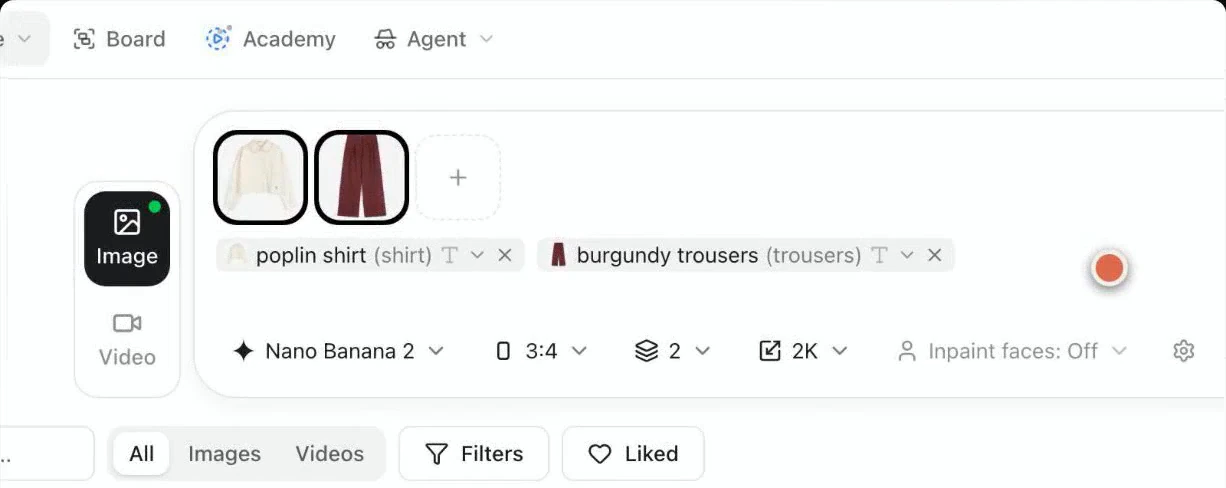
Step 5: Use the prompt for information the photos do not explain
Some information is easier to express in words. Add what the photos leave unclear and keep the instruction focused. You do not need a long description copied from another chat.
For example, a flat product photo of balloon jeans may not explain how roomy they should look on the body. Add “balloon fitting” to describe the intended fit.
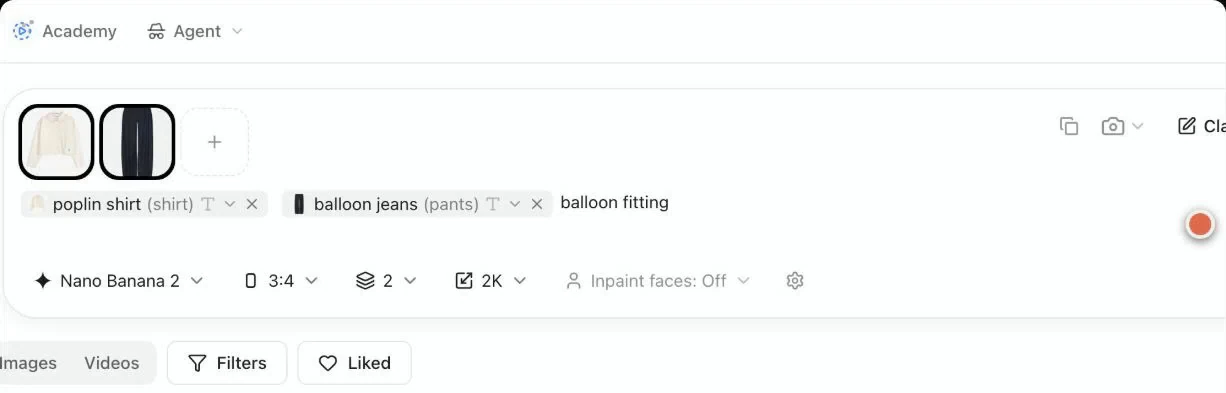
Generate, compare the fit with the real garment and adjust the wording if it still needs work. The workshop’s balloon-jeans example is a separate FRAME product; it is not the burgundy Bobo Choses trousers used earlier in the series.
Check your result
Check that every reference contributes useful information. Your photos should explain the product’s visible details, and the prompt should clarify what those photos cannot show. Compare the output with the real garment’s shape, color and details before keeping it.