AI Packaging Mockups in Photoshop for Product Teams
A packaging designer needs to show a label wrapped around a jar. A brand manager wants to compare box colors and patterns. An ecommerce team needs a product scene that helps explain a launch concept.
The Astria Nano Banana Photoshop plugin lets these teams use a package photograph and reference artwork to prepare visual mockups. Keep the approved artwork and package specification available throughout the review, then finish exact copy and print files in the normal design workflow.
Watch a plain box become a packaging concept
The demonstration applies patterns and logos to jars, pouches and boxes, changes a lid and container appearance, and explores package colors and a product setting. The box sequence begins with a plain white package and develops a patterned blue concept.
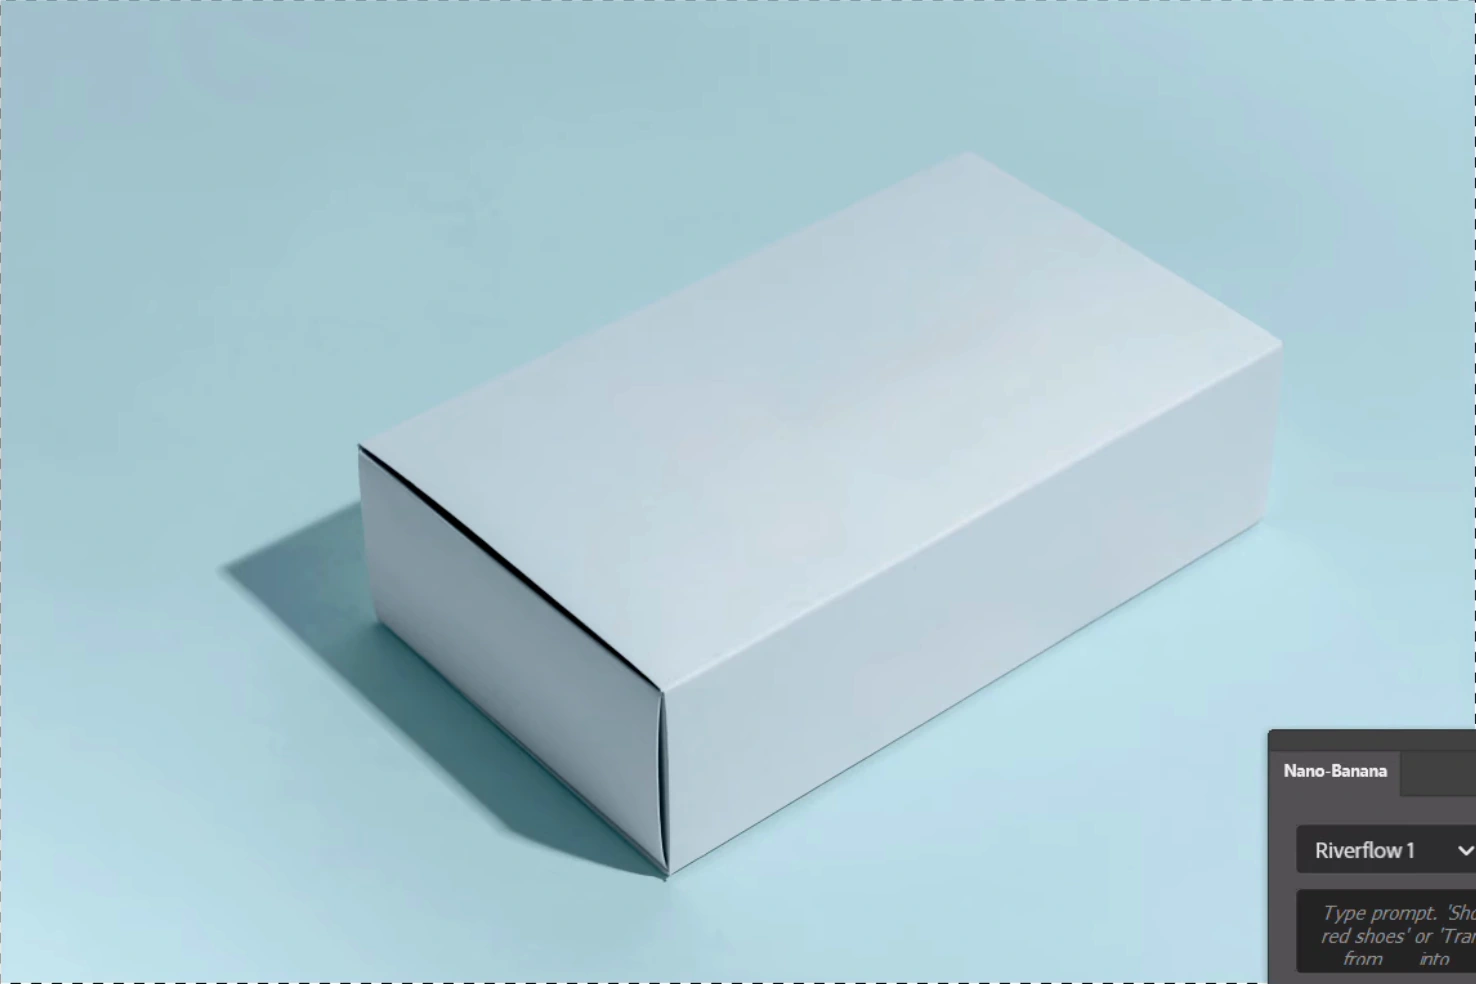
00:40 — Plain package before applying the graphics and color treatment.
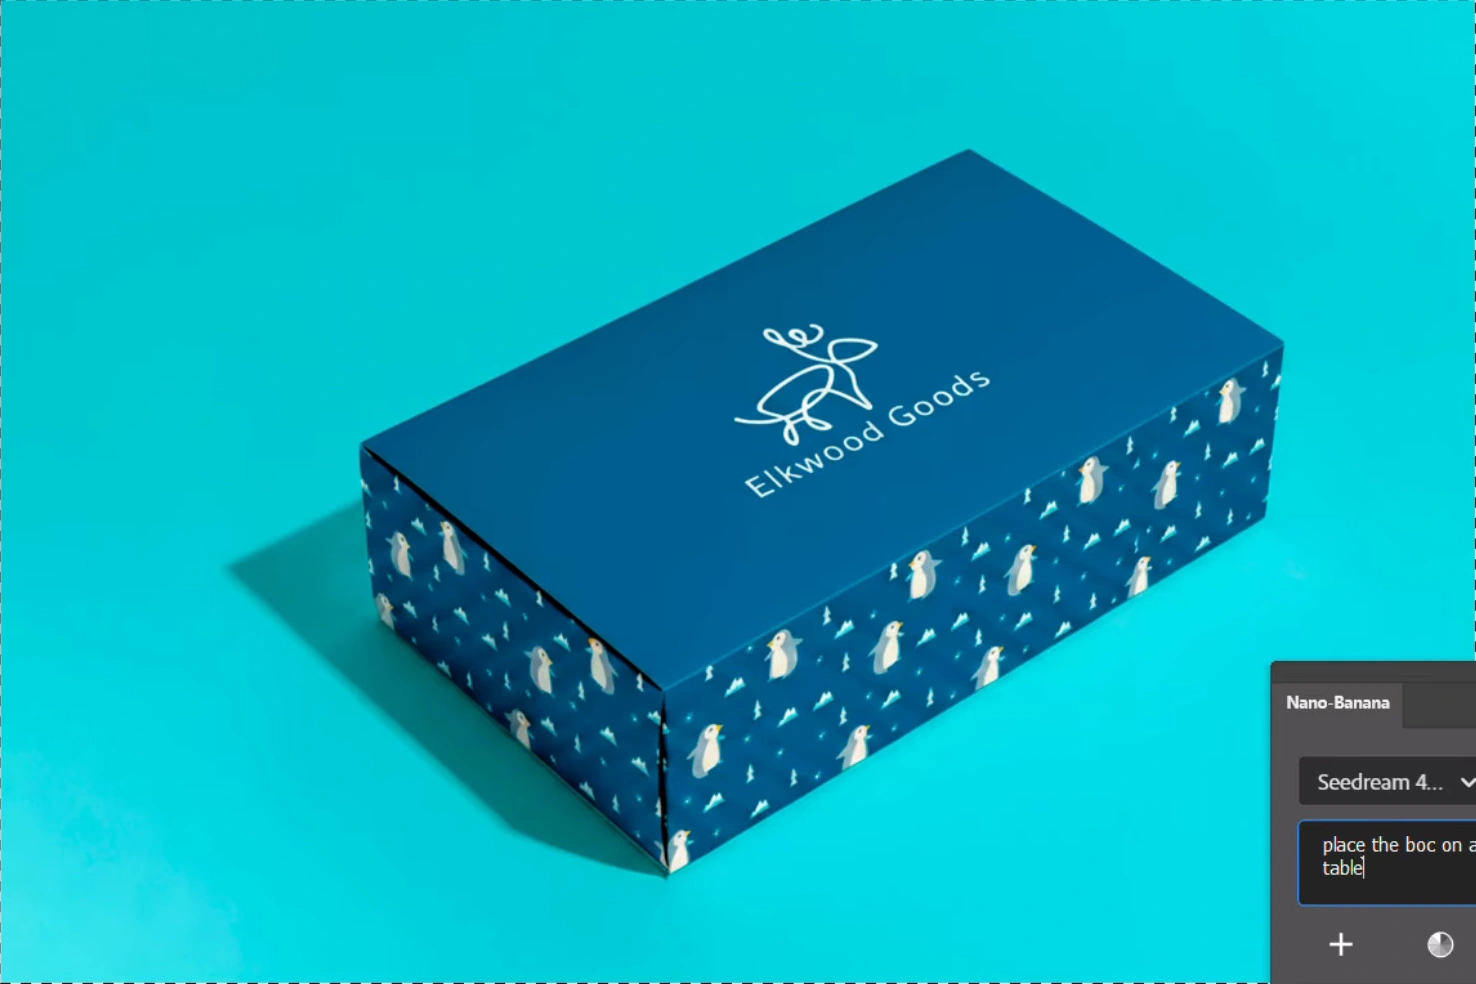
01:28 — Blue lid, white logo and patterned side panels on the same package view.
Select an image to enlarge it. Frames are cropped from the original video.
Watch the original Astria demonstration. The recording shows an earlier plugin interface; use the current panel for the selection, reference-image and returned-layer workflow. Illustrations are stills from that recording.
Prepare the package and artwork as separate references
A clear package photograph establishes the container's shape, closure and perspective. Approved artwork establishes the logo, pattern and text. Use each reference for its own role rather than asking a logo image to describe the physical package.
For a box, decide which graphics belong on the lid, front and side panels. For a jar or pouch, decide where the label starts and ends and which seams or transparent regions must remain visible. A brief with clear panel assignments is easier to review than a request to apply a general brand style everywhere.
Keep the actual dieline, dimensions and print artwork in the design document. The generated mockup helps stakeholders understand appearance; a print-ready layout still needs the original editable files and normal production review.
Build packaging alternatives one decision at a time
Start with the plain package image and retain it on a base layer. Select the relevant panel, attach the artwork or pattern reference, and describe the assignment. Generate a candidate and inspect the edges where graphics meet folds, corners and the lid.
Make color and finish alternatives from the same base. If the question is whether a blue or neutral lid works better, keep the side pattern, camera and lighting consistent. Use a Photoshop color adjustment when that gives you the controlled comparison you need.
When changing transparent containers or visible contents, review how the material affects highlights, refraction and the label. A new fill must still sit inside a credible container rather than painting through the lid or erasing the glass boundary.
Map the mockup to product team decisions
| Role | Application | Deliverable |
|---|---|---|
| Packaging designer | Preview panel artwork and pattern placement | Concept mockups alongside approved artwork |
| Brand manager | Compare colors, finishes and graphic directions | Labeled alternatives from the same package view |
| Product development team | Explore closure, container appearance and visible contents | A visual concept linked to the physical specification |
| Ecommerce designer | Stage an approved package in a product scene | Reviewed image with accurate product details |
| Trade marketing team | Explain a launch direction to retail partners | Buyer presentation using selected concepts |
| Research or growth team | Prepare controlled preference-test assets | Alternatives that identify the attribute being tested |
Finish logos and typography with original artwork
Read every word rather than judging whether the package looks typographic. Compare the logo shape, spelling, spacing, small marks and placement with the approved file. Check whether a repeating pattern changes scale or direction between panels.
Use original logo and text layers for details that need exact reproduction. Transform or warp the artwork to the package perspective and refine the composite in Photoshop. This also makes a later legal-copy or product-name change editable without regenerating the complete package.
Prepare a lifestyle setting only after the package direction has been approved. Inspect contact shadows and the visible package against the source after placing it on a table or changing the background. Keep a clean product view available for the team that needs to judge the package itself.
For broader product scene preparation, see the AI product photography guide. For recipe and reference planning, read ecommerce product photography prompts.
Get the Astria Photoshop plugin to explore packaging concepts with your own source image and artwork. Consult Astria pricing for current terms.
Frequently asked questions
Can Nano Banana create a packaging mockup from a photograph?
Use a clear package photograph as the source, attach approved artwork references, and assign graphics to the intended panels. Review the returned layer for package shape, artwork placement and legibility.
Are AI packaging mockups ready for printing?
No. A mockup visualizes appearance. Use approved editable artwork, the actual dieline, dimensions and normal print-production checks for manufacturing files.
How can I compare packaging colors or patterns?
Generate each option from the same source package view, change one attribute at a time, and keep perspective, lighting and the remaining artwork consistent. Use ordinary Photoshop adjustments for controlled color changes when possible.