Create a Lookbook with Astria Agent: From One Look to a Collection
The walkthroughs use screenshots from Astria with English narration. Turn on captions in the player.
A lookbook is a set of photos that shows how clothes look on a person. In this guide, you’ll make the first set, attach a folder of new outfits, and use a table to choose exactly which looks Astria should shoot next.
Have ready a product-page link or a few photos of someone wearing the first outfit, plus photos of the new clothes on their own. Use Chrome or Edge on a computer for the folder step.
1. Start your first lookbook
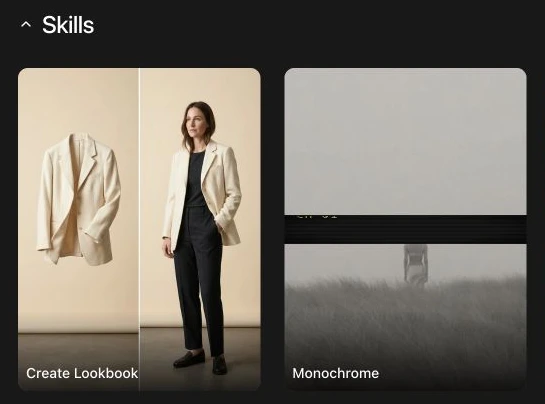
Open Astria and select your brand’s workspace. Click New chat (the pencil icon in the sidebar), then open Skills below the message box and click Create Lookbook.
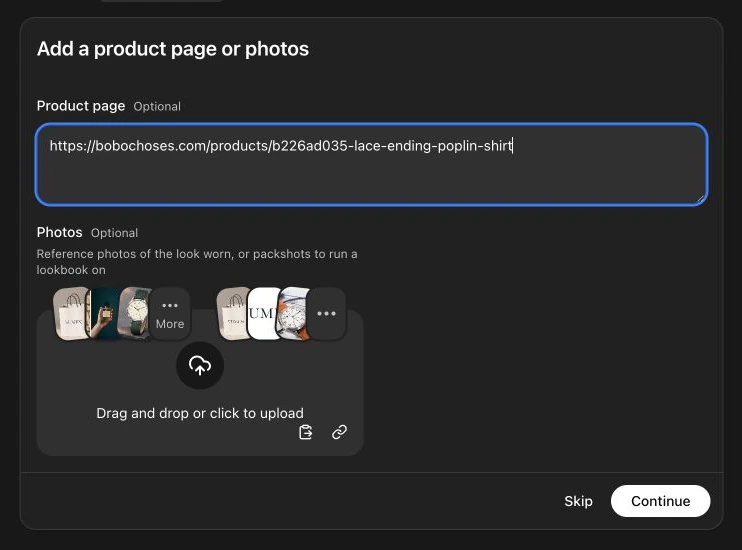
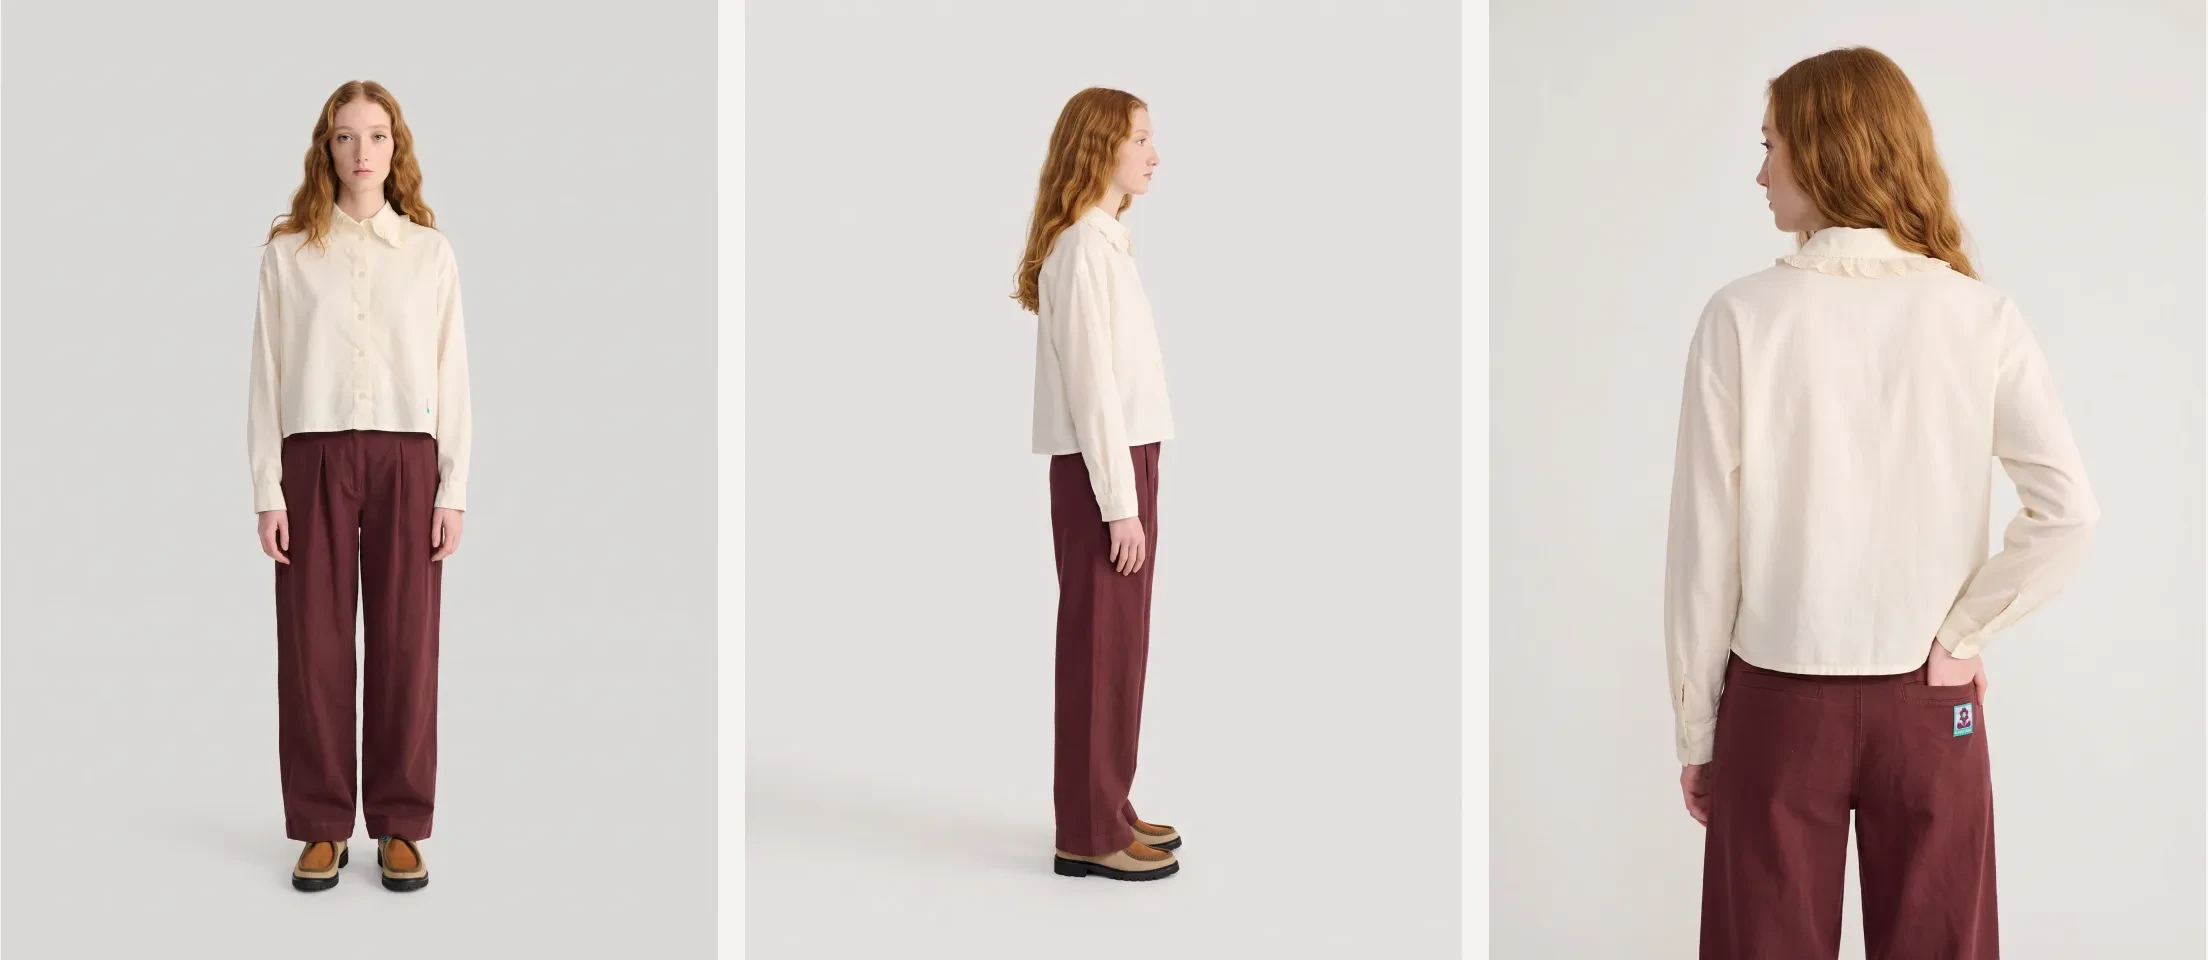
When the agent asks for a source, paste a link under Product page, or add pictures under Photos. Pick a page or pictures that show the outfit being worn. Front, side and back photos give the agent three angles to work from. Click Continue.
We use a Bobo Choses lace-collar shirt from the Astria Academy example.
2. Choose a model and check the first photos
Under Choose your model, pick an option and follow the choices in chat. When the photos appear, check the color, fit and framing against your original pictures. If a shot needs a change, tell the agent which shot and what to fix. For example, “In the front photo, show both shoes.”
Once you’re happy with the photos, you’re ready to use them as the starting point for the next outfits. Stay in the same workspace so the agent can find the earlier photos.
3. Attach the collection folder to your chat
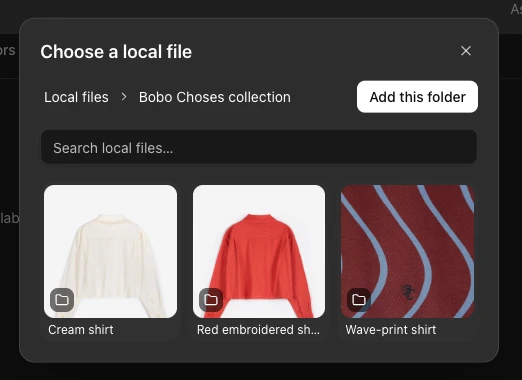
On your computer, make one folder for the collection. Inside it, make one folder per outfit. Keep all photos of that outfit together. A folder can hold just a shirt or all the pieces you want worn together. Use names you’ll recognize, such as Red embroidered shirt and Wave-print shirt.
- In Astria, click New chat in the same workspace. Next to the message box, click Add reference (the plus button).
- Choose Local files…. If this is your first time using the folder, click Connect a folder, pick the main collection folder on your computer, and allow access when your browser asks. If the folder is already connected, open it in Local files.
- Inside the collection folder, click Add this folder. Check that its name appears in the message box. That’s the attachment you’ll send with the next message.
Keep the browser tab open while the agent reads the photos. If the browser asks for access again when you return, allow it before you run more rows.
4. Send the message and review the table
With the folder attached, type these two words in the message box and click Send (the up arrow).
run lookbook

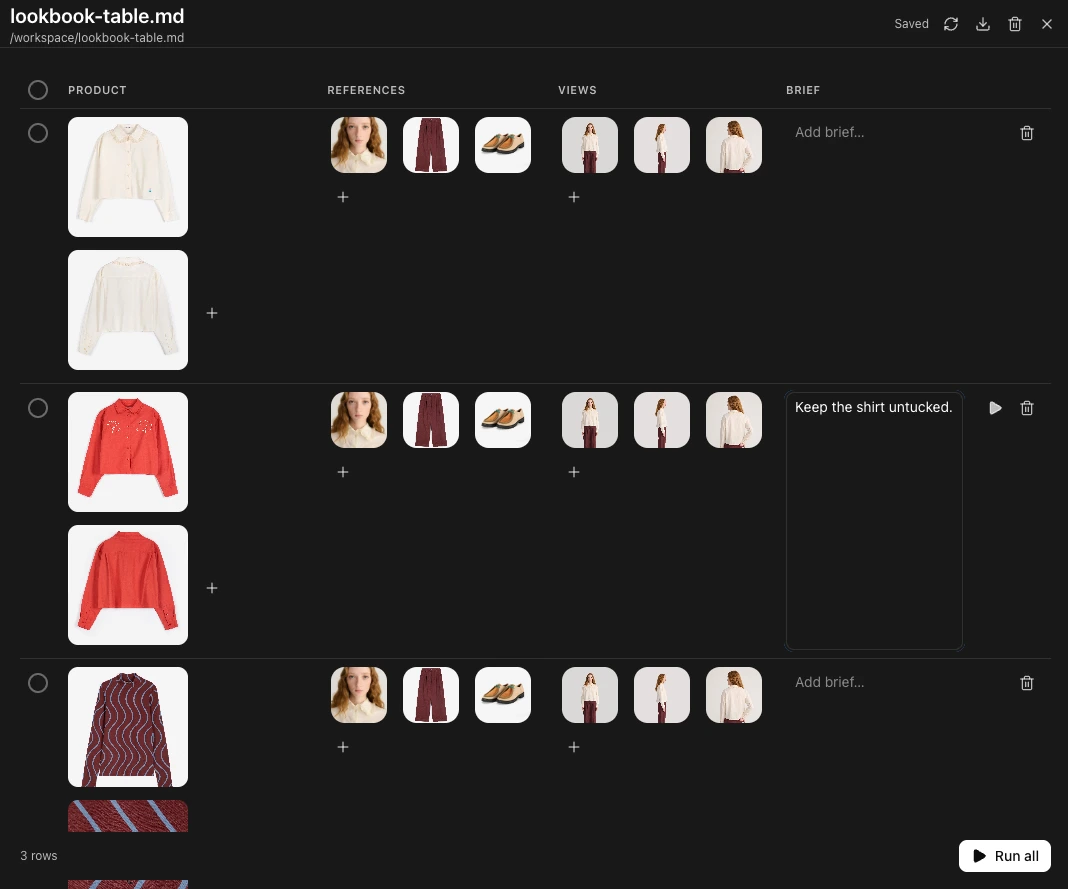
The run lookbook table can open beside the chat. If you only see Run these?, click Browse files (the folder icon at the top of the chat) and open the lookbook table file. Each row is one outfit. Check these four columns.
| Column | What to check or change |
|---|---|
| Product | The new clothes to shoot. Click a thumbnail to see it larger. |
| References | The saved model and pieces the agent will reuse, such as trousers or shoes. Hover over a thumbnail to see its replace or remove controls. |
| Views | The earlier photos that guide the new shots. Check which angles you’re about to make. |
| Brief | A note for the whole row. Click the field and type something simple, such as “Keep the shirt untucked.” |
Use the + in an image cell to add an item. Edits save automatically. If the wrong garments are grouped together, you can also ask the agent in chat to fix the table before you run it.
5. Run one look, then review the results
To try one outfit first, tick the circle at the left of its row. Click Run 1 row at the bottom of the table. You can also hover over that row and click its play button. To run a few outfits, tick their circles and click Run with the number shown. To start the whole collection, use Run all.
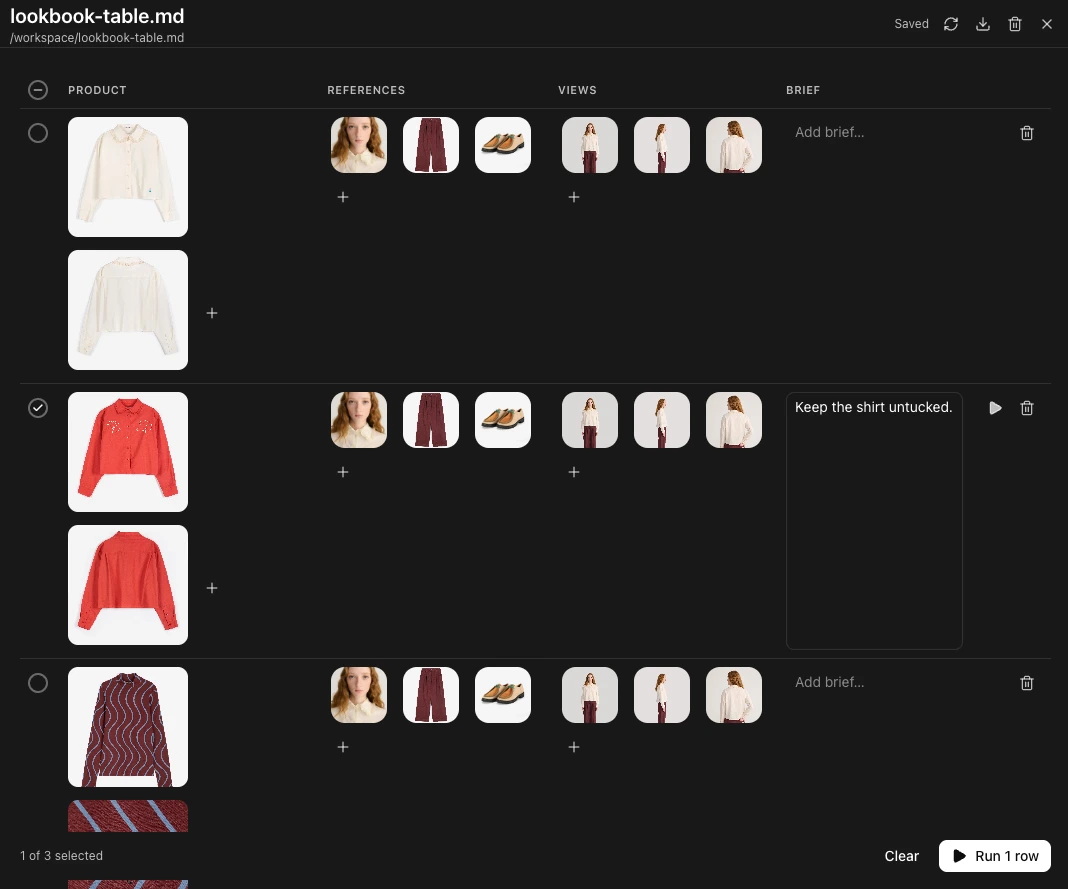
When the new photos appear in chat, open them and check details such as the print, collar or hem. If you want to fix one photo, ask for that shot by name. For example, “In the red shirt’s front shot, move closer so the embroidery is easier to see.” To apply a change to every view of an outfit, edit its Brief and run that row again.
Only adding one outfit? Attach the individual product photos to the chat and send the same message, run lookbook. You can start with a single row.