Inpaint Faces: Refine Detail and Restore Likeness in Astria
Inpaint Faces adds a dedicated face-processing pass to your Astria image. Use Normal for natural facial detail, Strong for a more pronounced skin-texture treatment, or Identity when the face needs to look closer to the person in your reference.
A portrait can have the right outfit, pose and lighting while the face still feels slightly wrong. Identity uses the supplied person reference to rebuild the face within that scene. The example below shows the same gray-suit portrait before and after the Identity pass, alongside its source reference.
Attach one person reference → open Face inpainting in the composer → choose Identity → Generate.
For an existing result, open its image tools and choose Inpaint faces → Identity.
See the Identity difference
This is the reference-led example from Astria’s October 21 product-update email, created in the Headshots workspace. The article uses the original image files rather than the email thumbnails.
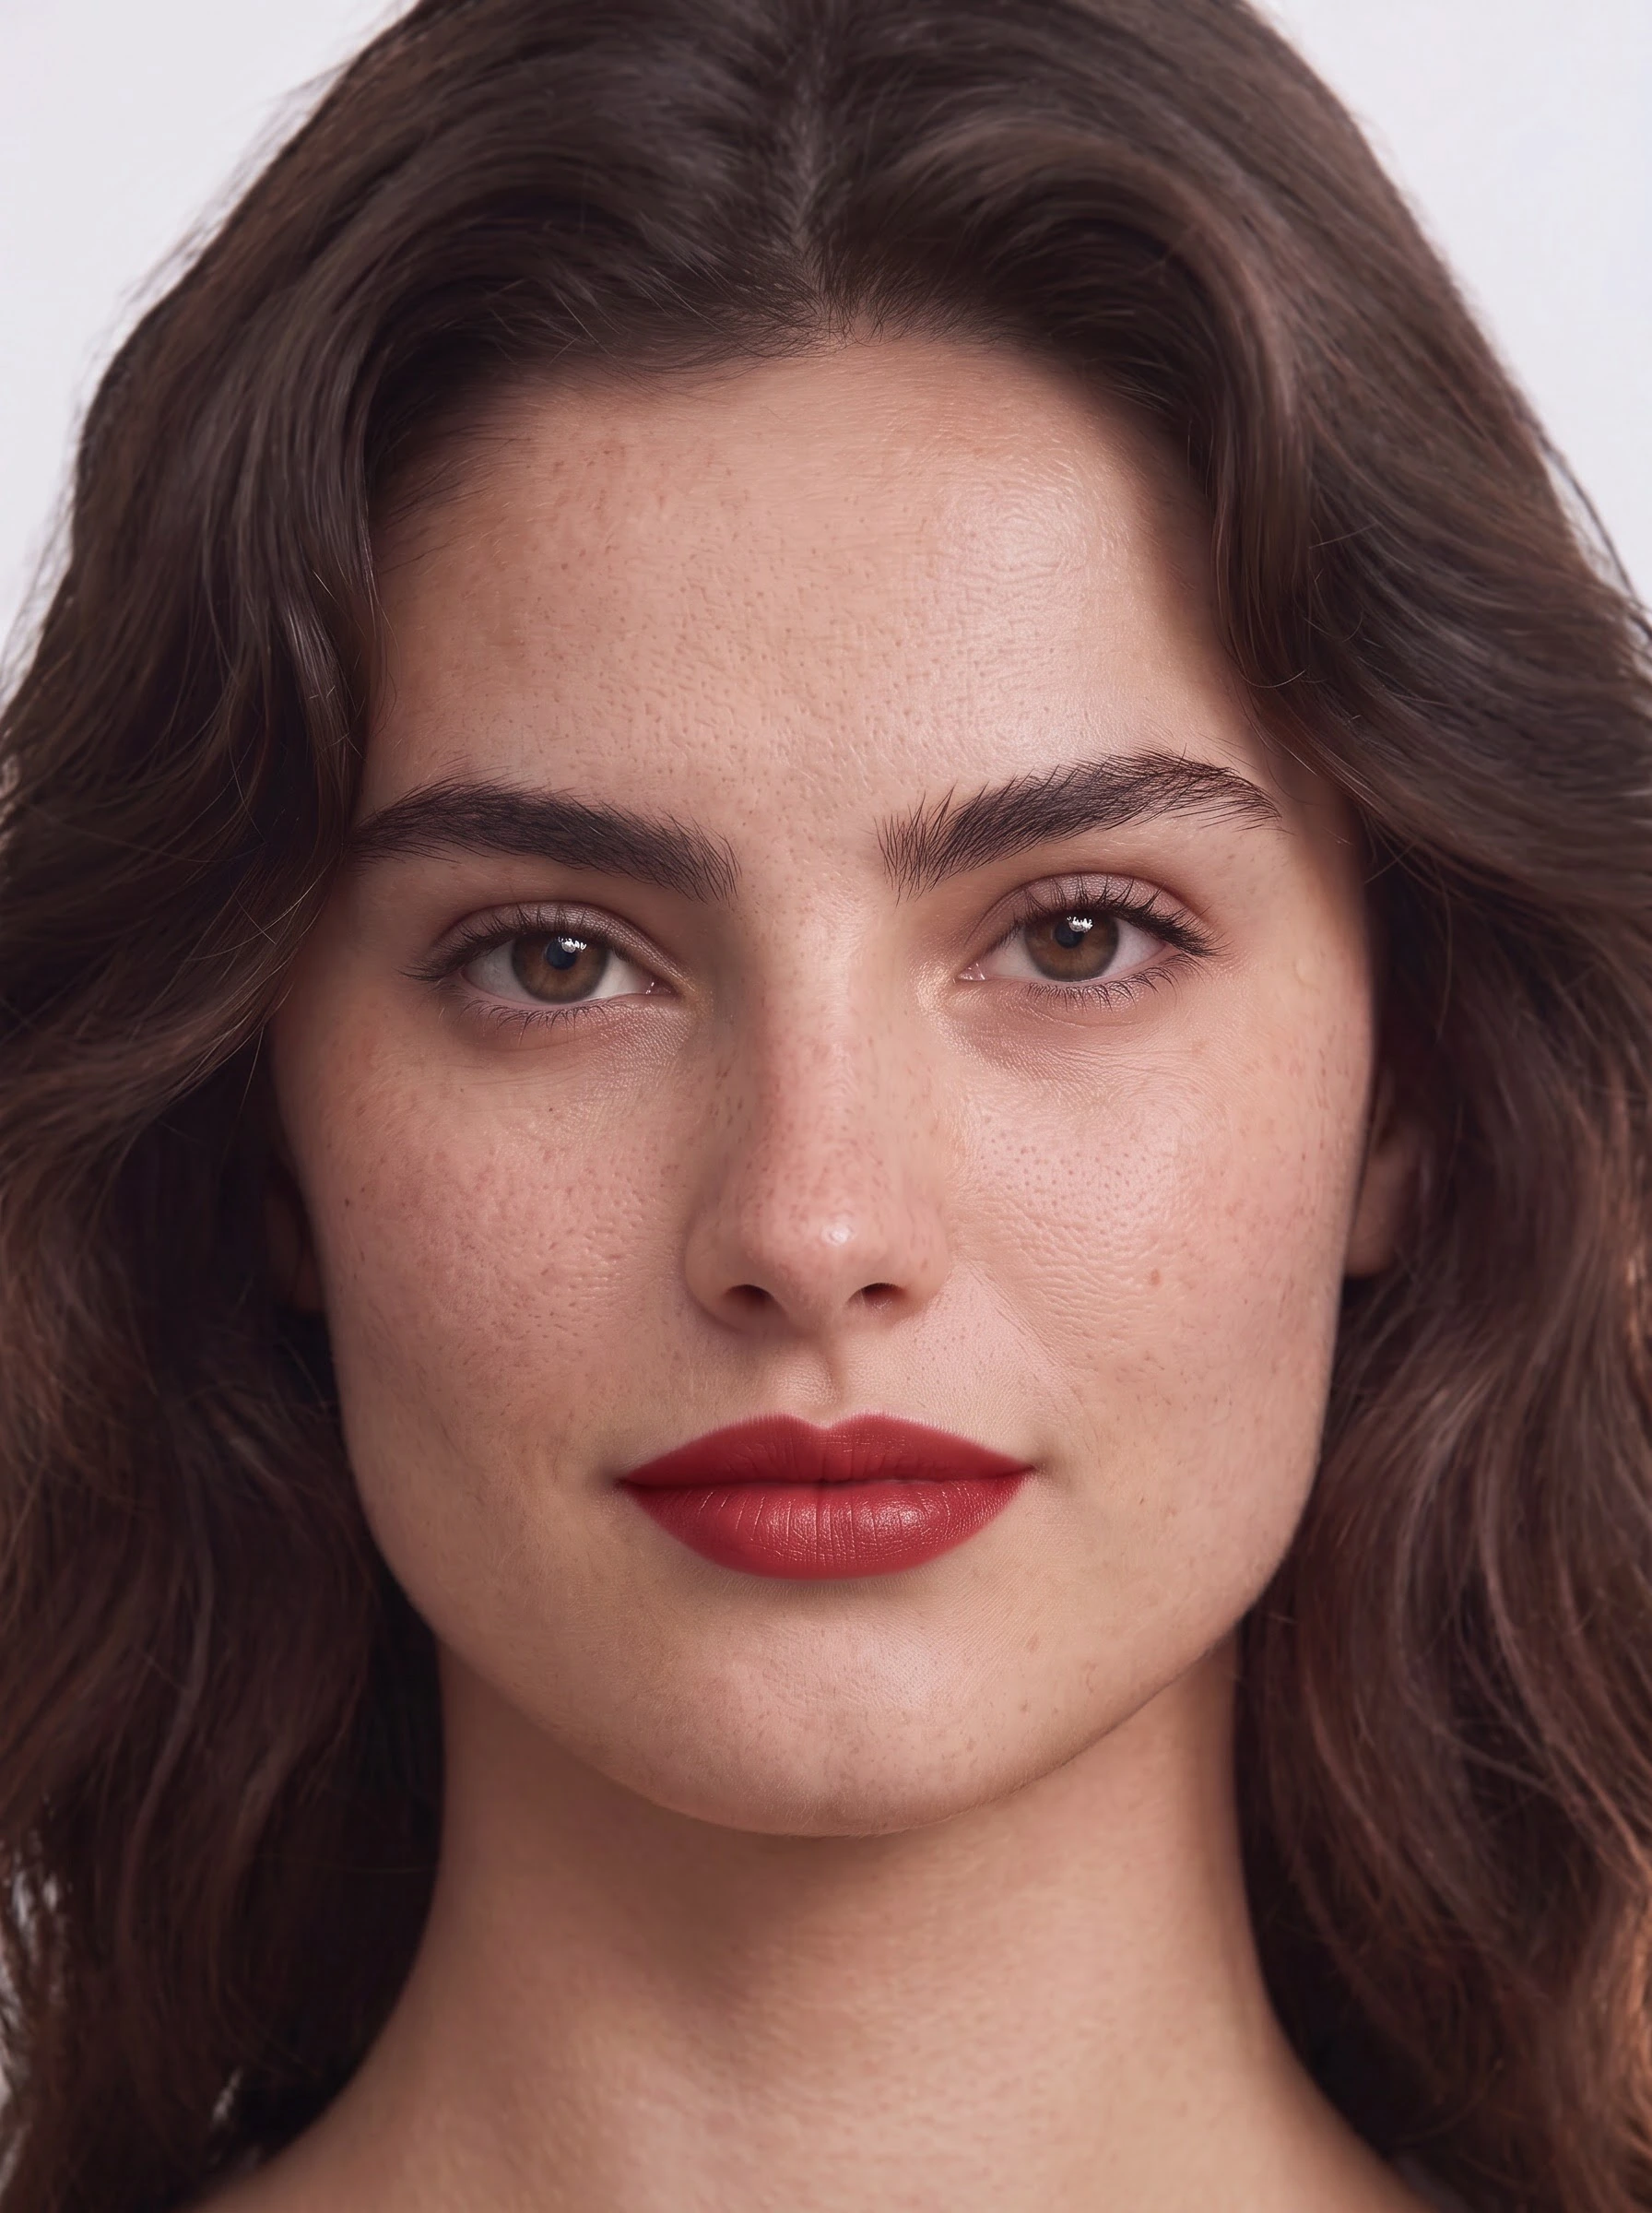
Identity · complete portrait
Compare the same image before and after Identity. Select Scan line and drag the divider to inspect the change. The person reference is shown above.


One scene, one person reference. The pose, gray tailoring, black shirt and studio background remain visually consistent while the face changes. These are the before and finished frames attached to the same Identity prompt.
Inspect the face closely
The change is easier to see in the eye and brow shapes, the mouth, and the freckles across the cheeks. In this selected example, the finished face follows the reference more closely. That is a visual observation about this pair, not a guarantee of exact likeness in every image.
Identity · matched face detail
Compare the same image before and after Identity. Select Scan line and drag the divider to inspect the change. The person reference is shown above.


Identical crop coordinates after matching the full-frame display dimensions. The larger finished frame is downsampled; neither crop is enlarged. No manual face retouching was applied to these article assets.
Check likeness against the reference, not just whether the skin looks sharper. A more detailed face can still have the wrong proportions. Also inspect the hairline, ears, jaw and neck for a natural transition into the surrounding photograph.
Choose Normal, Strong or Identity
| Mode | Use it when | What to review |
|---|---|---|
| Normal | The face already resembles the person, but its skin or facial detail needs refinement. | Natural pores and texture, complexion, and whether the expression still works. |
| Strong | You want a more pronounced treatment of skin texture and pigmentation. | Whether the treatment adds too much texture or changes the appearance of the skin. |
| Identity | The scene works, but the face has drifted away from the supplied person reference. | Face shape, eyes, brows, nose, lips, skin tone and distinguishing details against that reference. |
| Off | You want the generation without an additional face pass. | Whether the face is already suitable at the intended publishing size. |
Identity is a different objective from stronger retouching. It asks the face pass to reconstruct the referenced person while keeping the destination head position, angle, lighting, clothing and background. Use a single person reference for this workflow. A collection of different people does not give Identity one unambiguous person to restore.
The campaign example demonstrates Identity only; it is not a side-by-side test of all three modes.
Step 1: Attach a clear person reference
Open Astria’s composer and attach the person you want to photograph. Choose a sharp image with a clearly visible face, natural skin detail and enough resolution to inspect the eyes and mouth. Avoid heavy beauty filters or a distant face that occupies only a small part of the source.
For a fashion photograph, attach the garment references as well. The person reference establishes who appears in the image; the product references establish what they wear.
Step 2: Select the face mode
Open the Face inpainting control in the composer. Choose Normal, Strong or Identity according to the result you need. The selected mode appears on the control, such as Inpaint faces: Identity.
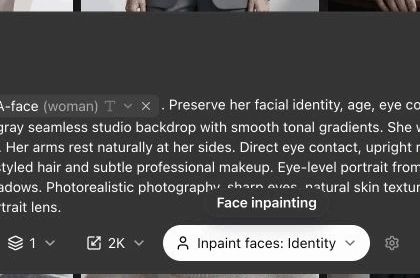
Step 3: Describe the photograph and generate
Keep the scene instructions focused on the outfit, pose, framing, lighting and expression. With your person reference attached, a starting prompt is:
Professional studio portrait of the person in the reference, wearing a tailored gray suit over a high-neck black shirt. Standing with arms relaxed at the sides, direct eye contact and a composed expression. Frame from the hips up against a soft gray backdrop. Soft directional studio light, natural skin texture and realistic fabric detail. Preserve the person’s age, facial features and hair color.
Select Generate, then review the finished face beside the reference. For a real garment, attach its photographs and describe the supplied outfit instead of inventing its design in the prompt.
Apply Inpaint Faces to an existing image
You can also refine a result after generation. Open the image’s tools menu, choose Inpaint faces, and select Normal, Strong or Identity. This creates a separate processing request for the selected image, so you can compare the finished result with the original.
For Identity, check that the original prompt has the intended person reference attached. If it does not, start from the composer with that reference rather than expecting the mode to know which person you mean.
Review the portrait at two scales
First, look at the complete photograph at the size you will publish. The face should feel consistent with the pose, light and overall image. Then inspect a close crop beside the person reference: facial proportions, expression, skin detail, hairline and the transition into the neck all matter.
For a fashion lookbook, review the garment separately. Face inpainting does not establish that a logo, print, seam or product color is correct. Lynx addresses reference-based product detail refinement; the lookbook review guide covers the wider approval process.
Frequently asked questions
What does Inpaint Faces do in Astria?
It adds a face-processing pass to refine facial appearance. Normal and Strong focus on detail and skin treatment. Identity uses a person reference to bring the generated face closer to that person.
Which mode should I use if the face does not look like my reference?
Choose Identity with one clear person reference. Compare the result against the source for facial proportions and distinguishing features, as well as overall likeness.
Do I need to draw a mask around the face?
No. The Inpaint Faces workflow handles the face region automatically. Select the mode in the composer or from an existing image’s tools menu.
Will Identity keep the clothing and background unchanged?
The face pass is intended to preserve the surrounding scene. The campaign example keeps the outfit, pose and background visually consistent, but inspect the complete result and the edges of the edited region before approving it.
Can I use several different people as Identity references?
Use a single person reference for the Identity workflow shown here. The reference-guided Identity route is not used in the same way when several different person references are attached. This example does not demonstrate group-portrait identity matching.
Does face inpainting add processing time?
Yes, it adds processing after the base image. For current charges, see Astria pricing.
Open Astria and try Inpaint Faces with your person reference.