Create a Fashion Lookbook from a Product Page with ChatGPT or Claude Code
Start with one product detail page (PDP) that shows an outfit on a person. Create Lookbook saves how that outfit was photographed: the model you choose, the styling, and the views. For the next shirt, drop in a product photo and reuse those decisions.
The clips show Astria Agent, the click-through route. The question cards are staged examples in the localhost app. To use ChatGPT or Claude Code, first connect Astria to your assistant. In a connected chat, paste “Use Astria’s create-lookbook skill in my Bobo Choses workspace” followed by the product URL. If your chat shows choices as text, reply with the option name. You don’t need to write an image prompt.
1. Create the workspace with the store URL
Open Astria. Click the workspace name (it says Personal on a new account), then + New workspace. In Title or URL, paste https://bobochoses.com and click Create workspace. If the website migration opens, click New chat. Check that the workspace now says Bobo Choses.
2. Click Create Lookbook and paste one product page
In the new chat, open Skills if the cards are hidden. Click Create Lookbook. Under What are we starting from?, choose Product page URL. Paste the Bobo Choses Lace ending poplin shirt PDP and continue. The store URL named the workspace; this second URL tells the agent which outfit to study.
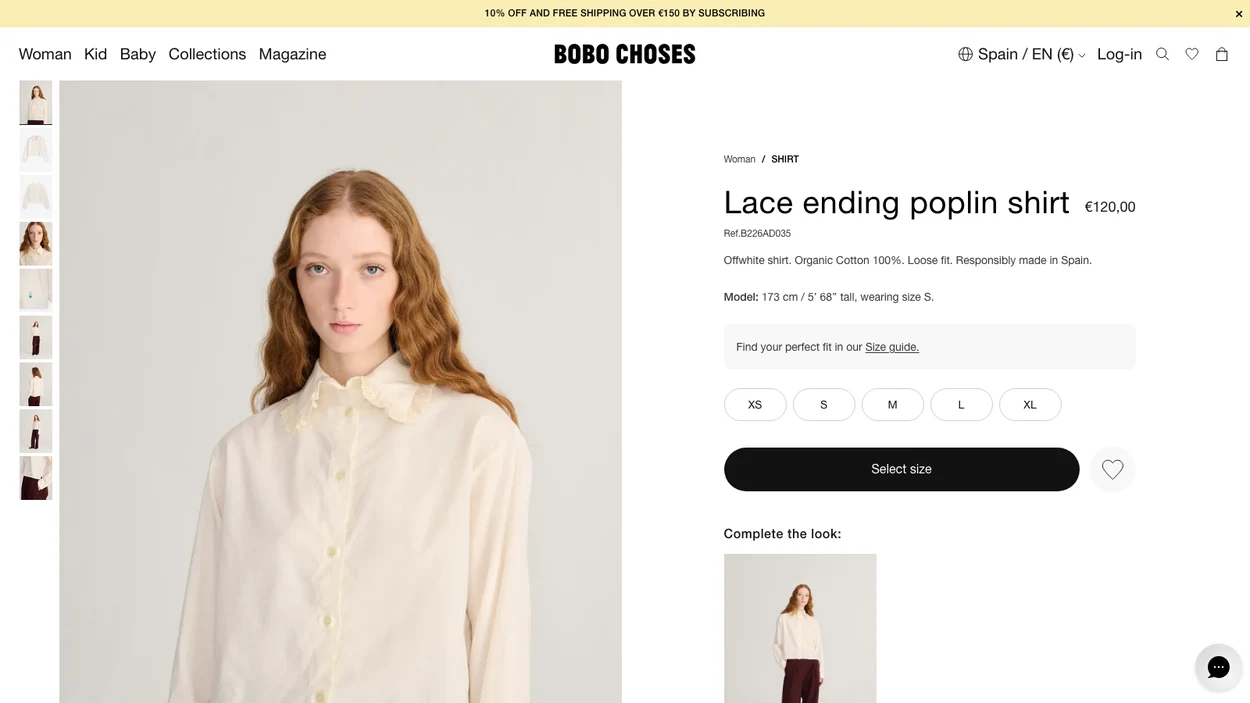
The agent opens the gallery and uses the worn and detail photos to build a shot list. A full-length photo tells it how much of the outfit to show; a collar close-up calls for a separate detail shot. The front and back product-only photos help it identify the shirt itself.
3. Pick an avatar and check the packshots
At Choose your model, click Create a new model like the reference. The agent casts three new faces using traits from the source. Under Pick your model, click the portrait you want to keep across shots. If you already have an approved avatar in this workspace, choose Choose an existing model instead.
Next, the agent separates the outfit into packshots: photos of individual products without a wearer. It keeps a clean product photo when one exists. If an item appears only on the model, it isolates that item from the worn photo. That lets you replace the shirt later while keeping the trousers and shoes.
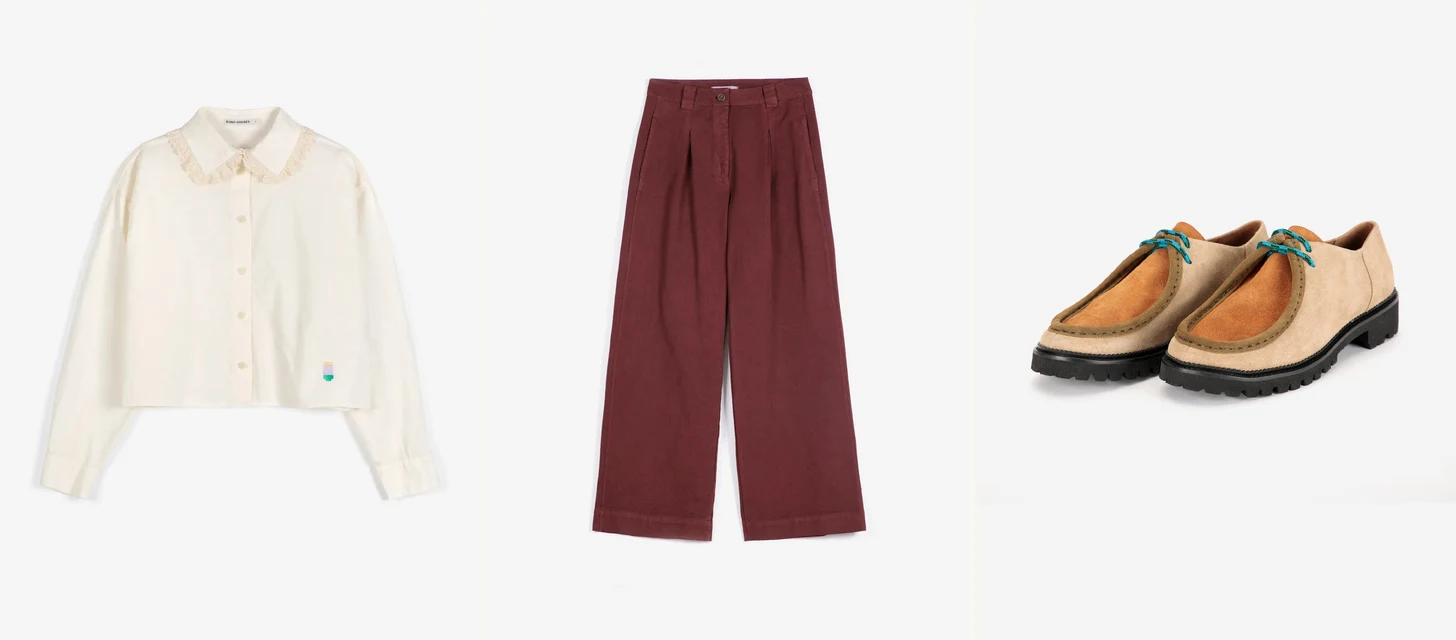
These are Bobo Choses product photos from the course, shown as examples of usable packshots. For shoes, look for both shoes together, with the toe shape, laces and sole visible. If the agent can’t isolate an item cleanly, choose Drop a photo of it and supply that view.
4. Review the on-model previews and lock the look
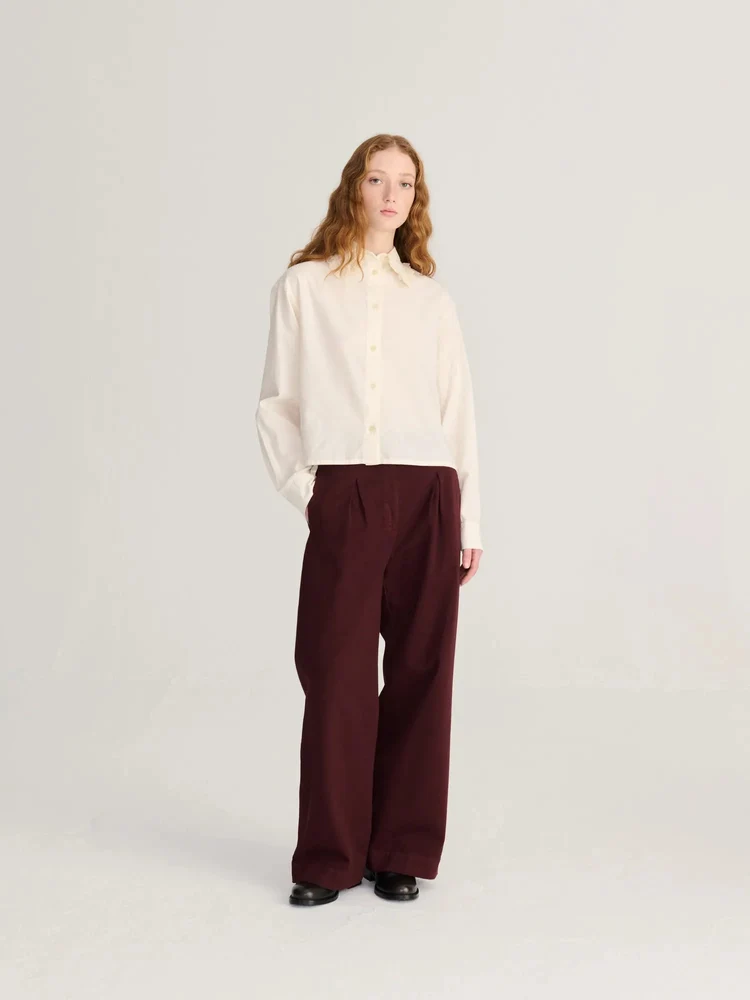
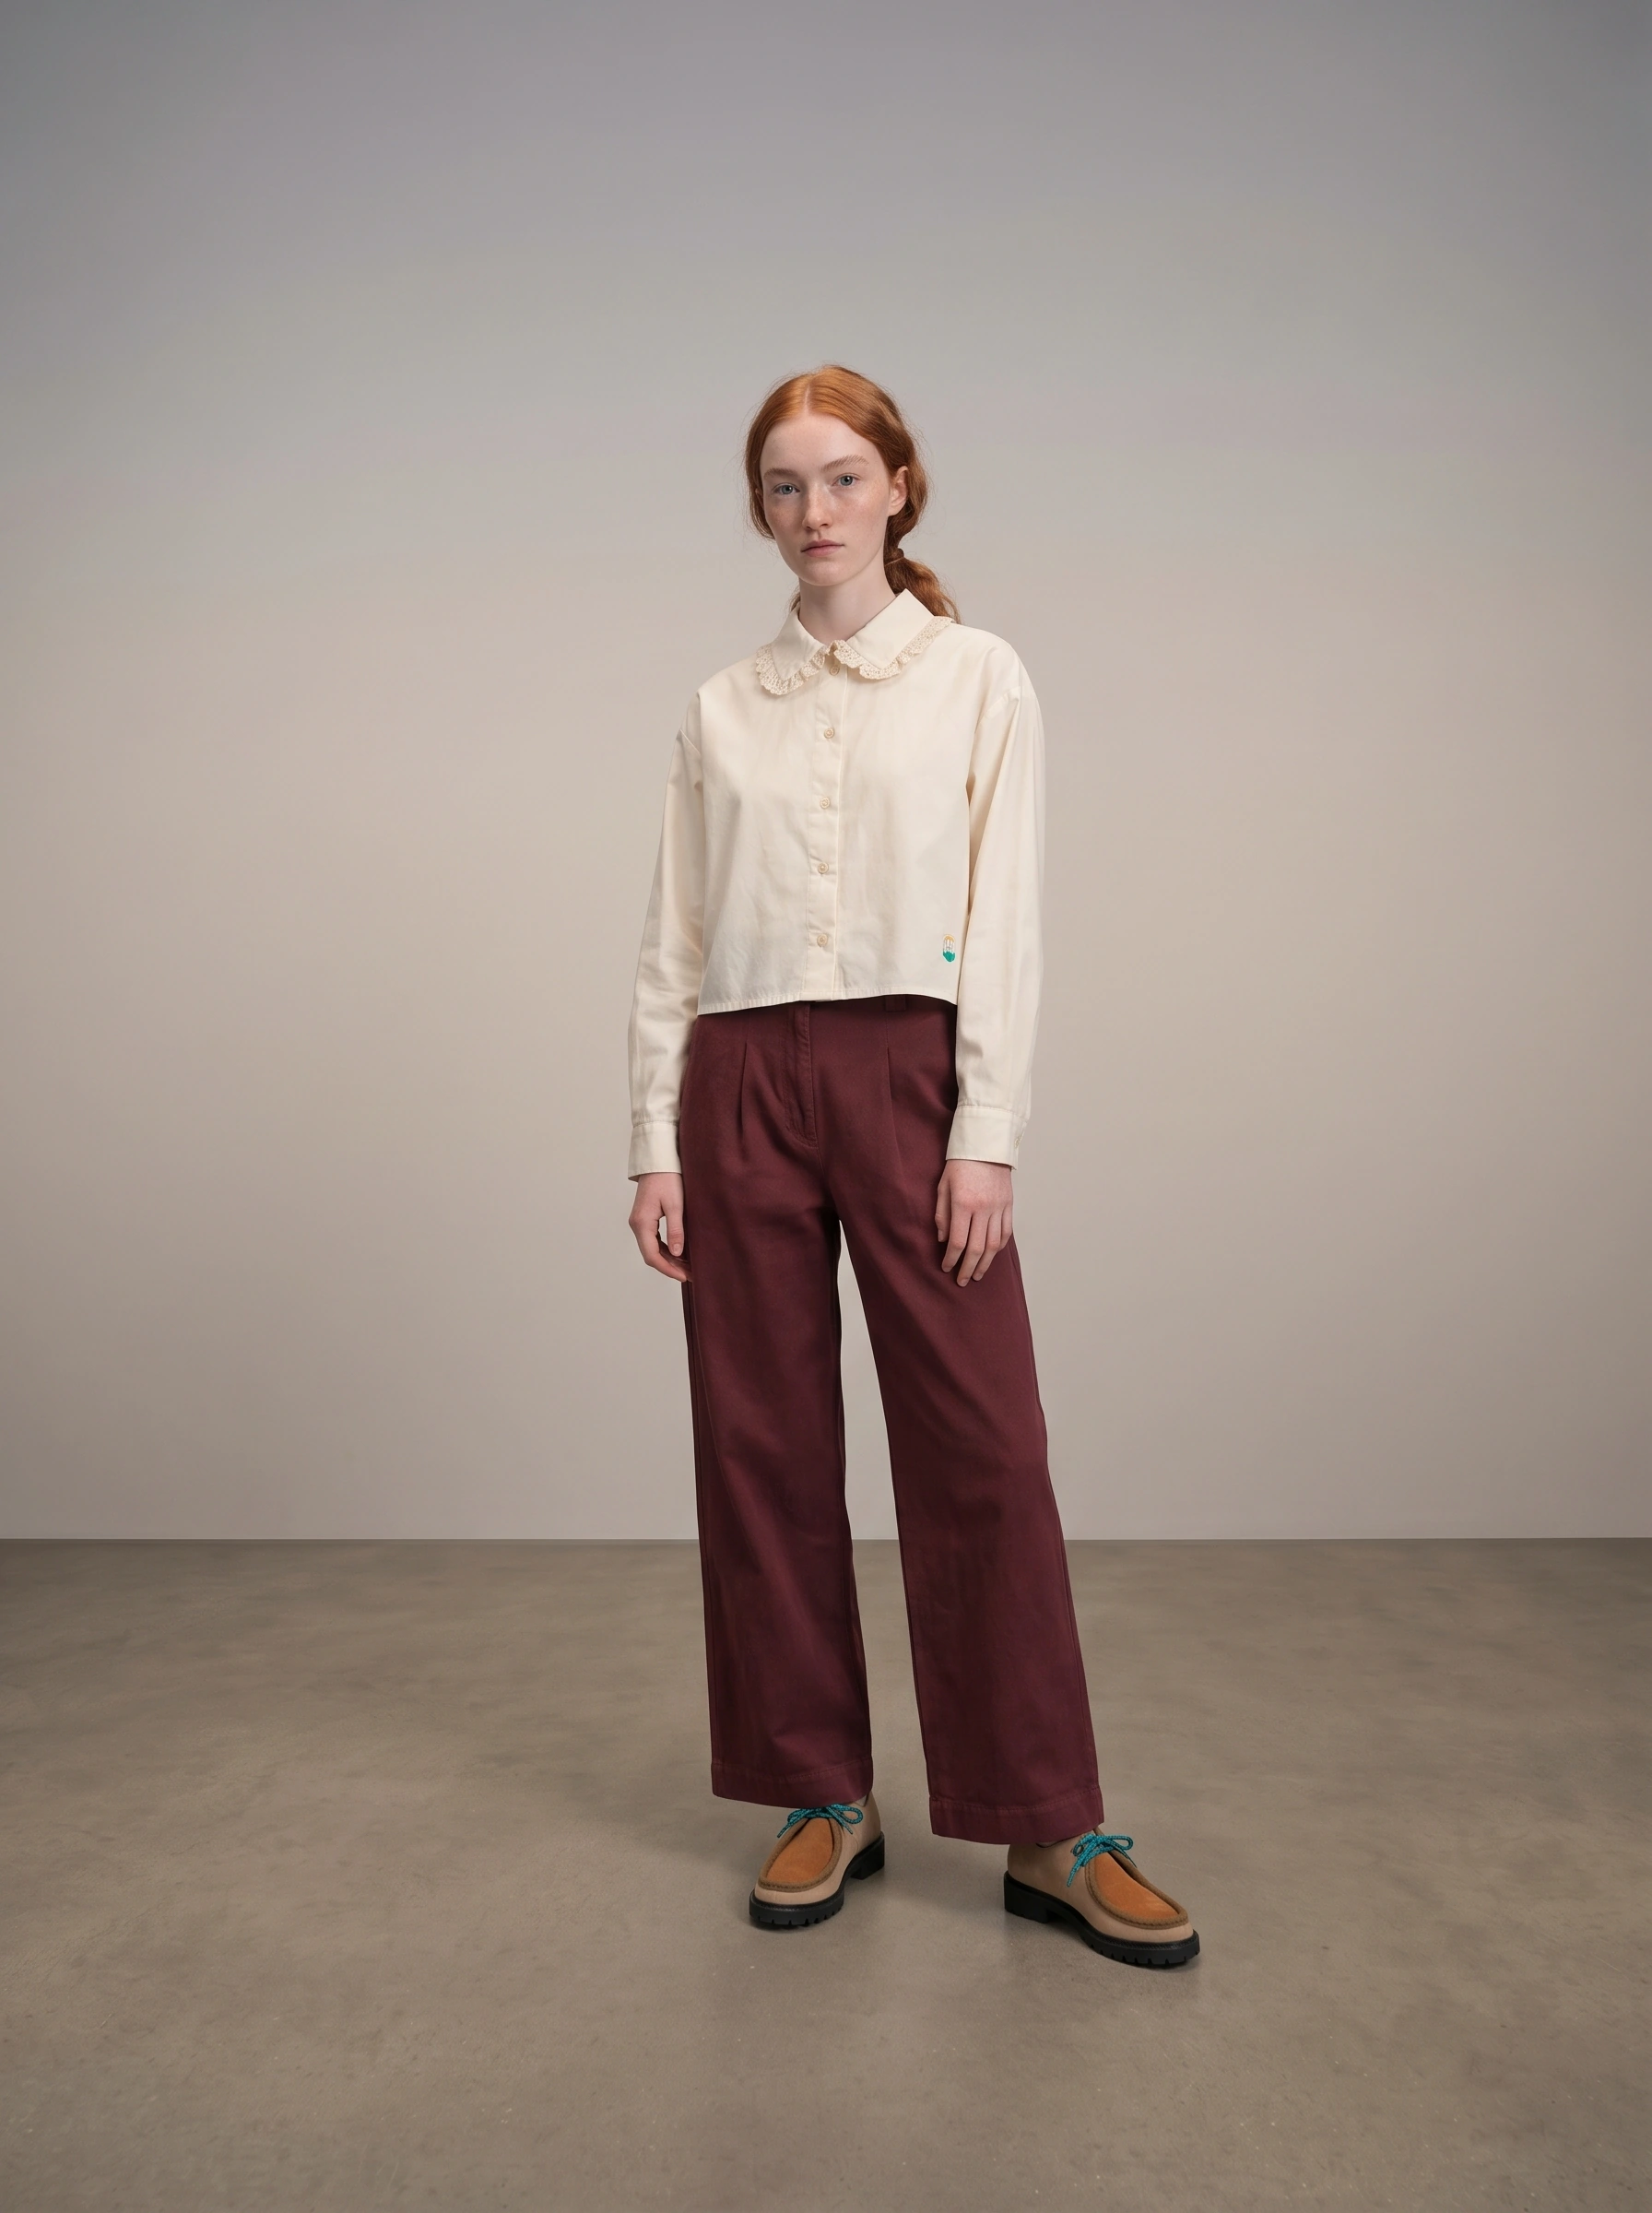
The agent puts the pieces back together on your chosen avatar and renders one preview per planned shot. Compare each preview with the PDP: does the collar keep its lace edge? Does the crop show the hem? Are both shoes visible in the full-length view?
Tap a shot to request a correction, or choose Lock the template. Then choose Keep with the displayed resolution and aspect ratio, or Render again in 4K. Those settings become the defaults for the next product.
5. Drop the next product into the same chat
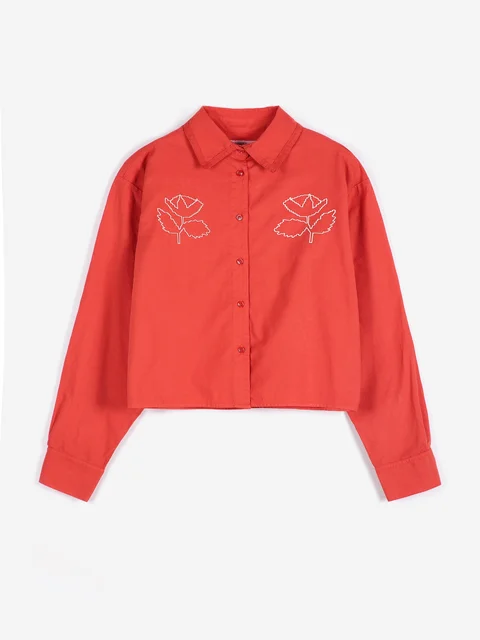
Drag a packshot of the new shirt into the message box and press Send. This starts run-lookbook automatically. For example, this red embroidered shirt can replace the off-white one; the avatar, trousers, footwear and framing can stay the same.
Under Run these?, check the new product, the template section, the planned shots and the saved examples. Click Approve to render one final image per shot for a locked section. Choose Change something if the wrong product or view appears in the plan.